
Setting Up Your Putti Ticketing
What Would You Like Help With
Before you start setting up your ticketing page you will need to make sure you have an already established payment method (whether it’s DPS, paypal express etc) and have those details handy.
Log into your account and navigate to either the app or website view (depending on which platform you would like to set up your ticketing feature on).
Click ‘Merchant Settings’ on the side navigation panel on the left.
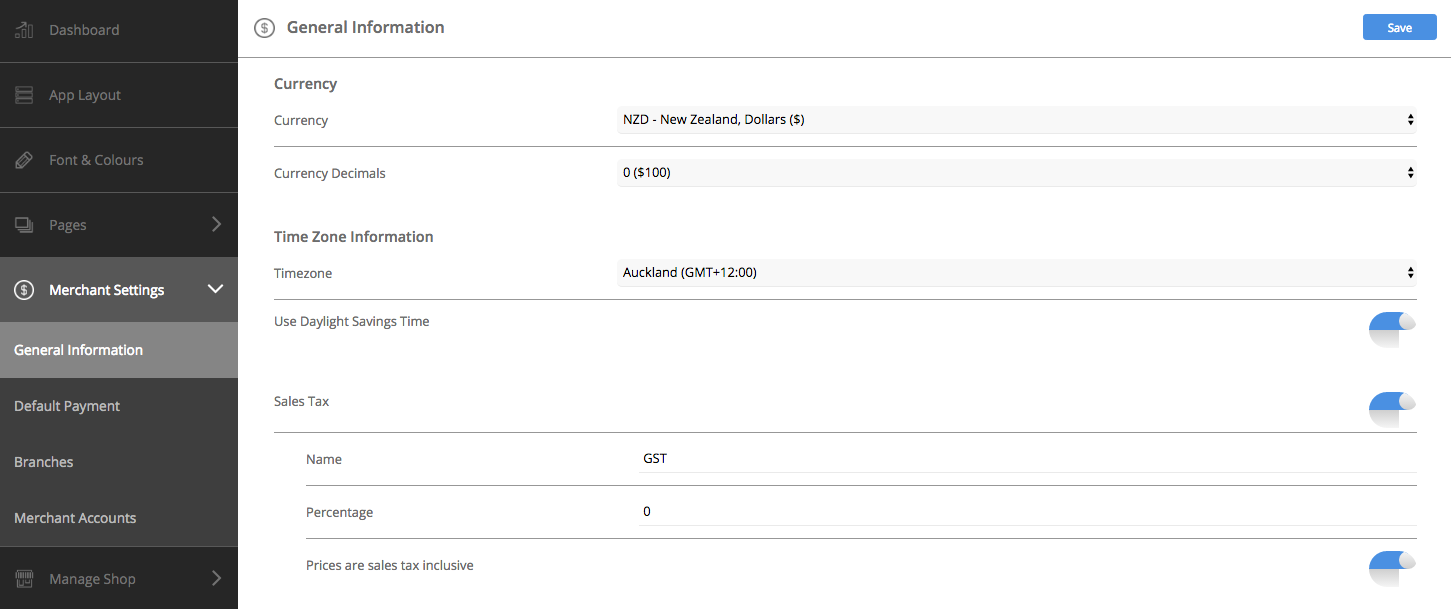
The General Information tab is where you will fill out all the generic information of your ticketing solution including currency and timezone information.
a). Select the currency you would like to primarily use for your ticketing solution
b). Select how you would like your pricing decimals to be displayed by selecting the currency decimal.
c). Select your timezone. If your online ordering is only available for a certain period of time throughout the day, it will follow the timezone you have selected.
d). Select wether you would like to use daylight savings time.
e). Select Sales Tax and include a percentage of it as well as if you’d like the Price to include sales tax.
f). Press ‘Save’ once you have finished making changes to your General Information settings.
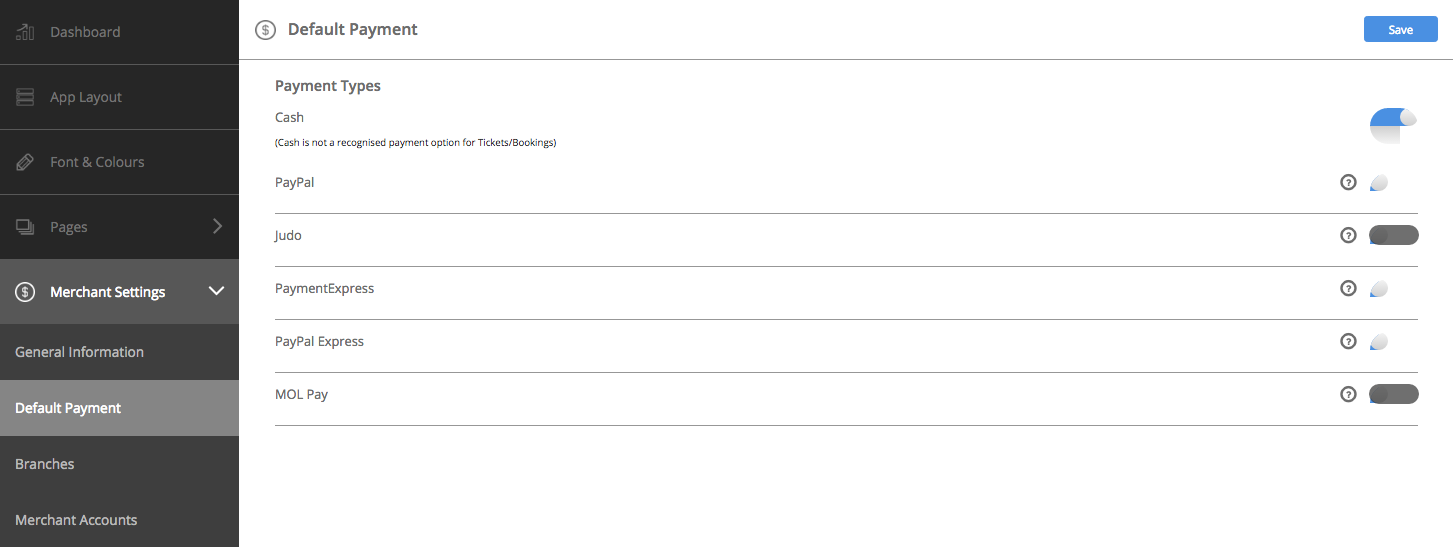
Navigate to the ‘Default Payment’ tab underneath the ‘Merchant Settings’ tab, on the side navigation panel.
Select the payment method you would like to use.
Cash: is not a recognised payment method for Ticketing.
PayPal: If you have decided to use PayPal (available for App only) as your default payment method then enter your PayPal account number and Client ID. You may need to log in to your PayPal account to get this information (Hover over the question mark button for instructions on where to find the information).
PaymentExpress: If you have decided to use PaymentExpress as your default payment method then enter your account details. You may need to log in to your PaymentExpress account to get this information (Hover over the question mark button for instructions on where to find the information).
PayPal Express: If you have decided to use PayPal Express as your default payment method then enter your account details. You may need to log in to your PayPal Express account to get this information (Hover over the question mark button for instructions on where to find the information).
Press ‘Save’ once you’ve finished making changes.

Navigate to the ‘Branches’ tab underneath the ‘Merchant Settings’ tab, on the side navigation panel.
The ‘Branches’ tab is where you set up your Branch information. You need to have at least one branch set up for your online ordering to work. Press ‘Add’ to get started.

Under ‘Branch Details’ fill out the general information for your branch.
Notice the Branch Code that already exists. This will show up if you have opted for Notifications via the Merchant App. You’ll need to add in a 4 digit password. The code and password will need to be used on the Merchant app.
Save changes at the top right of the page.
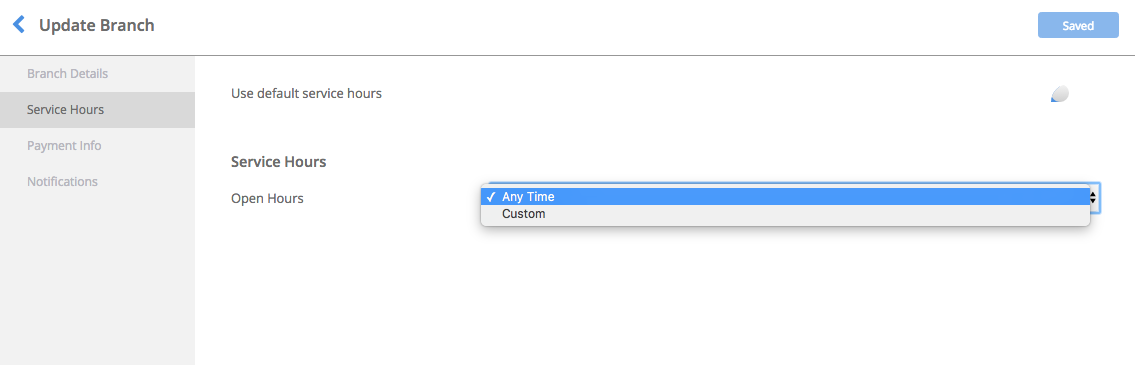
Navigate to the ‘Service Hours’ tab to set up the opening hours for your branch.
If you would like your branch to have it’s own custom opening hours then select ‘custom’ on the drop down menu
Save changes at the top right of the page.
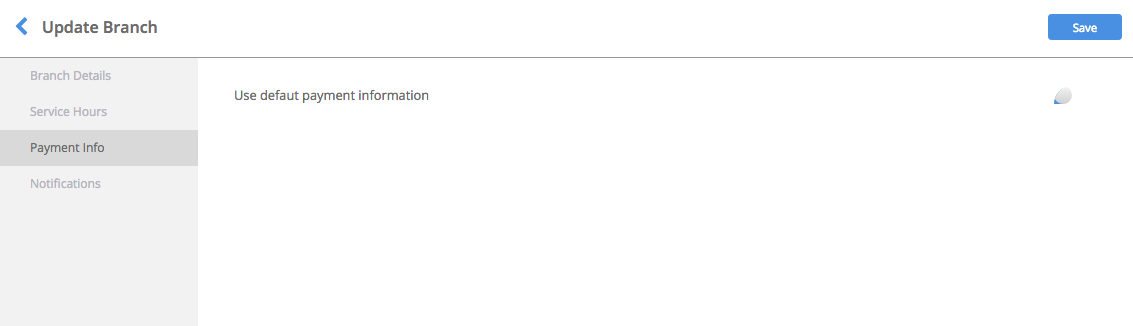
Set default payment for the branch by sliding the button alongside. When enabled, it will show in blue.
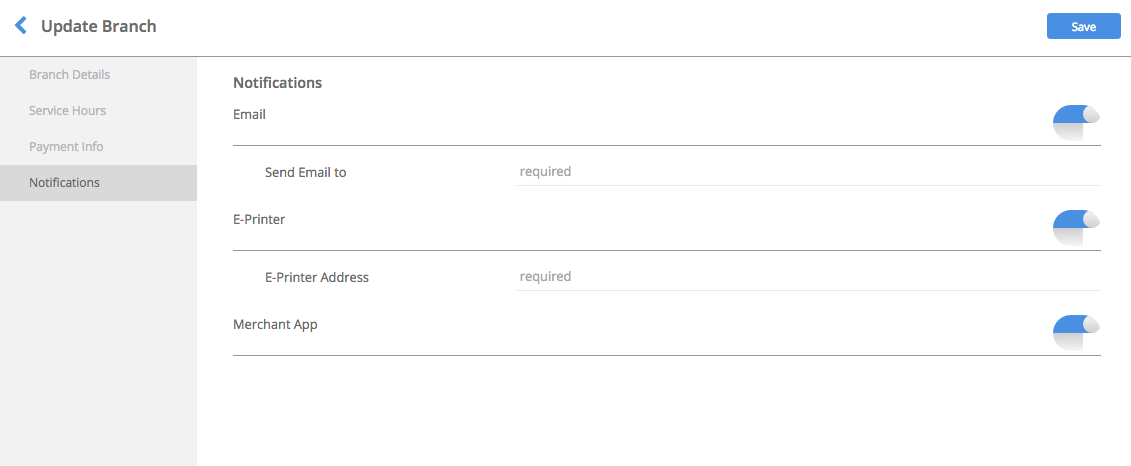
Navigate to the ‘Notifications’ tab. Select wether you would like to receive payment notifications via email, e-printer or merchant app.
Once you have finished adding the information to your branch, click save
Note# The branch code to the Merchant App for each branch will be listed in the Branch Details section.
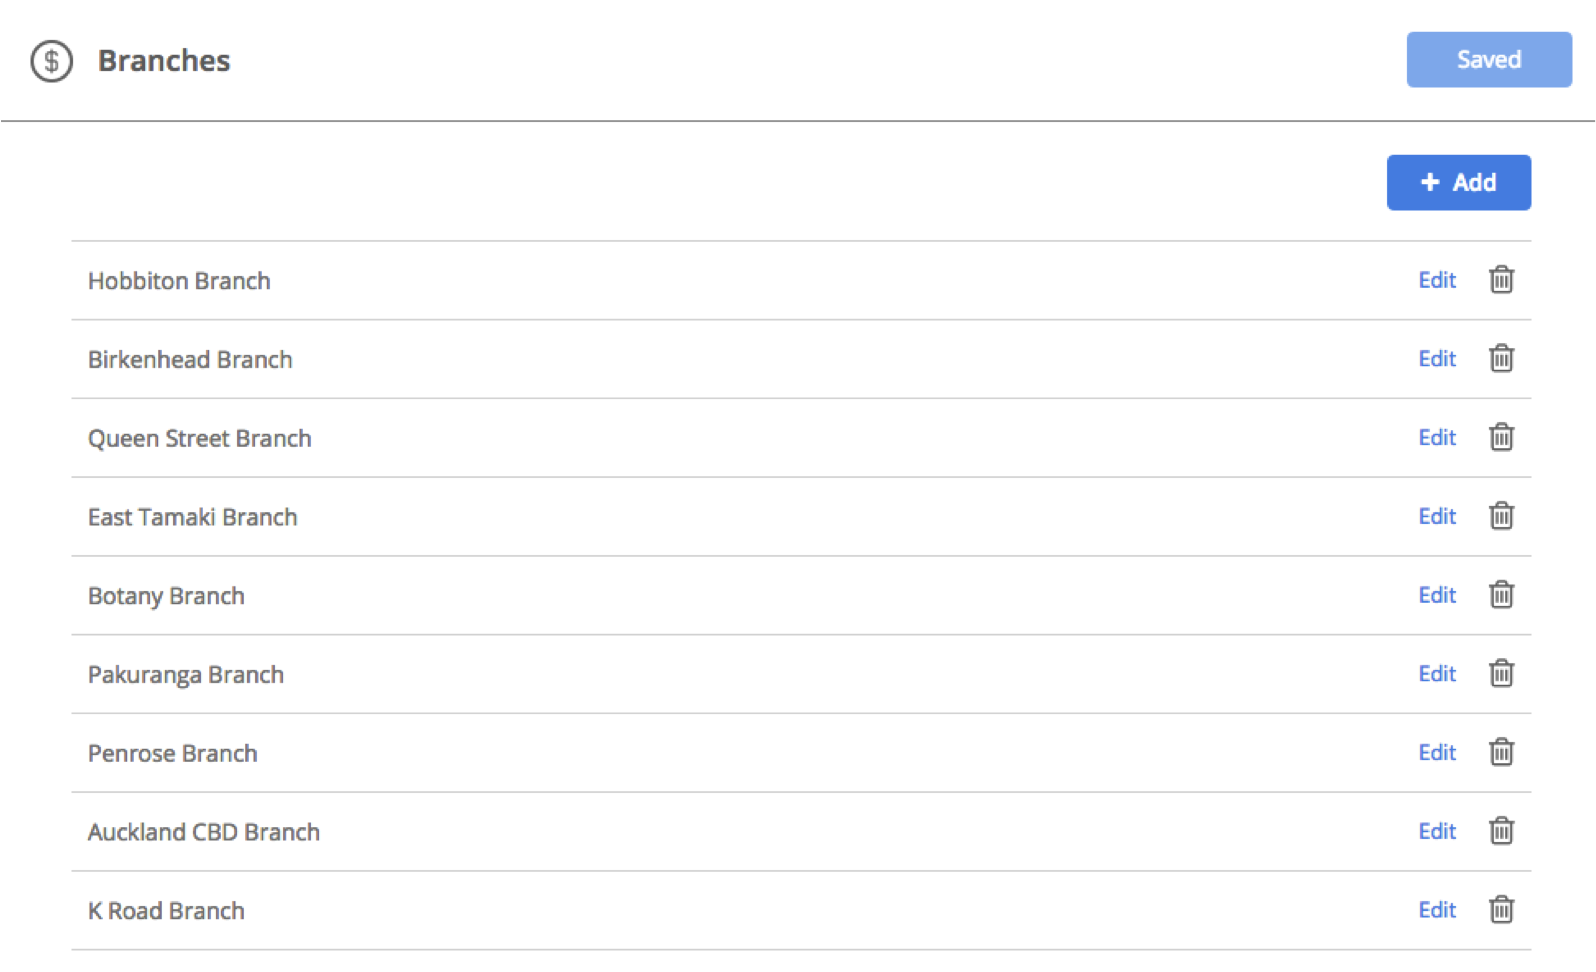
Once you have saved your branch it will appear underneath the ‘Branches’ section
You can edit or delete a branch at any point by pressing the edit or trash icon adjacent to each branch
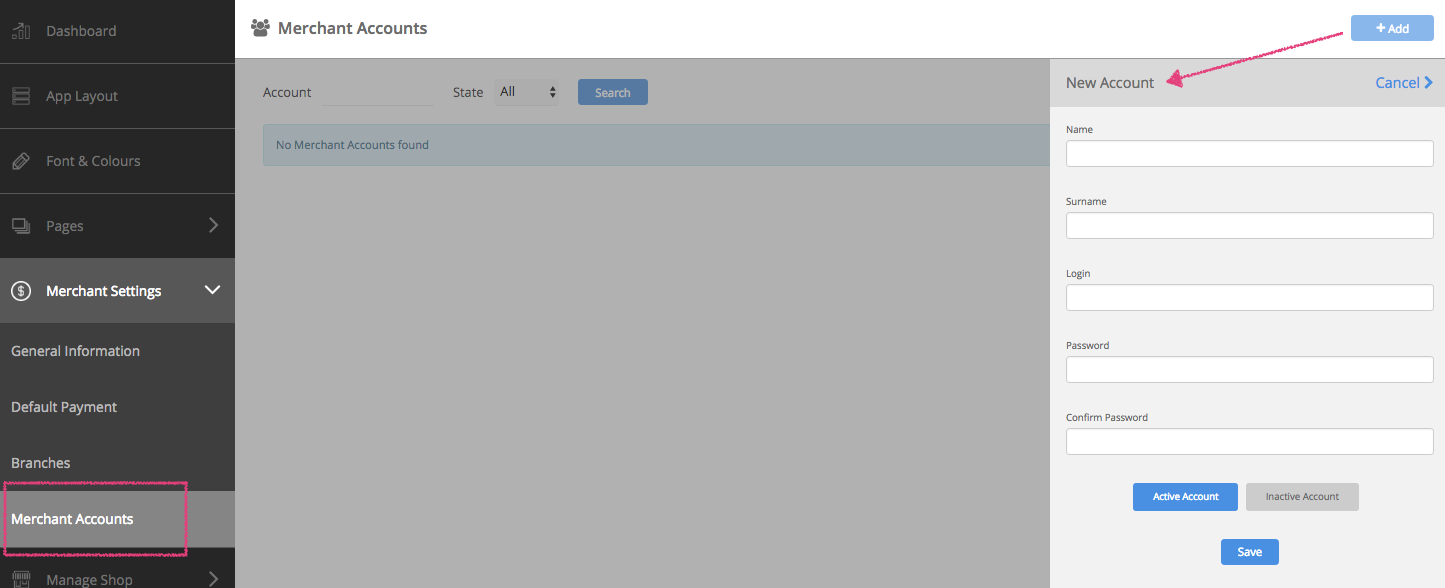
You’ll be able to setup merchant accounts for your staff to be able to login and check the Merchant app.
Just click the ‘add’ button on the top right of the Merchant Accounts section and fill in their details and login information, you would like them to use.
These can be set to active and inactive as well as and when needed.
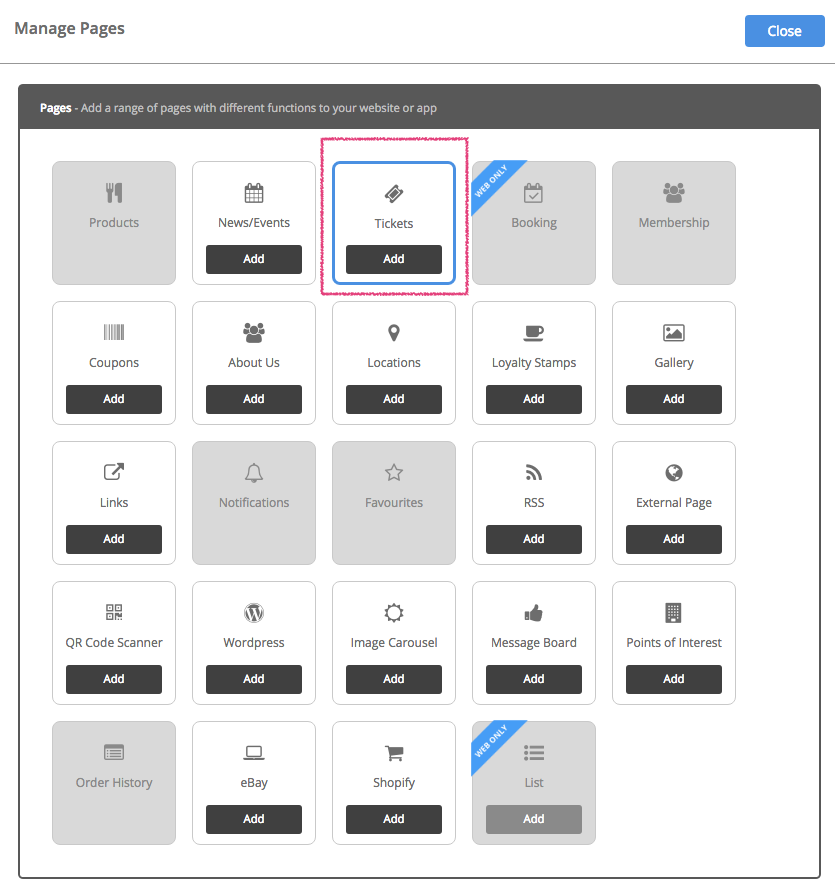
Add Tickets
Once you’ve completed your merchant settings you can now start adding tickets to your website or app.
*Note* When adding or removing a page, you can be on either the ‘App’ or ‘Web’ view as any changes that are made will be updated on both.
Once the ‘Pages’ tab has been selected the app panel will appear with a list of the pages that are already applied to your app/website depending on what View you are on.
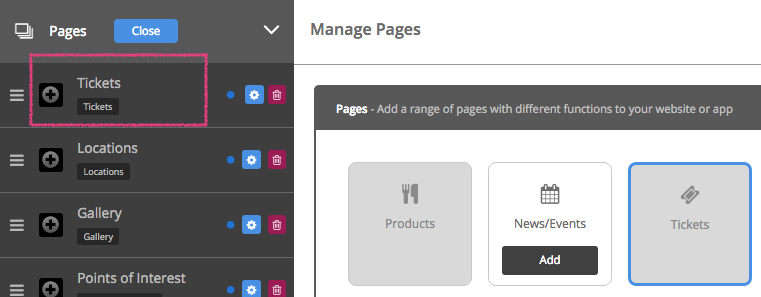
Click on Pages to see a ‘Manage’ button. Click this to access the Pages Library where you can pick and choose which page/features you would like on your app or website.
To add a page, press ‘Add’ at the bottom of each page/feature in the library. Once you’ve added on all pages, click on Close.
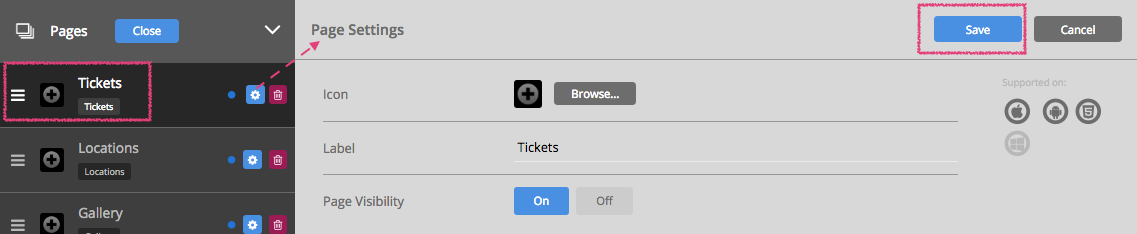
If you would like to change the name of your ticket component and/or add an icon, click on the Manage button next to the Pages tab on the navigation panel.
Now press the cog on the right of the Notifications page (under the Pages tab on the navigation panel).
To choose an icon or to upload our own custom icon (only if you’re in App View) press the ‘browse’ button. Choose an icon from the list provided, or to upload your own icon press the ‘upload custom icon’ tab. To upload your custom icon drag and drop you 60 x 60 pixel image into the blue area, or press browse to find your icon manually. Press set when you have chosen your icon. Press save once you have finished customising your features name and icon.
Edit the name of the page by adding in a new one, in the space provided for ‘Label’.
Page Visibility is set to ‘On’ by default. This shows a blue dot next to the Page (on the left of the cog on the navigation panel under ‘Pages’). Please click on ‘Off’ if you want to make the page invisible. The dot appears grey when you make the page invisible.
Please click on ‘Save’ on the top right of this section when you’ve finished customising the page.

To start adding tickets press ‘add’ on the top right of the ticketing window.
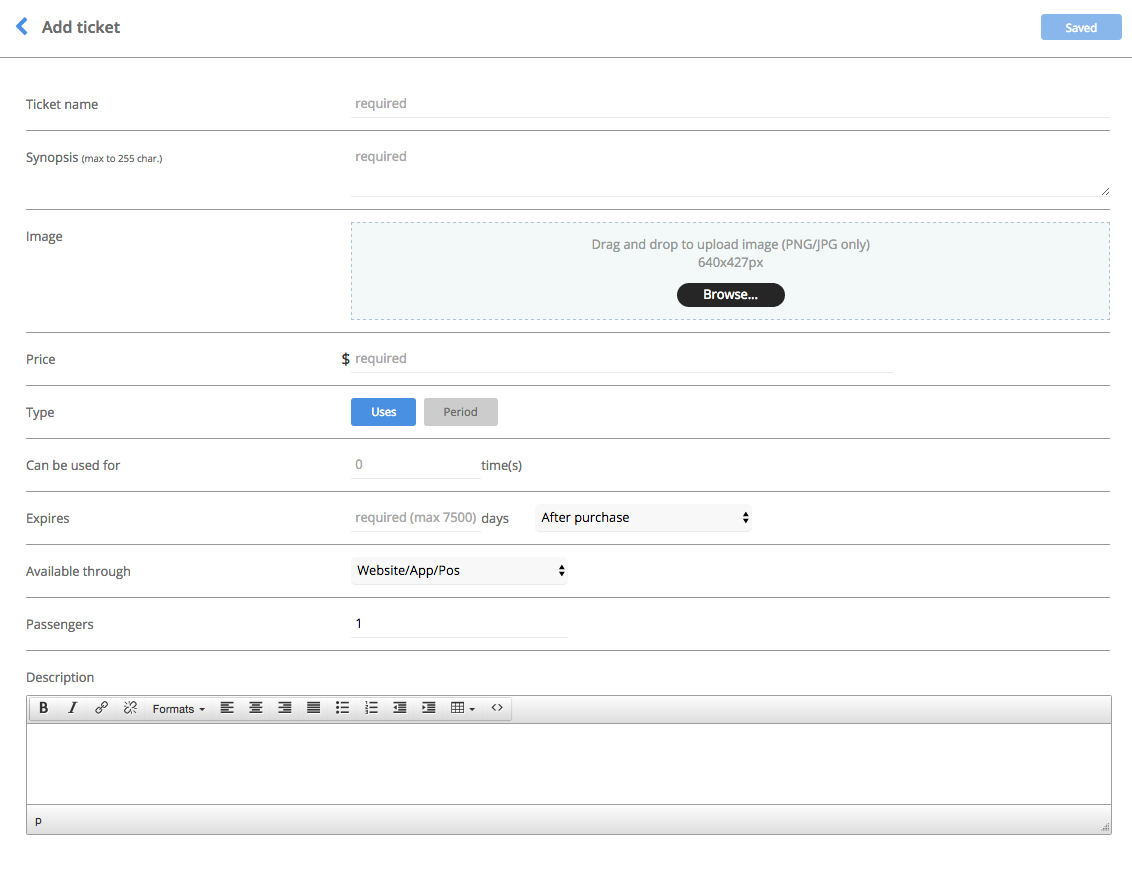
Customise the purchasing experience by using the text field and the drop down menus
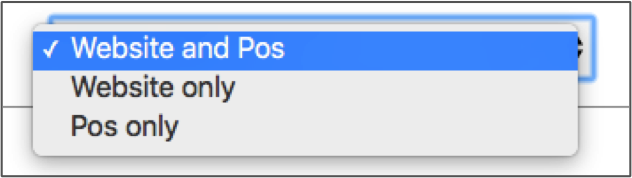
When selecting ‘available through’ there are a range of options to choose from.
By selecting Pos the user can sync the ticket settings to the merchant app. When selecting ‘Pos Only’ the ticket will not appear on the website and can only be purchased in person.
Press save once you’ve finishing adding the details to your ticket.
Ticket Settings
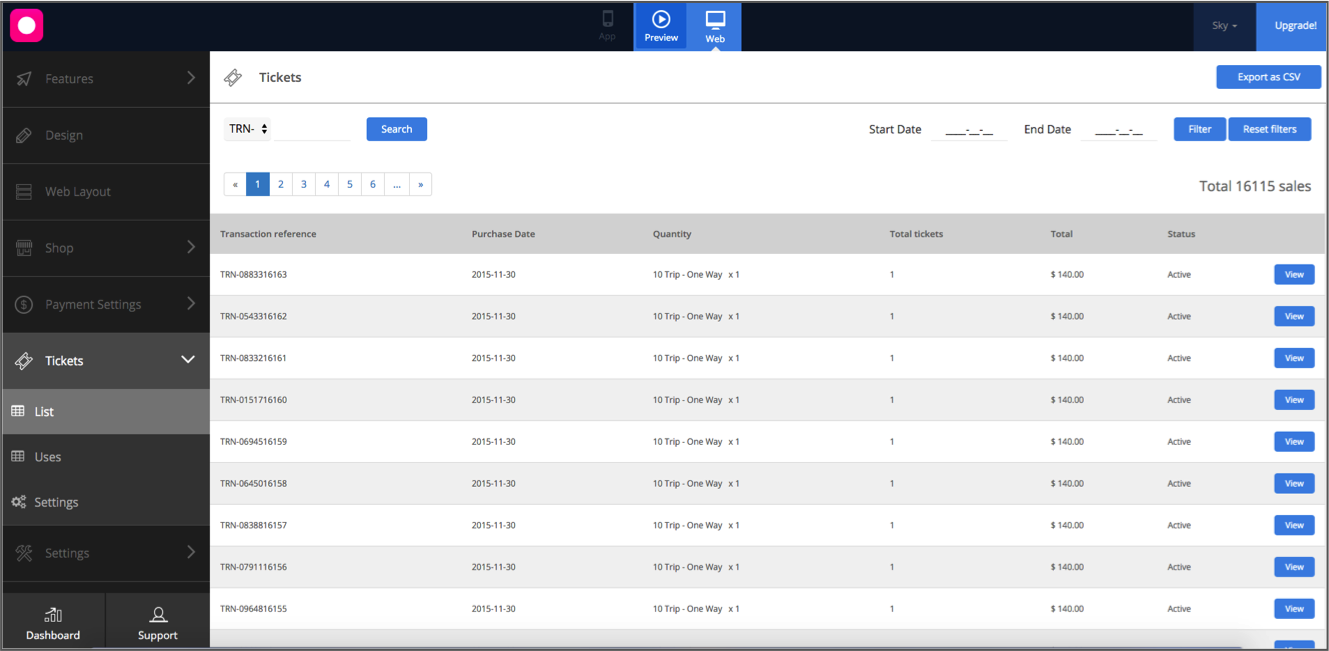
The ticketing feature has it’s own ‘settings’ tab located on the left side navigation panel. This is where you you can modify and view all of your ticketing info.
In the ticket ‘list” section you can search for individual tickets or a transaction (multiple tickets may be purchased per transaction).
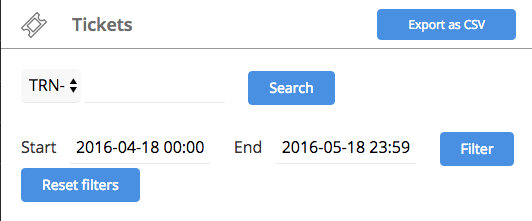
You can also search within specific dates or export all the information as a CSV file
In the ticket ‘list’ section ou can not only view the transition info but also the uses of each tickets (e.g when/where the ticket was used)
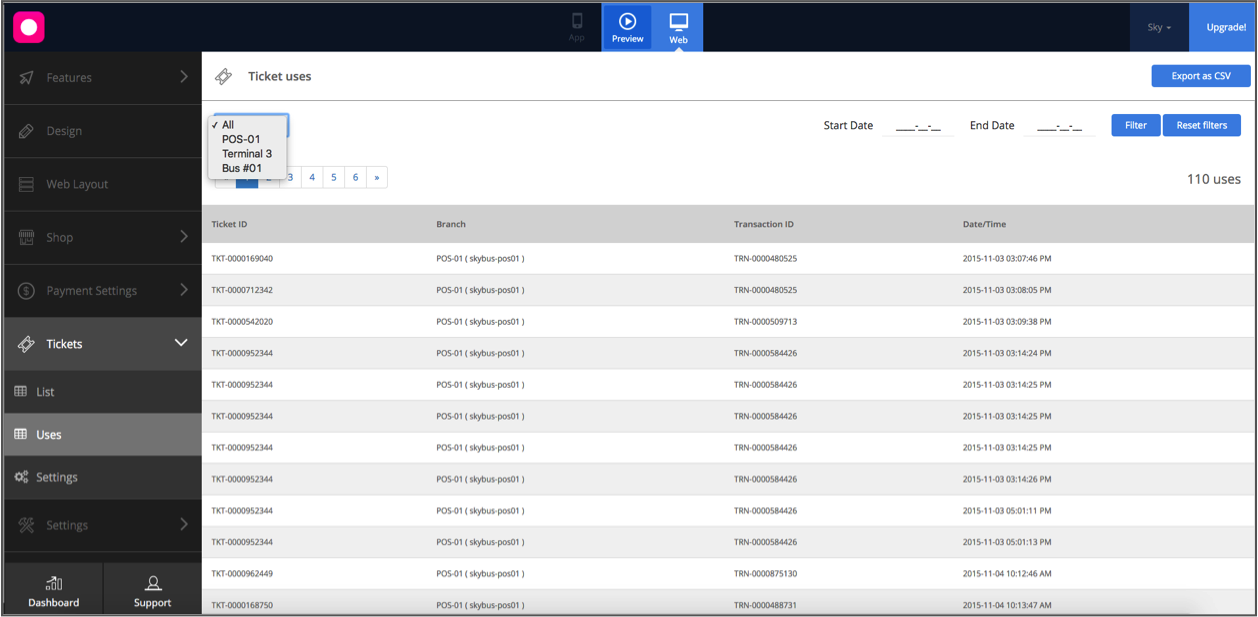
By clicking the ‘Uses’ Tab we are able to see when & where each ticket is used. You are also able to view uses for a singular branch with the drop down above.
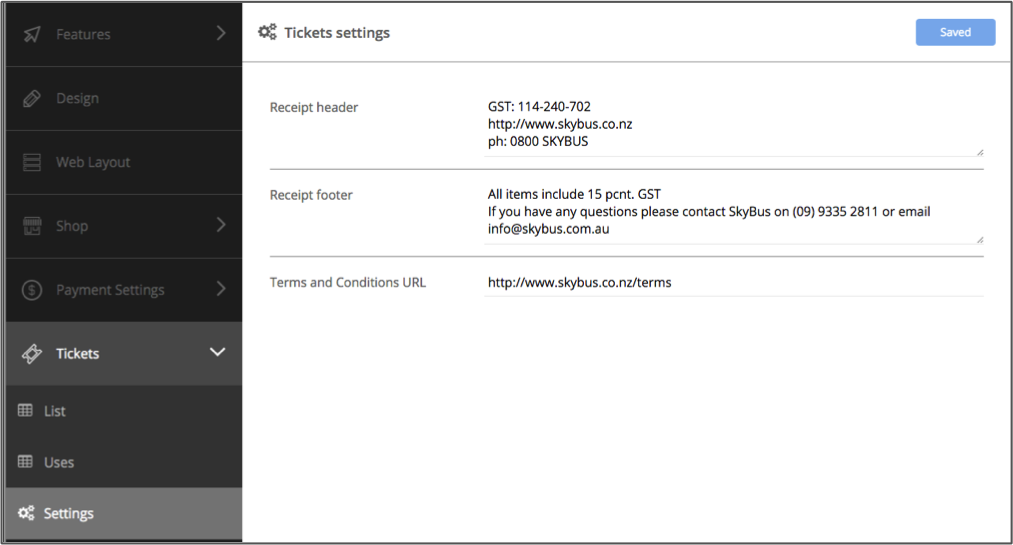
Under the settings tab in the tickets panel the user is able to customise the receipt header, footer and terms & conditions url. This information will also be visible during an online purchase.