
App Settings

Once you have finished editing and adding content to your app you will need to update the information shown once the app goes live on the apple or google play store
To start editing your apps settings make sure you are on the ‘App’ view of the platform. This is located in the middle of your header bar.
Navigate to the ‘settings’ tab on the navigation panel
Under ‘Application Info’ you can start changing out the information that will be displayed
Choose an image to use a splash screen (This is the screen that pops up once your app has been opened and is loading your content).
Simply drag and drop your image or upload one from your computer by pressing ‘browse’
Choose an ‘loading thumbnail’ and ‘loading image’ (the ‘loading thumbnail’ is the image that will be shown when an image is loading on a features tab e.g menu picture. The image loading is the image shown when content is loading on a detail page view)

Set your play store feature image, this is a landscape image that will appear on the google play store
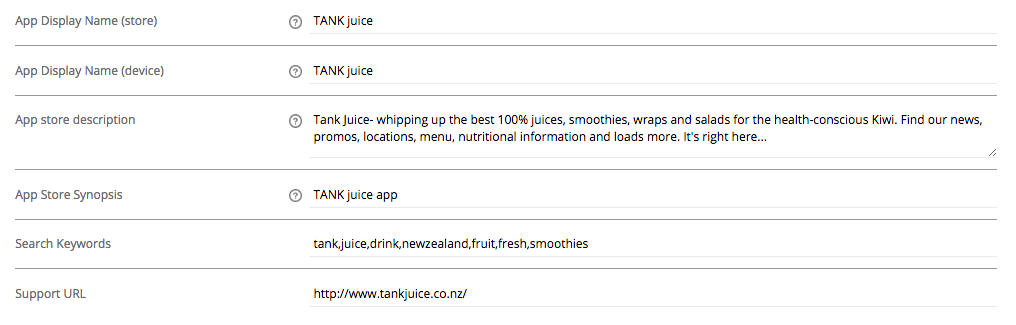
Choose the name that you would like your app to be called on the both the apple and google play store.
Choose the name you would like your app to be called once its be downloaded on to your users phone.
You will also then need to fill out the details of your app including description, and synopsis.
The keywords you choose to list is how people will find your app when searching it on the store, so try be as specific as possible
Add a support URL which can be your website, if you don’t have one then use www.puttiapps.com
Press save to update your changes