
Getting started with Putti Website
Sign Up
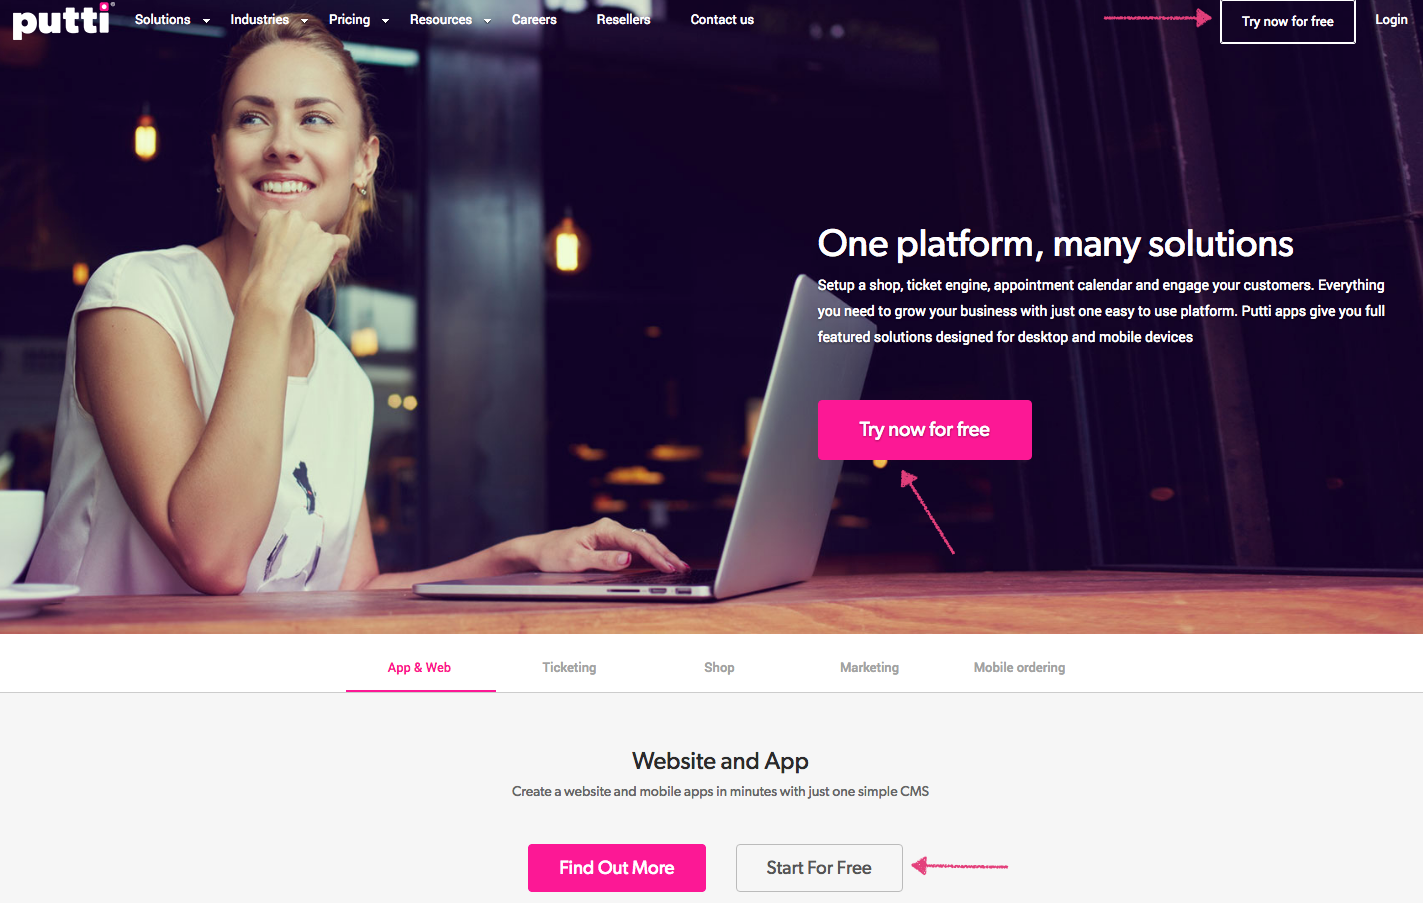
Please go to the Putti website at www.puttiapps.com and click on ‘Try now for free’ or ‘Start for Free’.
You can choose a template, depending on your Business type.
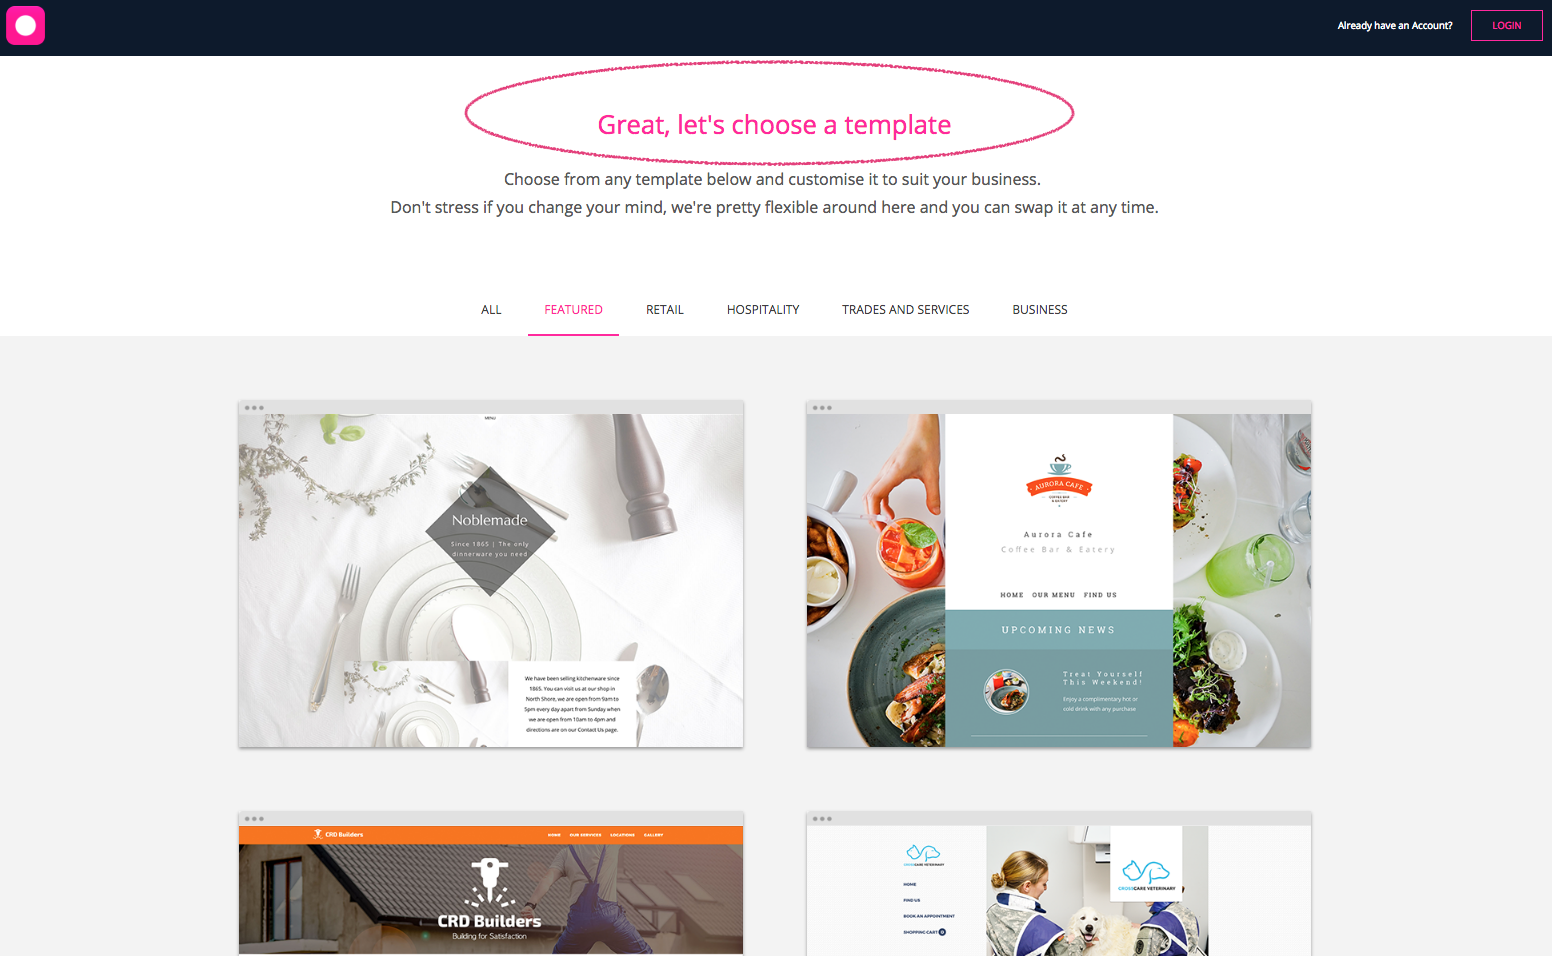
If you’re not sure, you can always start from the basics. Just scroll to the bottom of the page and then click on the hyperlink ‘Try building from scratch here’.

You’ll need to now enter a valid email address.
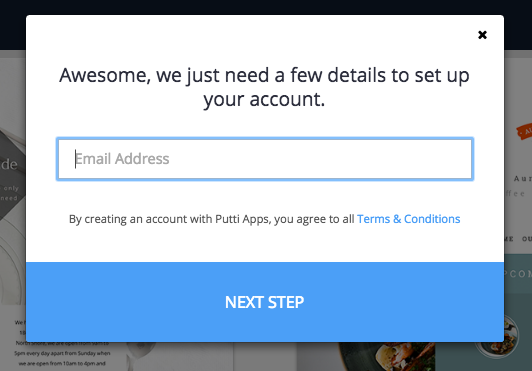
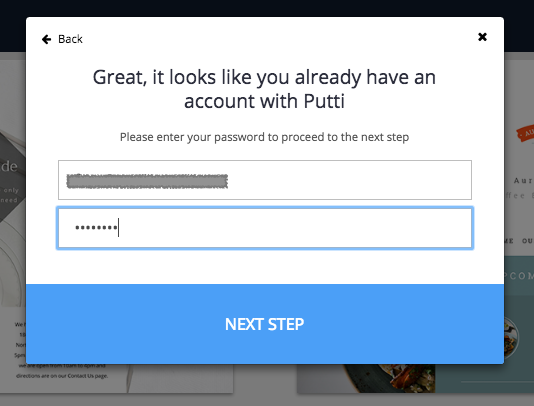
Please click on ‘NEXT STEP’ to enter an 8 digit password of your choice.
Important# Do make sure to enter your email address correctly. It should also be an active one.
Click ‘NEXT STEP’
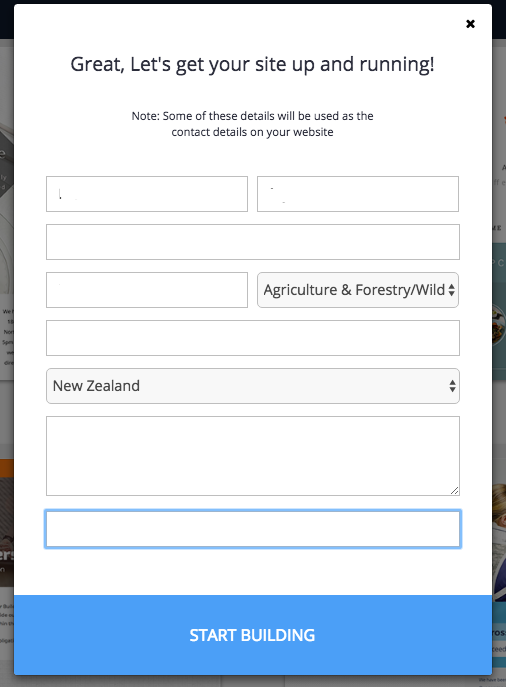
Enter the details of your Business and then click on ‘Start Building’
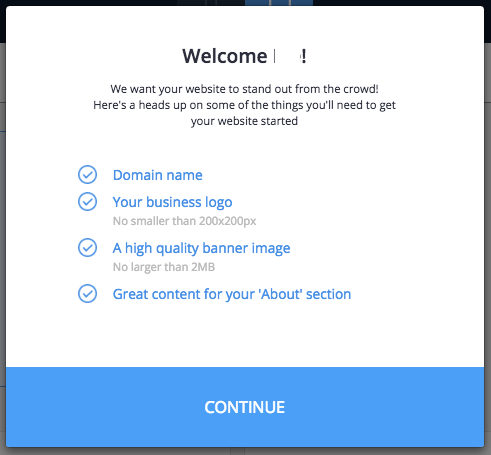
You’ll next see a check list of what you need, to be able to setup the basics of your website.
Please setup your time zone and and choose currency.
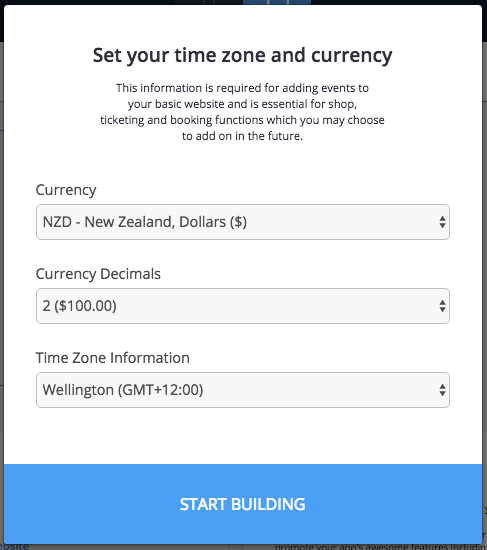
Then click ’Start Building’.
You’re now signed up!
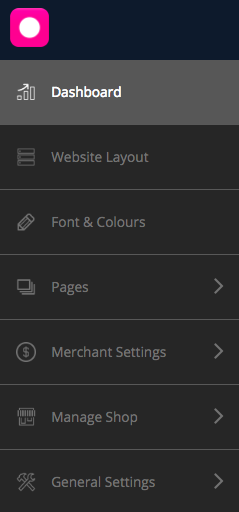
The first thing you see on the CMS or Content Management System, is the Dashboard.
With the all new Dashboard, you’ll be able to follow simple step by step instructions and start building your website.
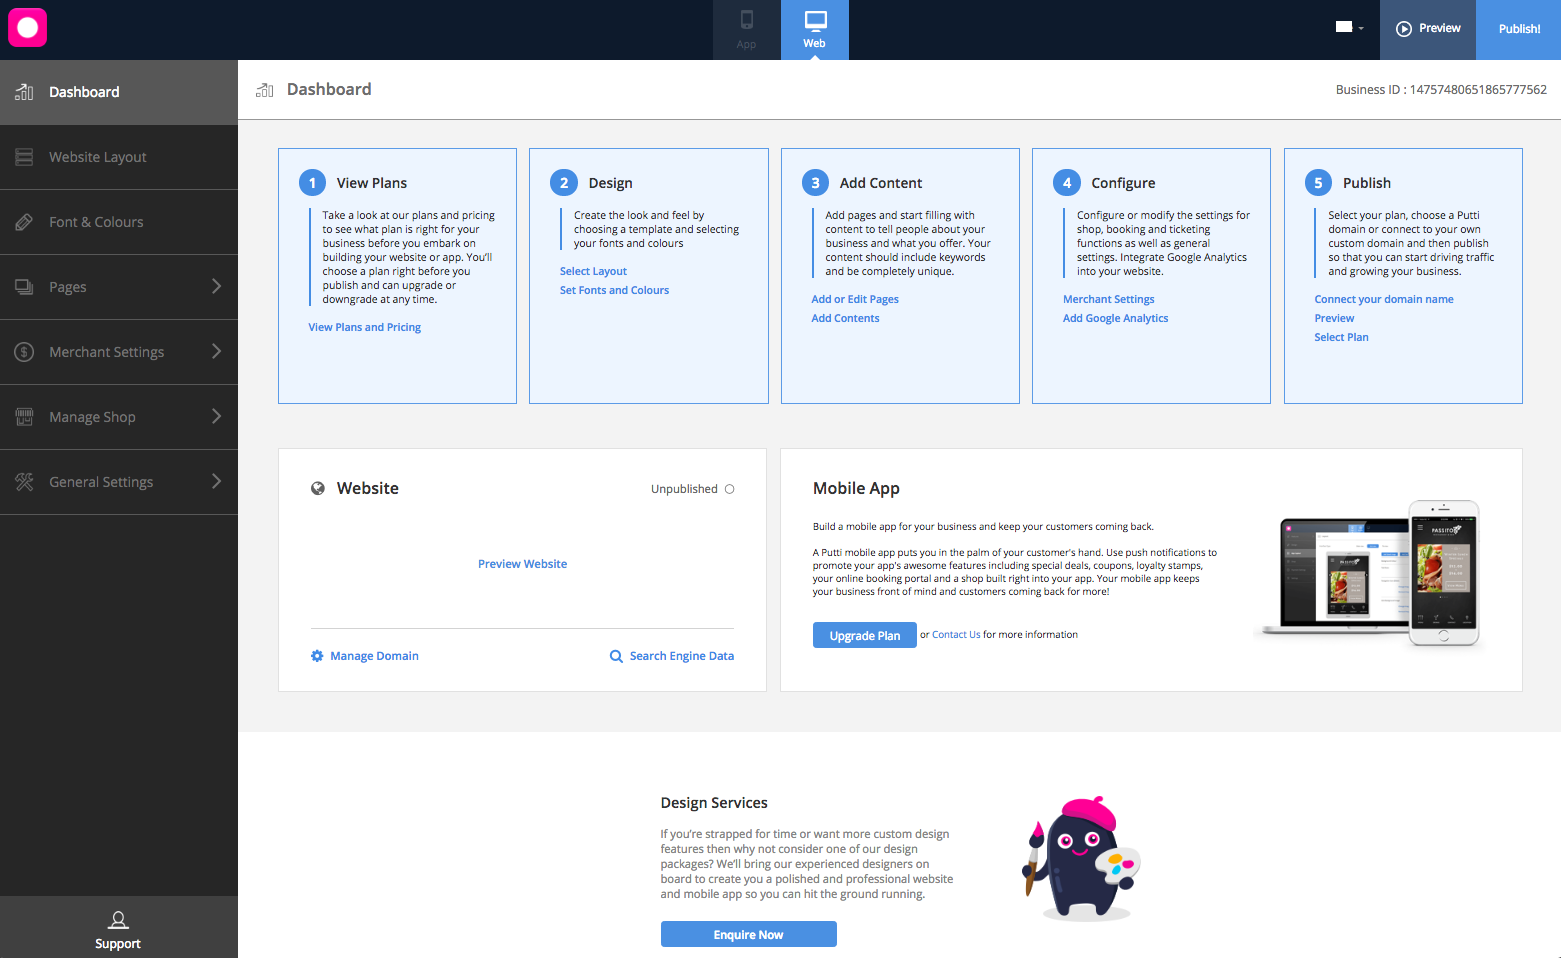
View Plans
Here you’ll be able to view Plans and Pricing by clicking on the hyperlink.
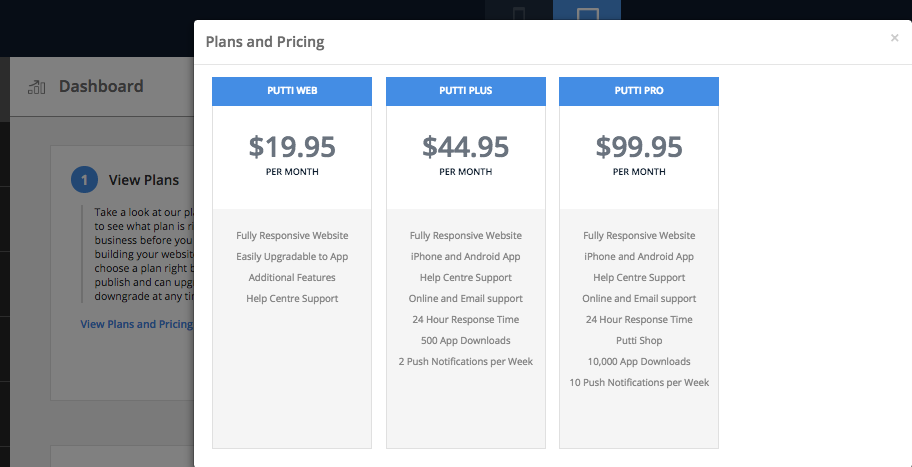
You can check out what plan would be best for you.
Of course, you will be only be able to choose the plan you want, when you’re publishing your website.
Design
Click on ‘Select Layout’ to be able to create the look and feel of your website. You’re now looking at the Website Layout section.
Tip# Look for ‘Website Layout’ in the navigation panel on the left of your CMS.
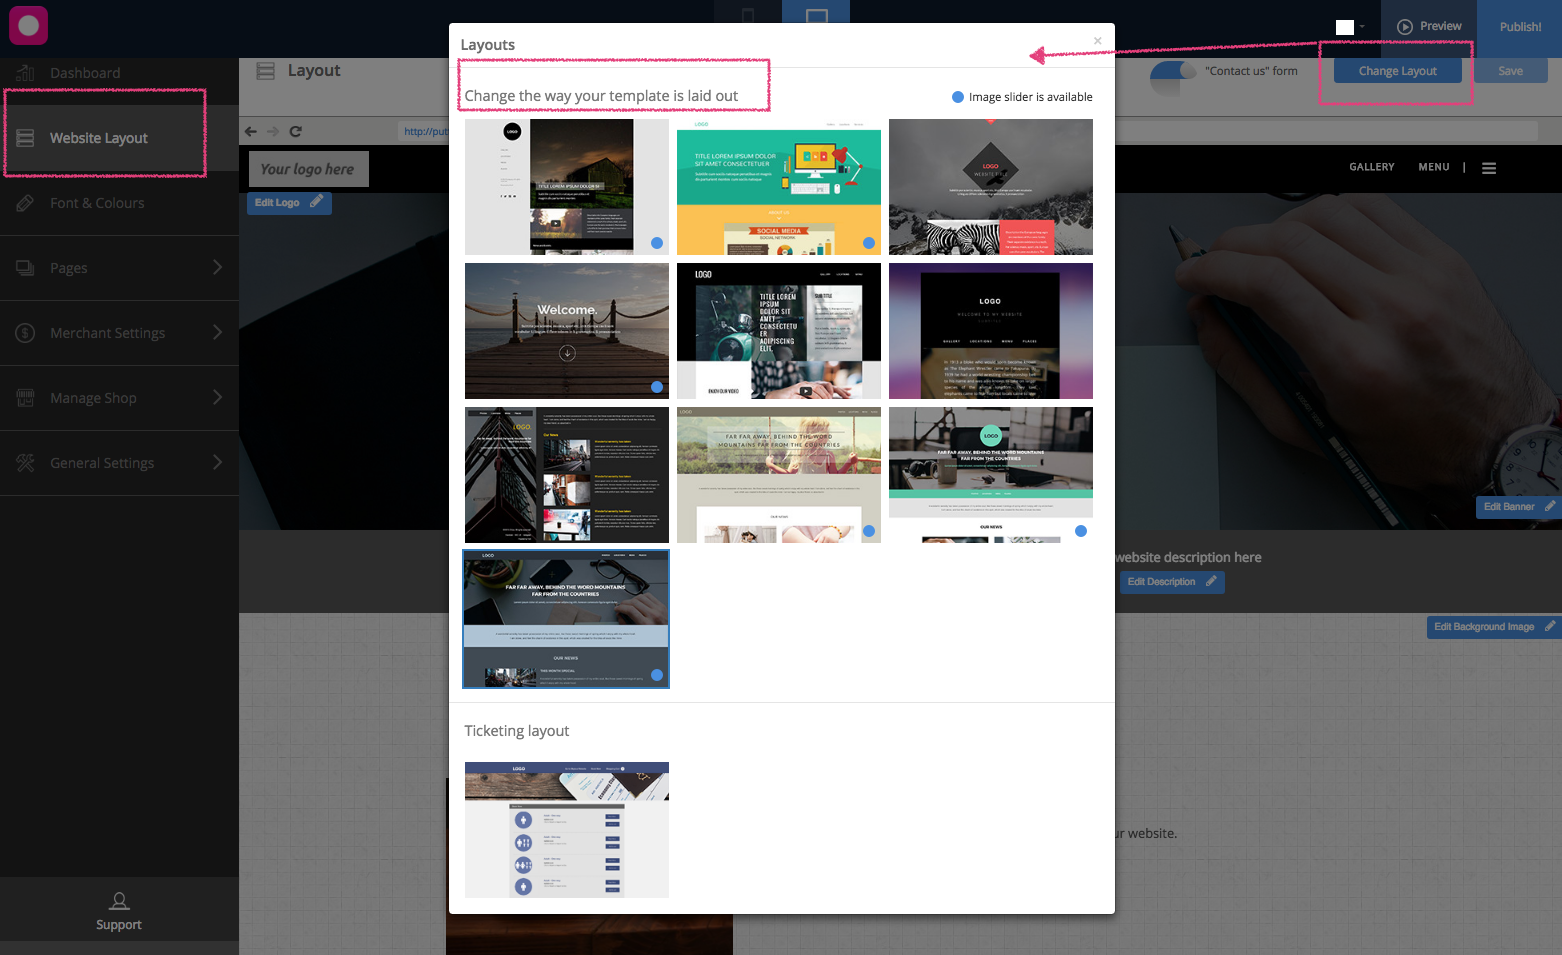
You’ll require to choose a template. We have 10 diverse looks to pick from.
After selecting a template, please save changes to the Web Layout section, by clicking on ‘Save’ at the top right of the CMS window.
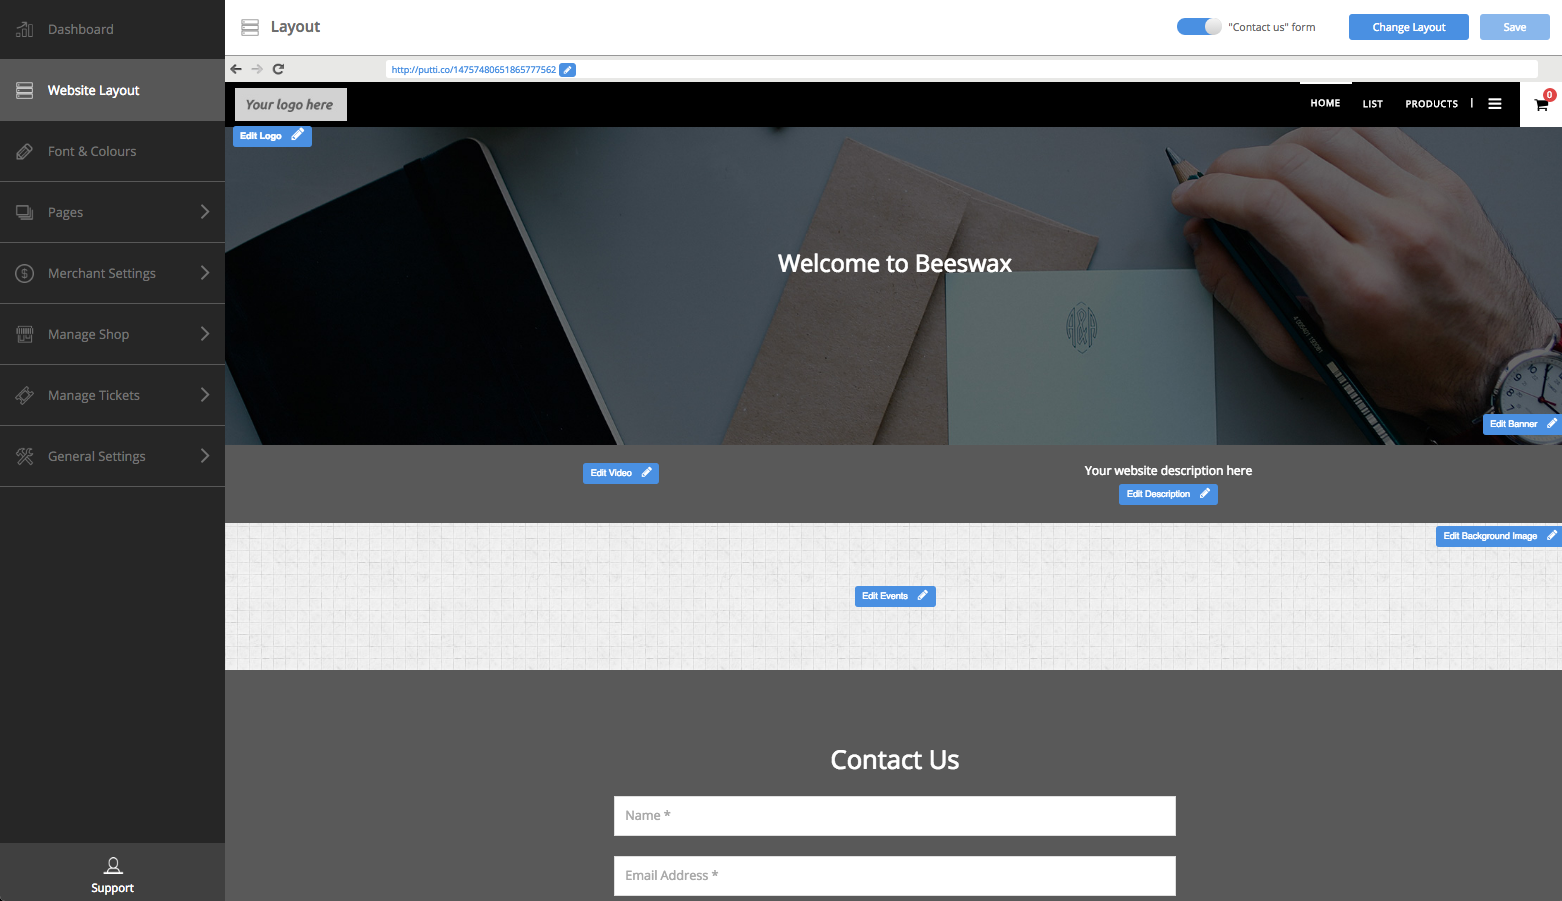
- You can now add a logo for you website; just click on the ‘Edit Logo’ button to do so.
- Add a Banner for your main page. You can do multiple Banner Images, with a slider. Also add a button on each slide that links to content on the website itself or another URL or link.
- Add a description for your Website, by clicking on the blue ‘Edit Description’ button
- Clicking on ‘Edit Video’ will let you add a Youtube video or Vimeo as well.
- Get a choice between adding the default background image and a using a custom image. Click on ‘Edit Description’.
- Click the button ‘Edit Events’, to see a list of Events pages you’ve chosen. You will be able to choose one that will feature on your website, in that section.
- You can opt to have a ‘Contact Us’ form for your website in case you’re looking to have your clients or customers contact you with their information and particular requests. Please click and slide the button on the top right of the Web Layout screen that has “Contact us” form, next to it.
- To add a Footer for your website, like a copyright statement or just your company’s name and contact number, please click on ‘Edit Footer’ at the bottom of the Website Layout section.
Please do not forget to hit the ‘save’ button to the top right, every time you’re making changes.
Come back to the Dashboard by clicking on the first tab of the navigation panel on the left that reads ‘Dashboard’.
Click on ‘Set Fonts and Colours’ to setup the theme.
Tip# You’re now in the ‘Fonts & Colours’ section of the CMS, if you look at the navigation panel along the left of the CMS.
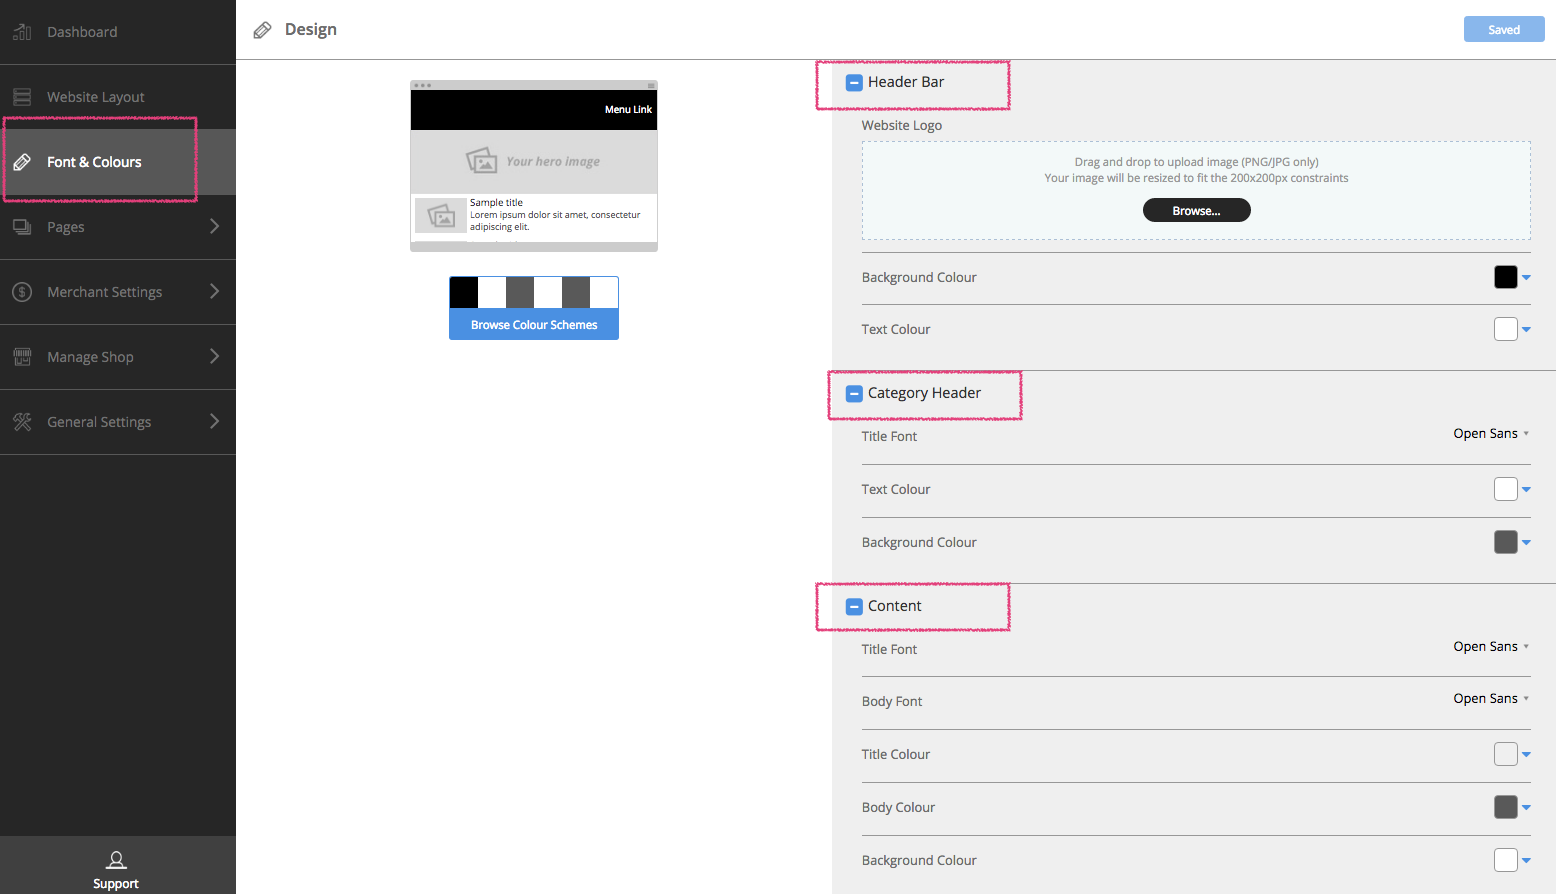
Choose colours for the background and text in the Header Bar, Category Header section and Content for your website. Simply click on the drop down list for the font you like for that particular section. For the colours, you can choose a shade by moving around the tiny circle in the colour palette or simply enter the six digit code for the shade in the box with the ‘#’ on the left of it.
Tip# You can choose to add your website’s logo in the Header Bar of the Fonts and Colours section OR you can do that by clicking the ‘Edit Logo’ button in the Website Layout section.
Don’t forget to hit ‘save’ when you’re done making changes.
Click on the ‘TIPS ON’ button to the bottom right of the screen.
Once it’s on, you’ll see tool tips coming up in little comment boxes.
This will help guide you with what steps to take and what to do next on the CMS.
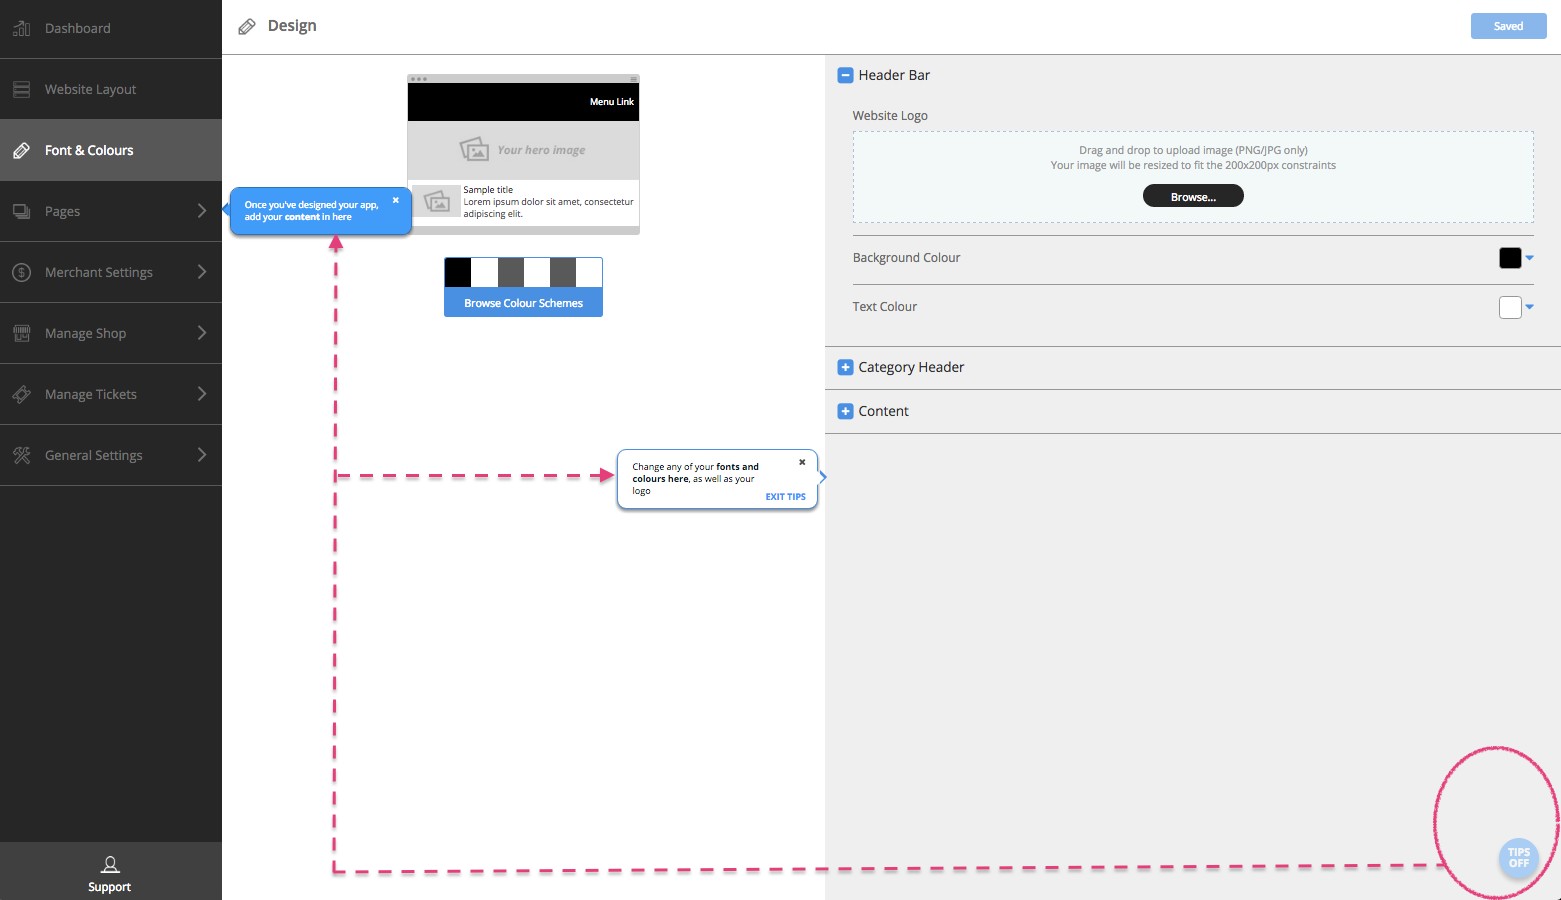
Add Content

Please click on ‘Dashboard’ for Phase 3 of setting up your website.
Now that you’ve got the basics for your website all sorted out, it’s time to add some pages and then add some content to them.
Click on ‘Add and Edit Pages’ in the ‘Add Content’ Box.
Tip# You’re now looking at the Pages section. Look for ‘Pages’ in the navigation panel along the left of the CMS.
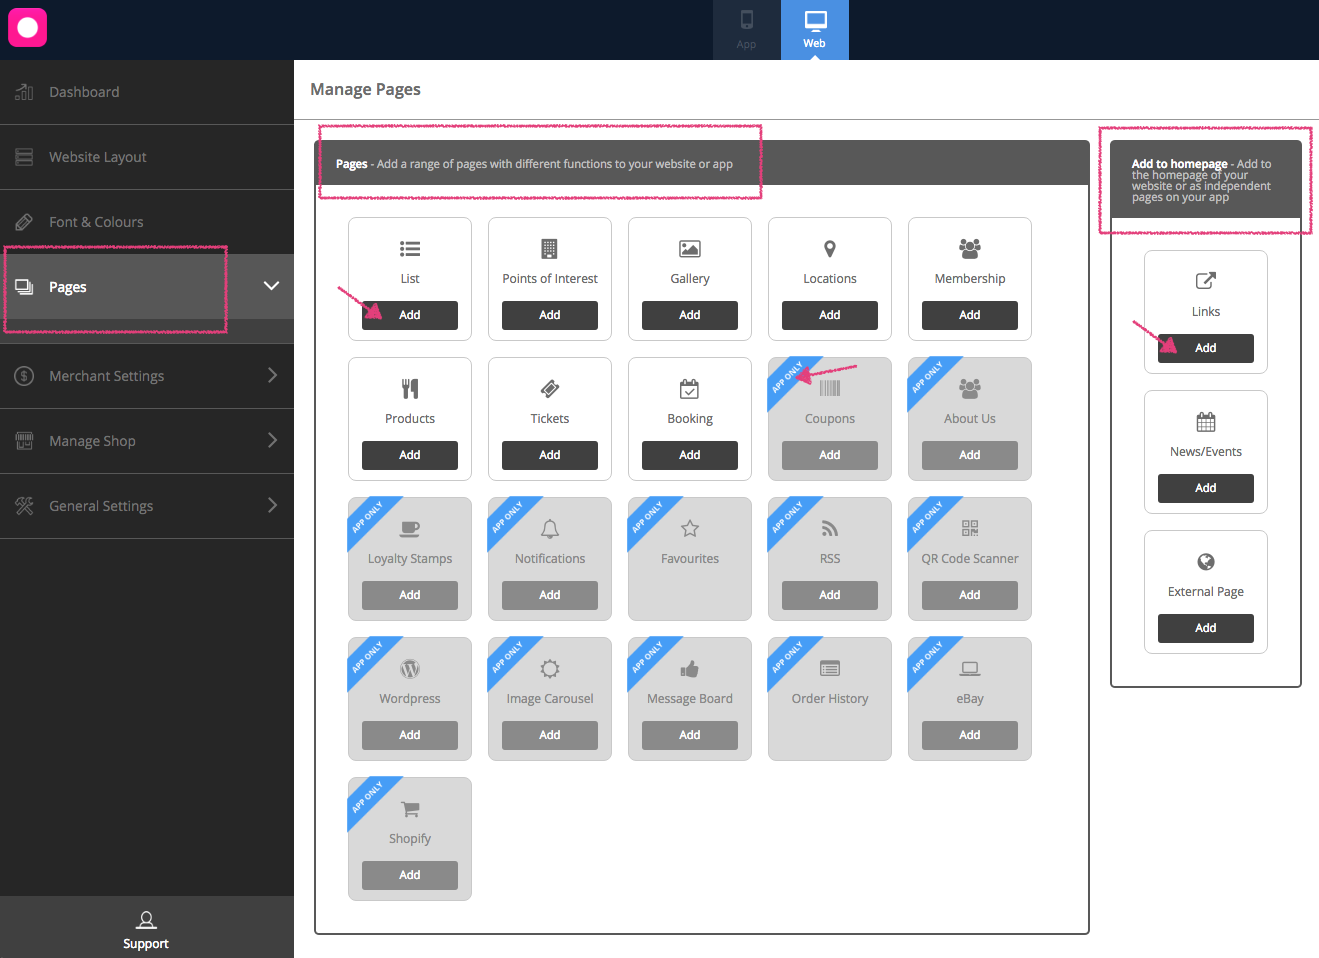
You’ll see the list of pages that you can add for your website here. Please click on ‘Add’ and they’ll appear on the navigation panel under Pages. Some pages can be added multiple times.
If you look to the far right, there is another section from which you can add features or pages to the home page of your website. These will appear as separate sections on the home page of your website.
The rest of the features or pages you’ve selected, will show up as separate tabs or in a collapsable list to the far right on the home page. This means, you’ll be able to click on a collapse button and then click on the page you’re looking to visit.
Click on ‘Close’ alongside ‘Pages’ in the navigation panel on the left once you’re thru adding pages to your website.
Come back to the Dashboard, and click on the ‘Add Contents’ link of Phase 3.
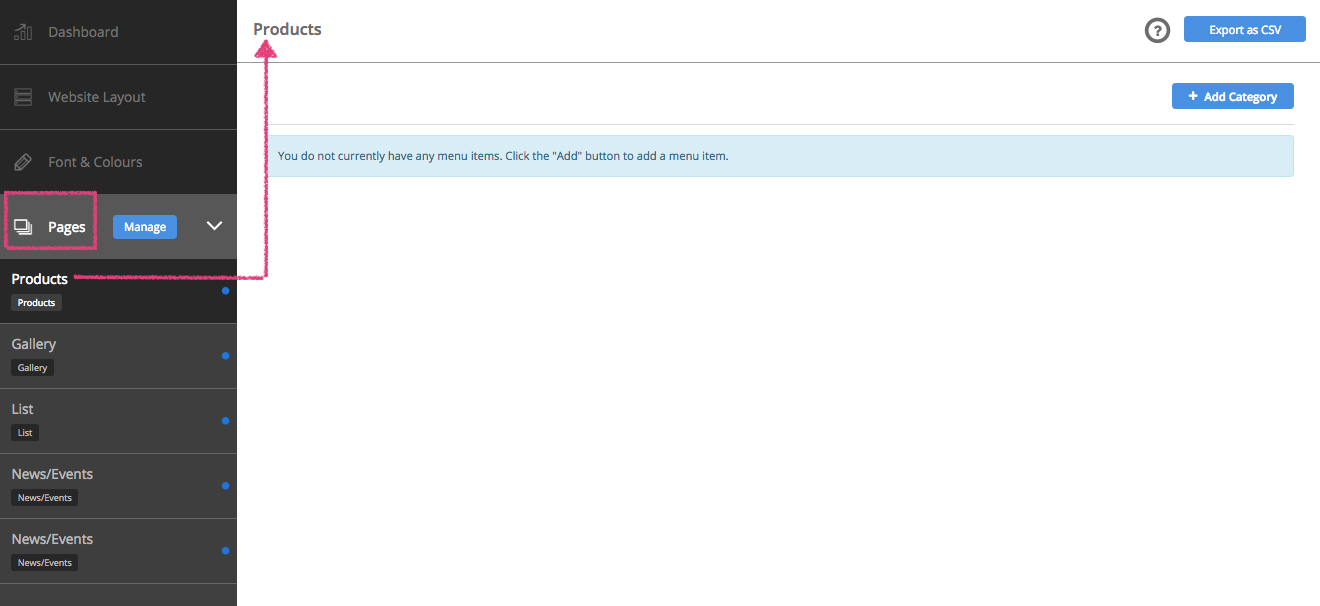
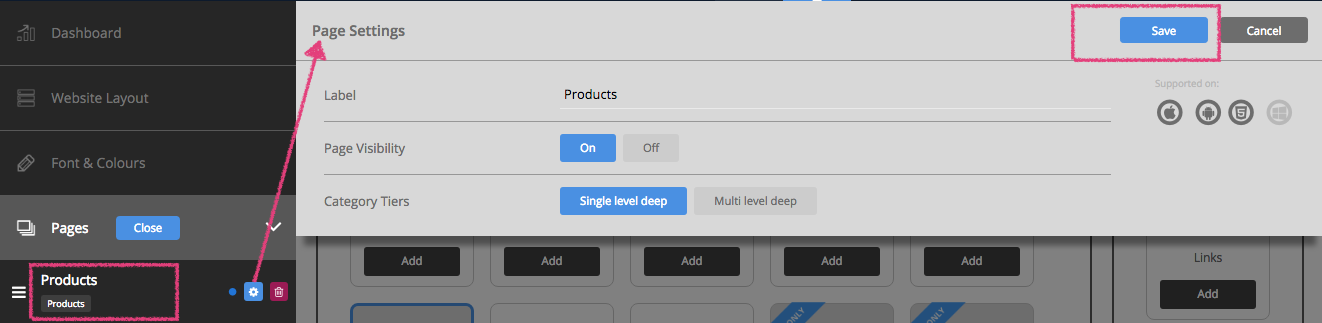
You’re now looking at the first page you’ve chosen.
Tip# You’re now looking at the Pages section on the navigation panel on the left of the CMS, and the pages you’ve selected, listed there below.
Start adding content to each page, by clicking on that particular page in the navigation panel. Don’t forget to click on ‘save’ after you’re done each page.
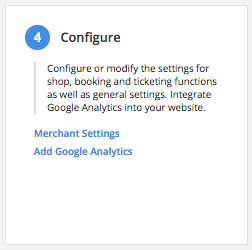
Configure
The next step is Phase 4. Come back to the Dashboard by clicking on the first button on the navigation panel of the CMS on the left.
Click on ‘Merchant Settings’ to add settings for Ticketing, Booking and Shop functions.
Tip# Look for Merchant Settings on the navigation panel on the left.
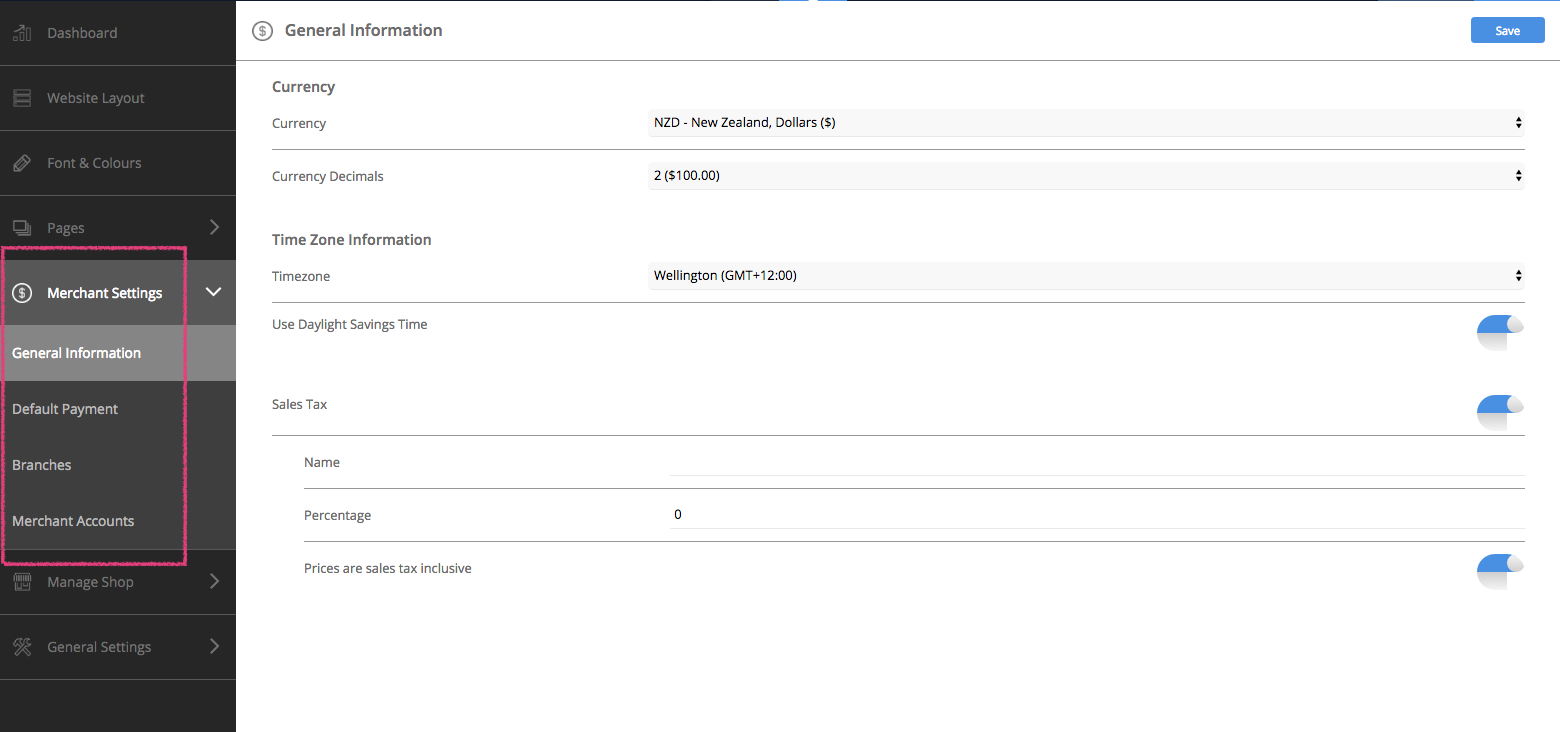
Please add General Information like the Time Zone, Currency details and Sales Tax info.
Choose payment methods and setup in the ‘Default Payment’ section.
Select merchant settings for each branch and also setup merchant accounts in this section.
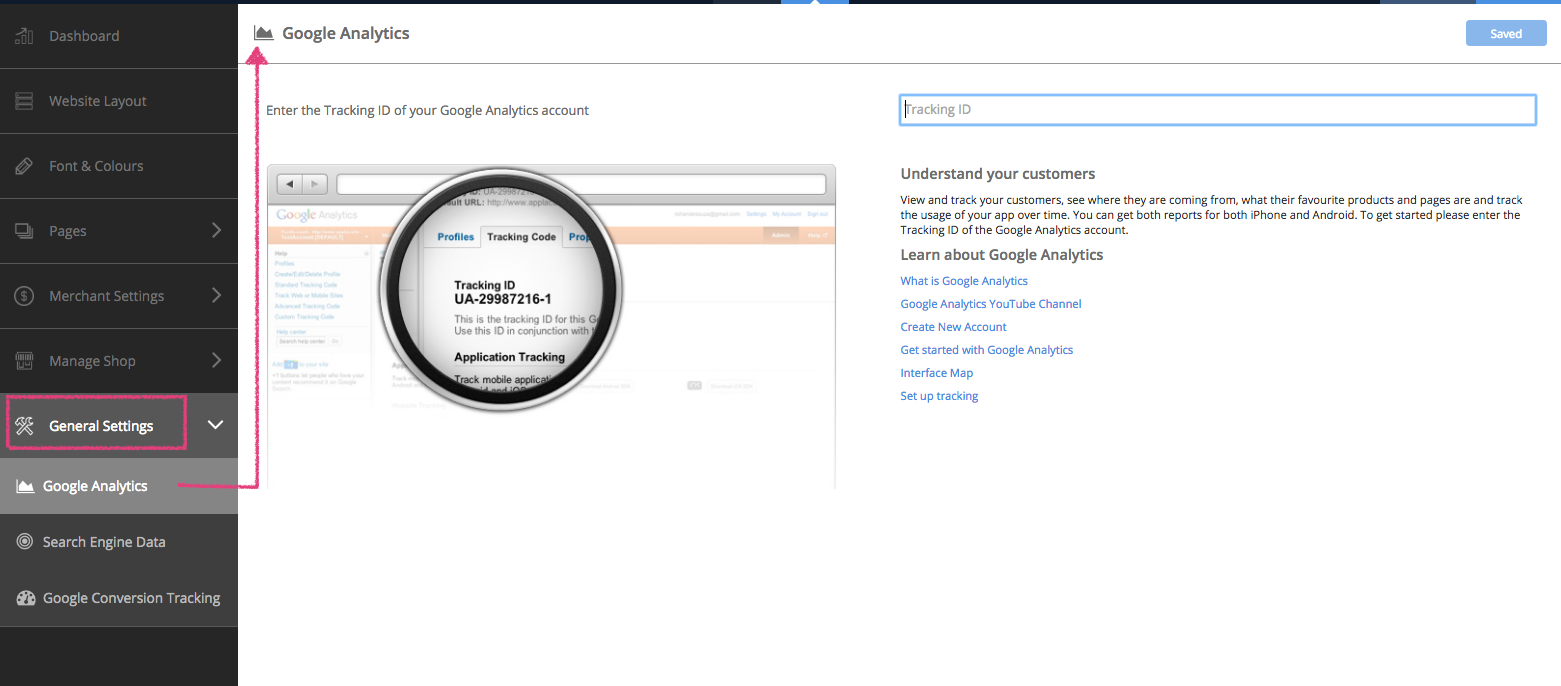
Click on ‘Add Google Analytics’ if you’re looking to integrate a Google Analytics ID with your website.
Tip# Look for General Settings in the navigation panel of the CMS. You’ll see the Google Analytics section below it.
You can also enable Search Engine Optimisation for your website, by filling in the ‘Search Engine Data’ section for the pages you want optimised.
Add Google Conversion Tracking for your website, by adding the necessary details to the ‘Google Conversion Tracking’ section under General Settings.
Publish
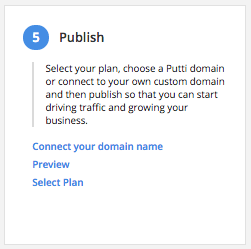
You’re on to the last phase ‘Publish’. Once again, please click on ‘Dashboard’ on the navigation panel to the left of the CMS.
In the Phase 5 box, please click on ‘Connect your Domain name’ to choose either a built-in Putti website or add a Custom domain name for your website.
If you want to use the built-in or Free Domain, you can rename it to something more user-friendly instead of the Business ID, in the Domain section. Click Update when you’re done and then save changes to the Website Layout section.

If you’ve bought a domain name that’s registered and want to use it for your website, click on Custom Domain. Click on ‘Add a Custom Domain’ and then enter the complete domain name. Hit Update and save changes to the Website Layout section.
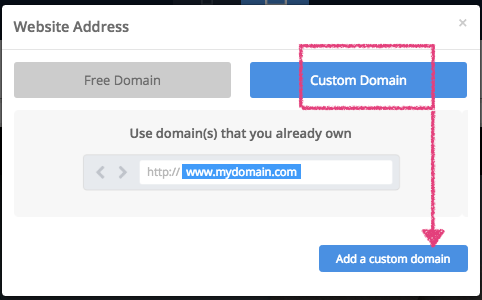
Tip# Please complete the steps to point your domain name to our site, before you add it as a Custom Domain to the Website Layout section on the CMS.
Come back to the Dashboard and click on the hyperlink ‘Preview’ in Phase 5, to be able to preview your website.
Tip# Notice the ‘Preview’ button at the top right of the CMS. This is another option you can use to preview your website before it is published. This is so you can come back to the concerned pages and make changes if required.
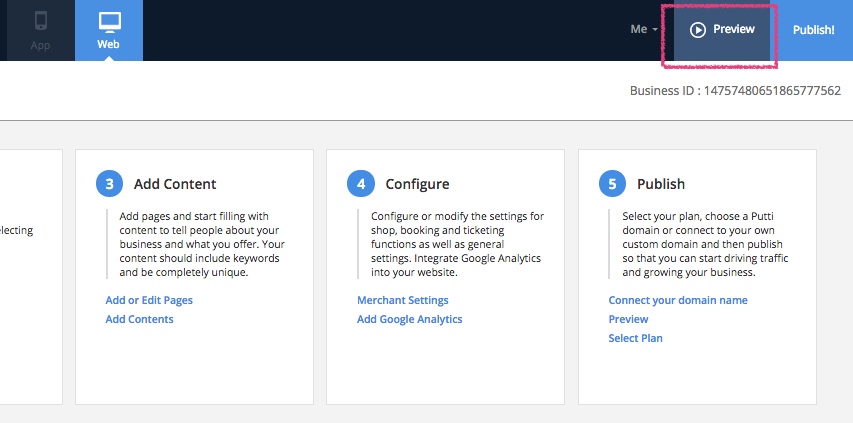
Is your website ready to go? Come back to the Dashboard and now click on ‘Select Plan’ to complete the final steps before you publish your website.
Here you can now choose a plan and enter a promo code if you have one to use.
Then enter Billing Details and make a payment if needed.
Your website is now ready!