
Merchant Settings
When setting up the Booking or Tickets pages, you will need to make sure you have an already established payment method (whether it’s DPS, paypal express etc) and have those details handy.
You can do this with Merchant Settings.
Log into your account and navigate to either the app or website view.
NOTE: Please remember that Booking is only available on the website.
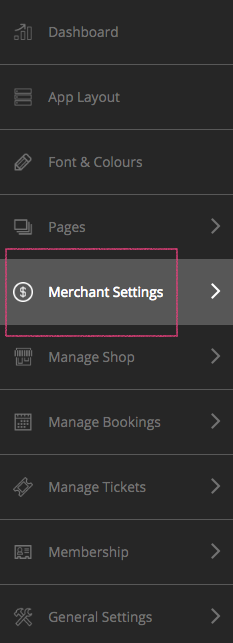
Now click on Merchant Settings in the navigation panel on the left.
What would you like to add?
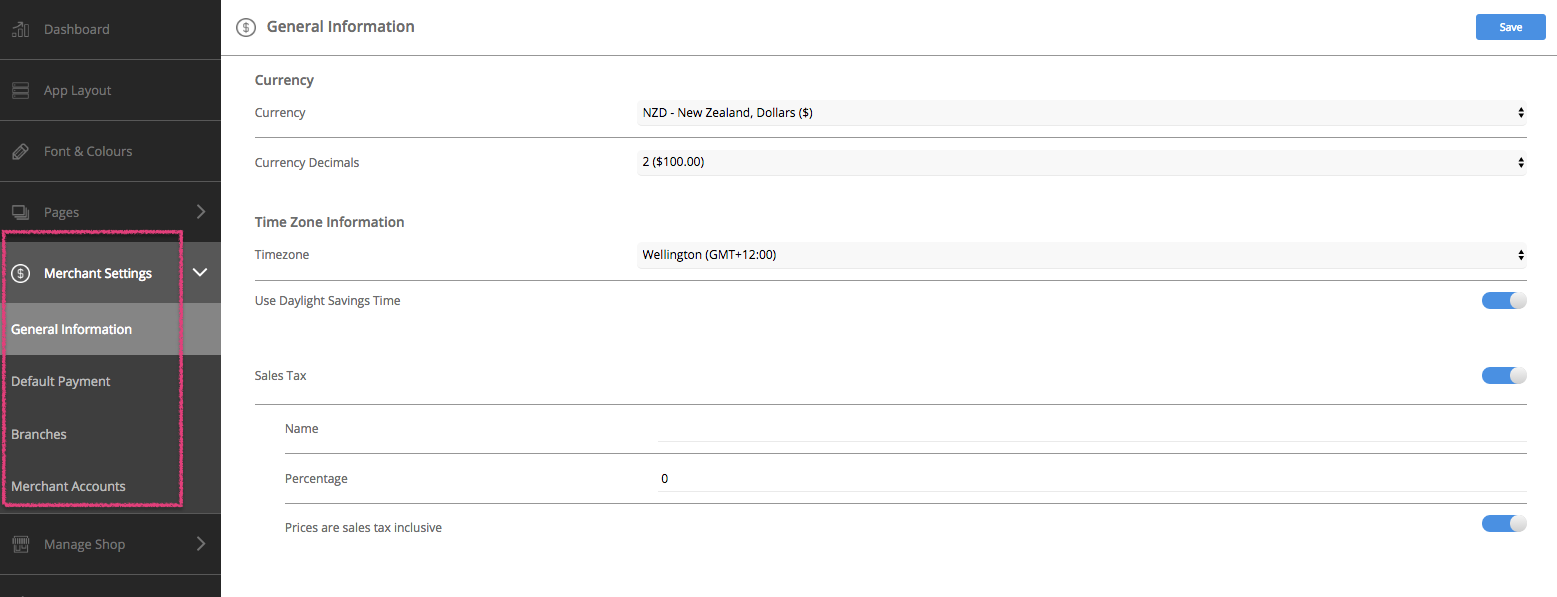
The General Information tab is where you will fill out all the generic information of your payment solution including currency and timezone information.
a). Select the currency you would like to primarily use for your payment solution.
b). Select how you would like your pricing decimals to be displayed by selecting the currency decimal.
c). Select your timezone. If your online ordering is only available for a certain period of time throughout the day, it will follow the timezone you have selected.
d). Select wether you would like to use daylight savings time.
e). Select Sales Tax and include a percentage of it as well as if you’d like the Price to include sales tax.
f). Press ‘Save’ once you have finished making changes to your General Information settings.
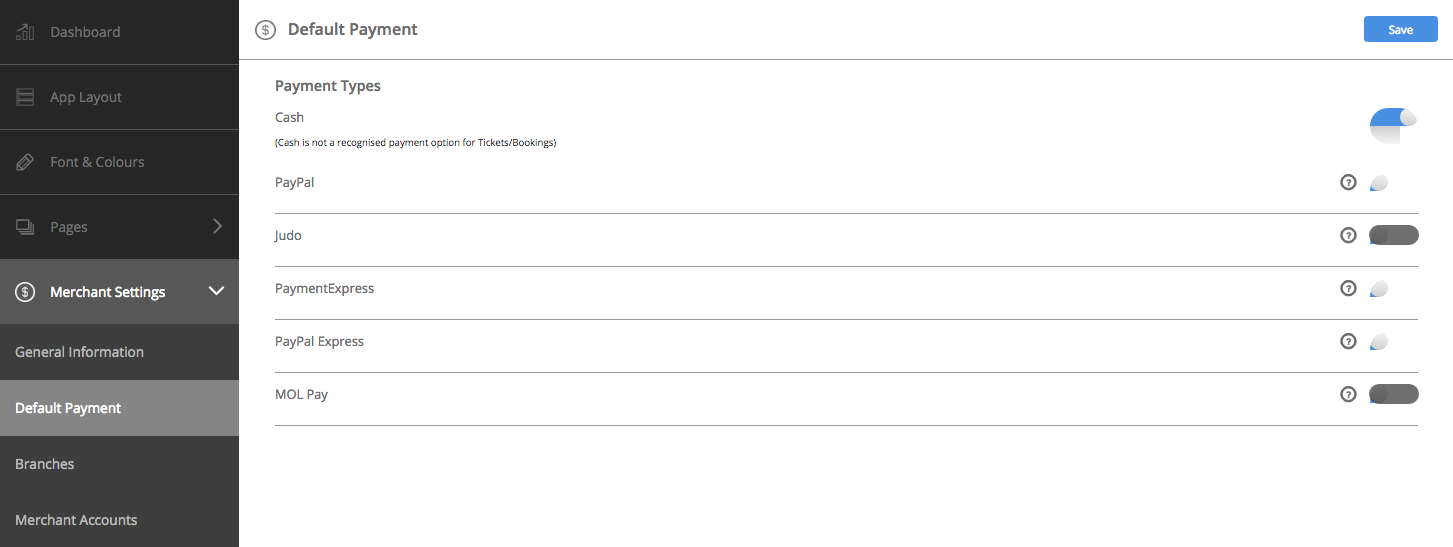
Navigate to the ‘Default Payment’ tab underneath the ‘Merchant Settings’ tab, on the side navigation panel.
Select the payment method you would like to use.
PayPal: If you have decided to use PayPal (available for App only) as your default payment method then enter your PayPal account number and Client ID. You may need to log in to your PayPal account to get this information (Hover over the question mark button for instructions on where to find the information).
PaymentExpress: If you have decided to use PaymentExpress as your default payment method then enter your account details. You may need to log in to your PaymentExpress account to get this information (Hover over the question mark button for instructions on where to find the information).
PayPal Express: If you have decided to use PayPal Express as your default payment method then enter your account details. You may need to log in to your PayPal Express account to get this information (Hover over the question mark button for instructions on where to find the information).
Press ‘Save’ once you’ve finished making changes.
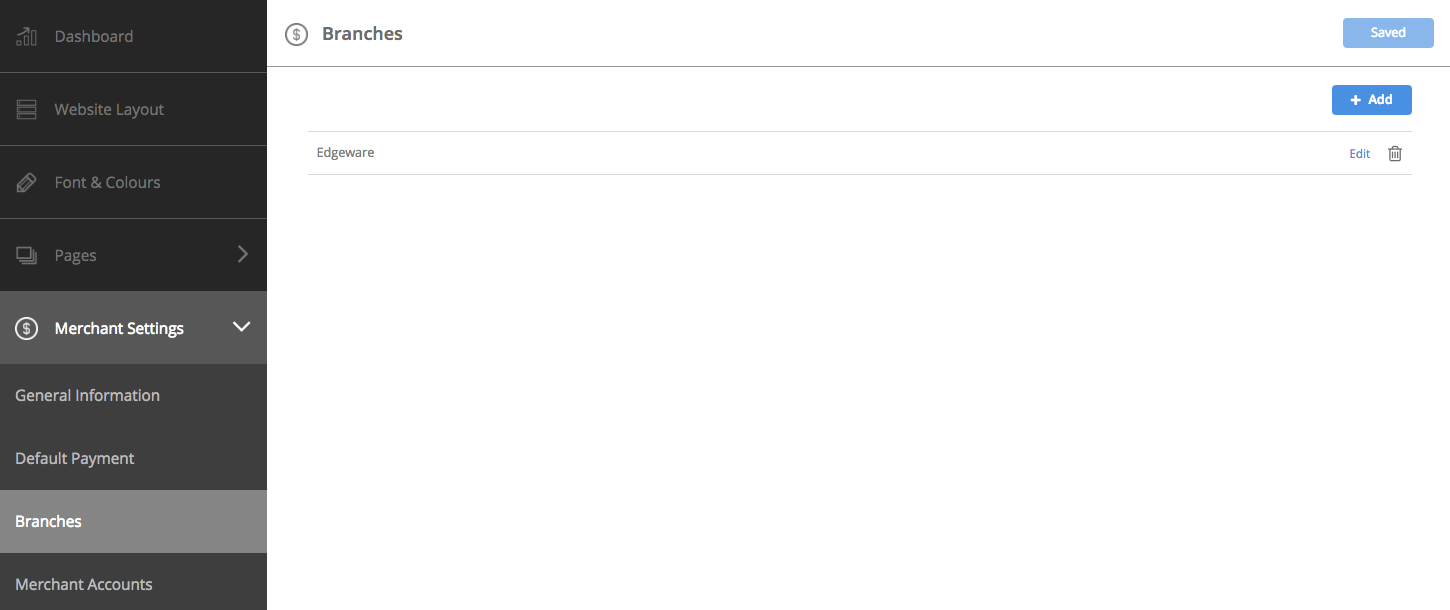
Navigate to the ‘Branches’ tab underneath the ‘Merchant Settings’ tab, on the side navigation panel.
The ‘Branches’ tab is where you set up your Branch information. You need to have at least one branch set up for your online ordering to work. Press ‘Add’ to get started.

Under ‘Branch Details’ fill out the general information for your branch.
Notice the Branch Code that already exists. This will show up if you have opted for Notifications via the Merchant App. You’ll need to add in a 4 digit password. The code and password will need to be used on the Merchant app.
Save changes at the top right of the page.
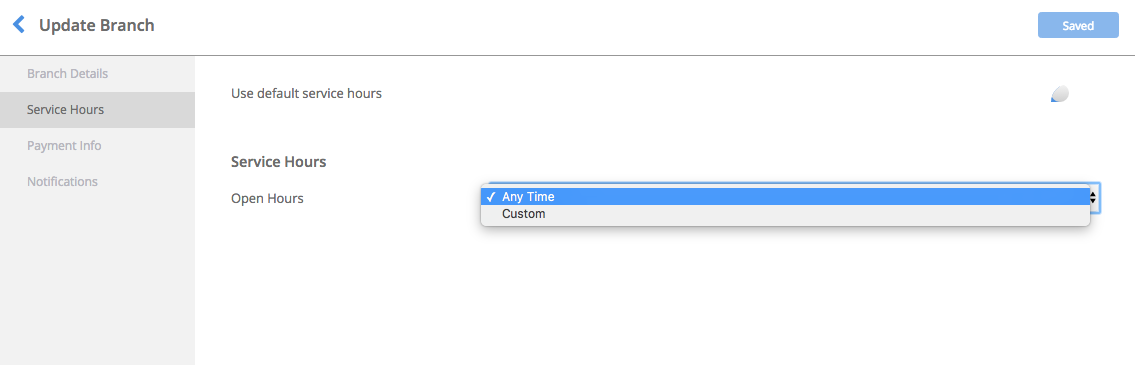
Navigate to the ‘Service Hours’ tab to set up the opening hours for your branch.
If you would like your branch to have it’s own custom opening hours then select ‘custom’ on the drop down menu
Save changes at the top right of the page.
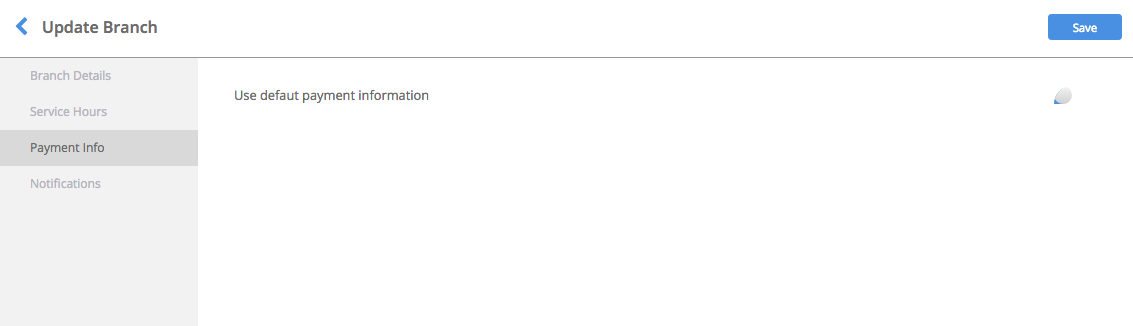
Set default payment for the branch by sliding the button alongside. When enabled, it will show in blue.
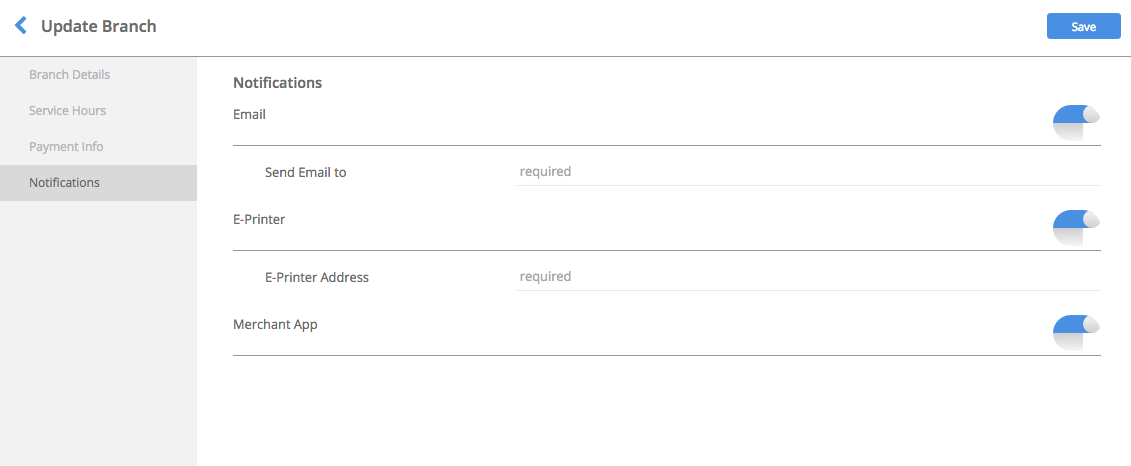
Navigate to the ‘Notifications’ tab. Select wether you would like to receive payment notifications via email, e-printer or merchant app.
Once you have finished adding the information to your branch, click save
Note# The branch code to the Merchant App for each branch will be listed in the Branch Details section.
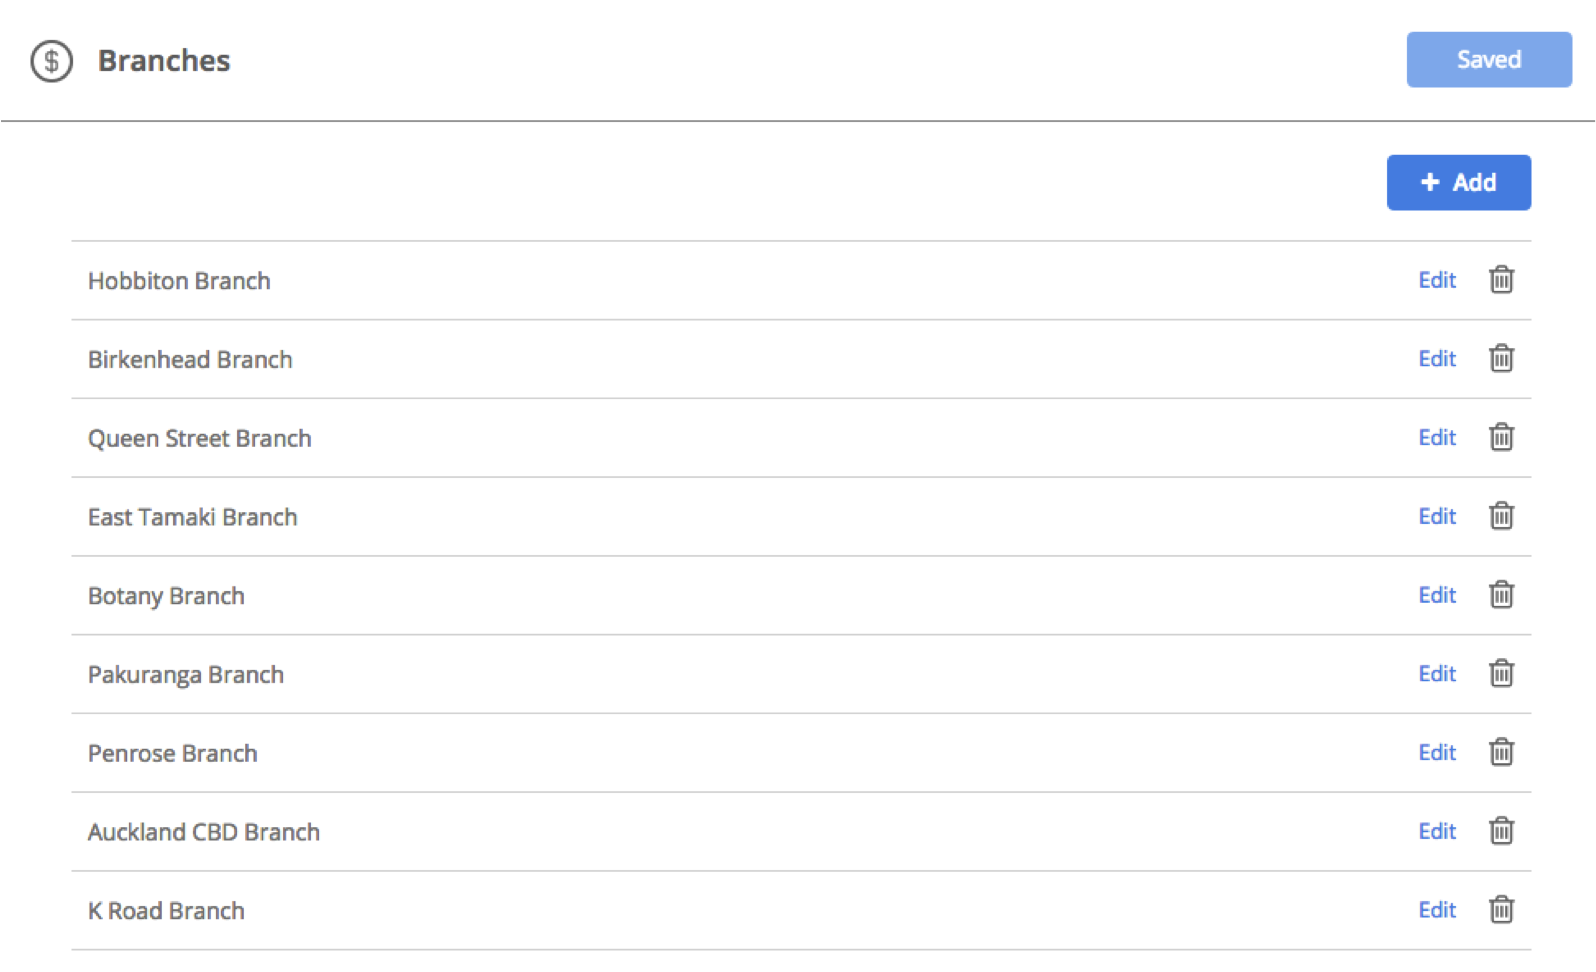
Once you have saved your branch it will appear underneath the ‘Branches’ section
You can edit or delete a branch at any point by pressing the edit or trash icon adjacent to each branch
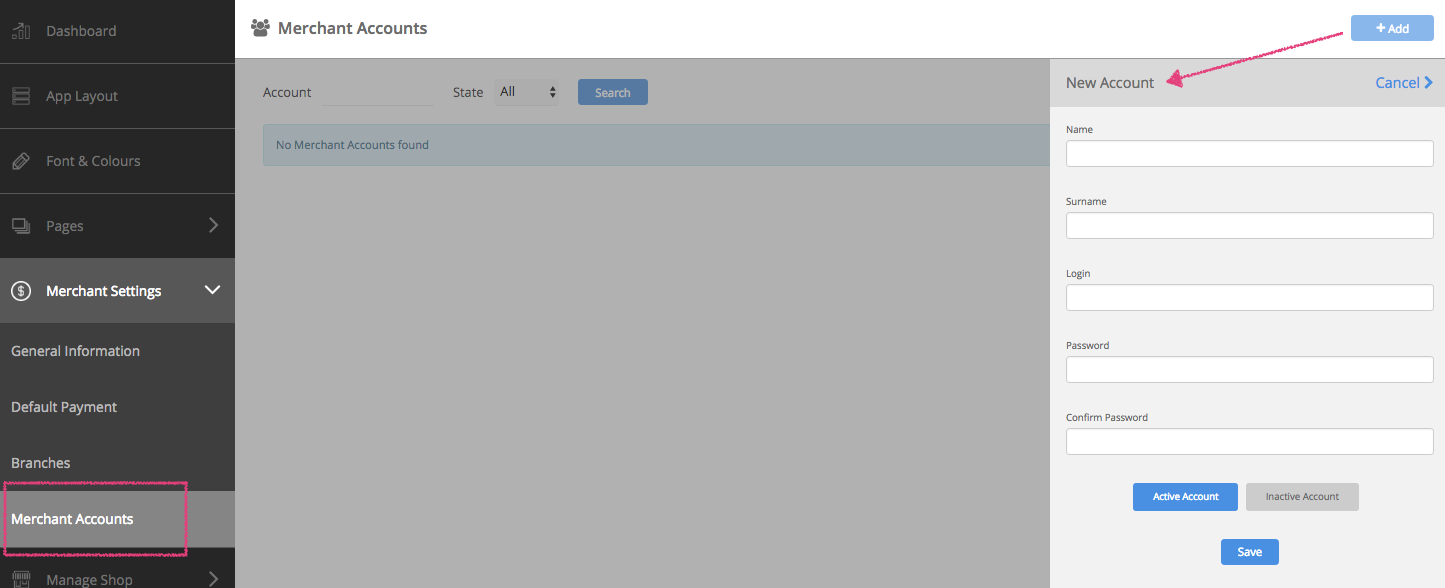
You’ll be able to setup merchant accounts for your staff to be able to login and check the Merchant app.
Just click the ‘add’ button on the top right of the Merchant Accounts section and fill in their details and login information, you would like them to use.
These can be set to active and inactive as well as and when needed.