
Getting started with your Putti App
Sign Up
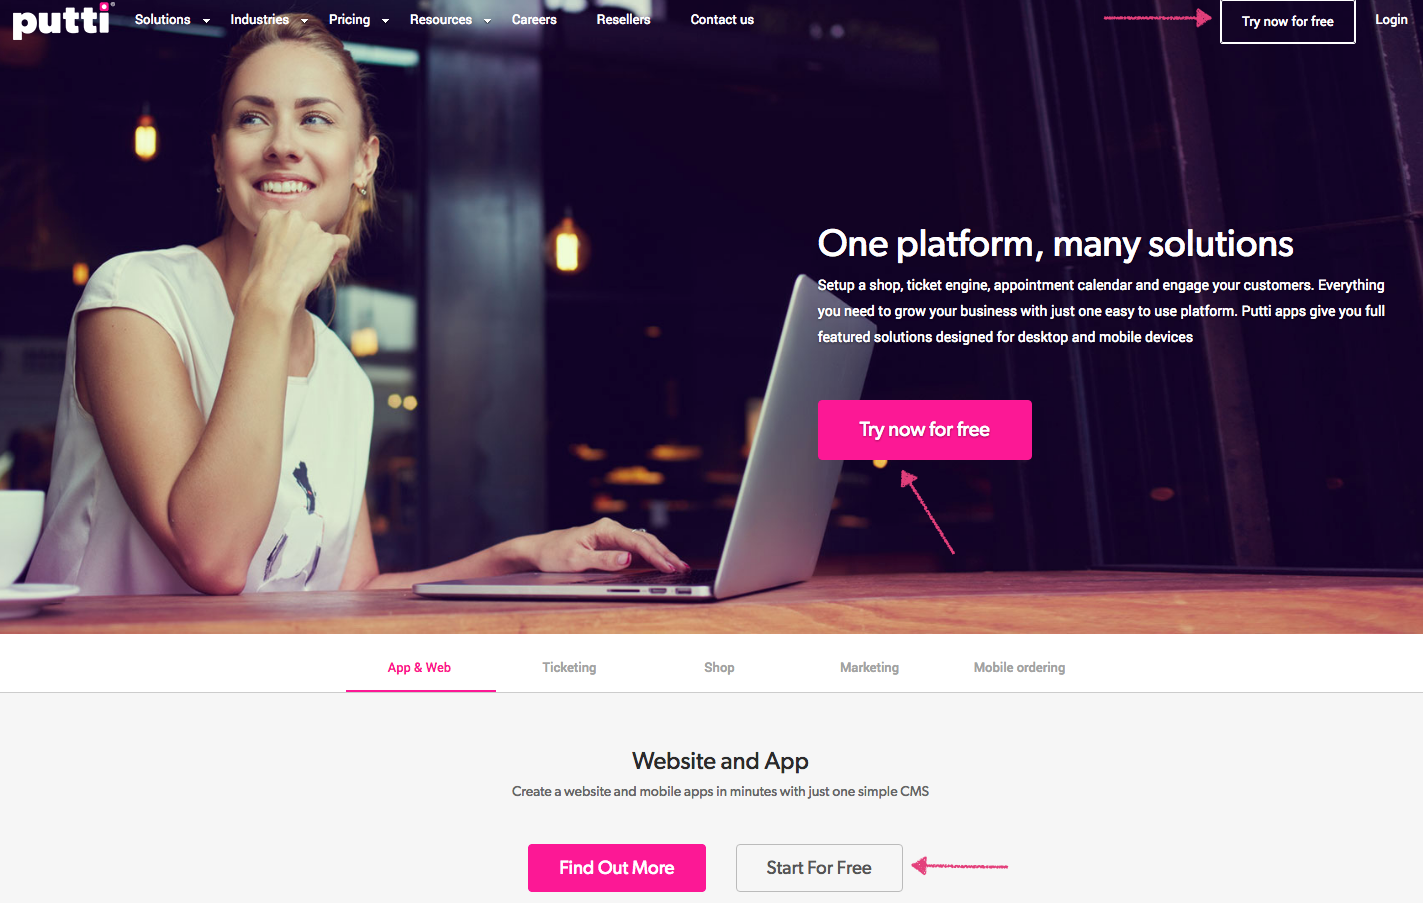
Please go to the Putti website at www.puttiapps.com and click on ‘Try now for free’ or ‘Start for Free’.
You can choose a template, depending on your Business type.
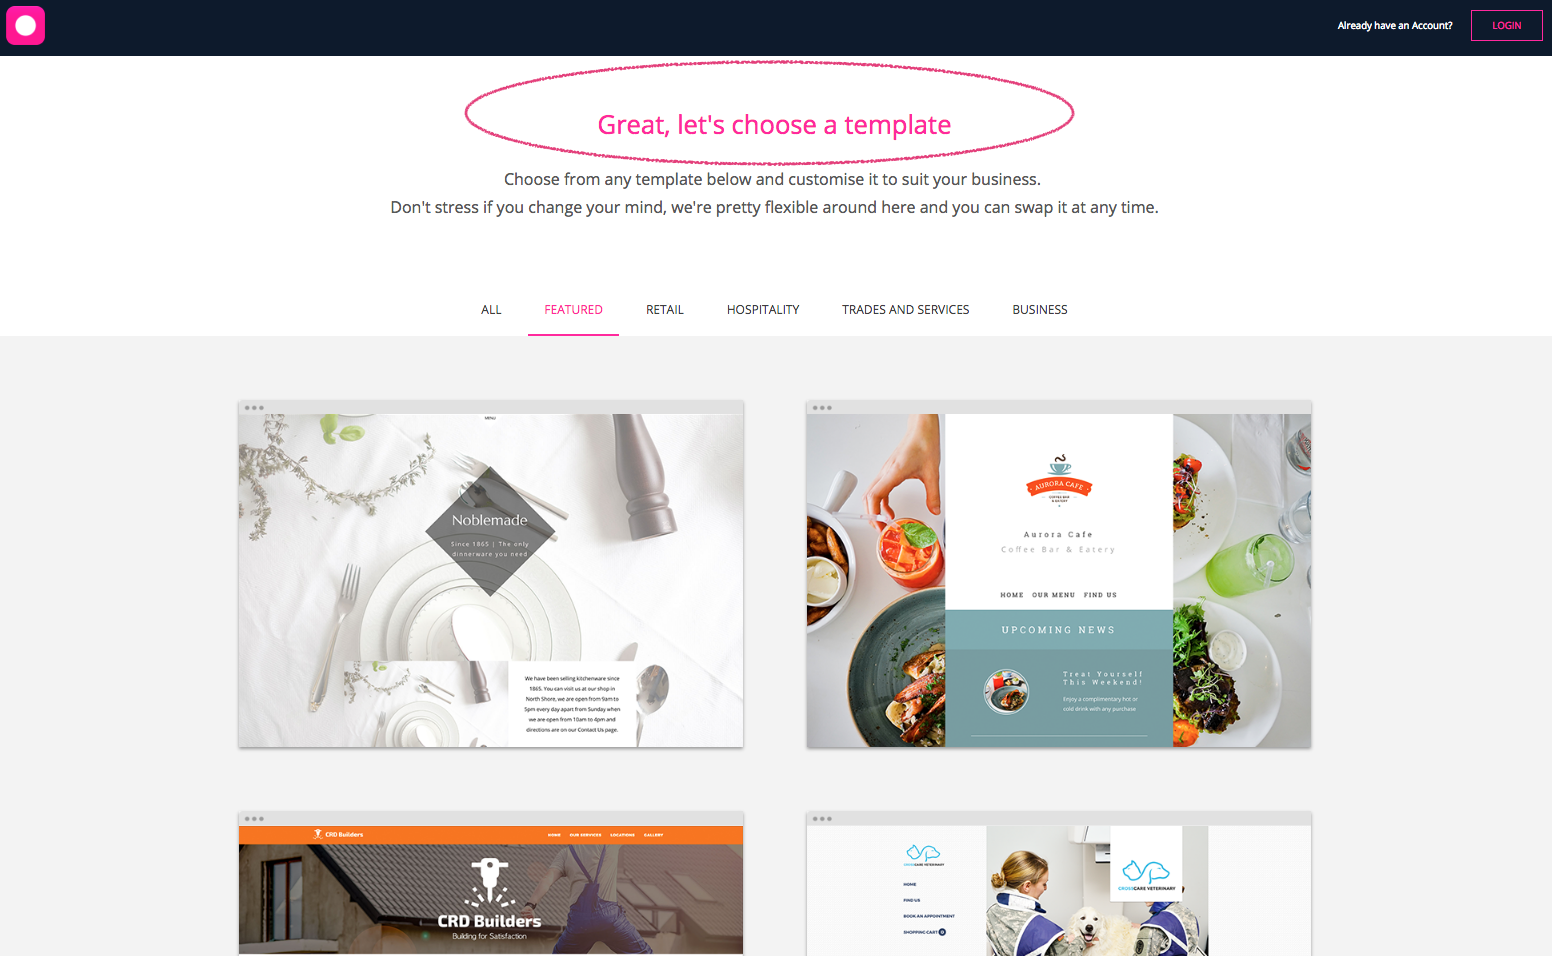
If you’re not sure, you can always start from the basics. Just scroll to the bottom of the page and then click on the hyperlink ‘Try building from scratch here’.

You’ll need to now enter a valid email address.
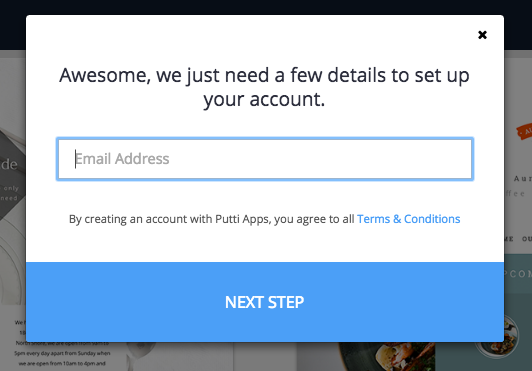
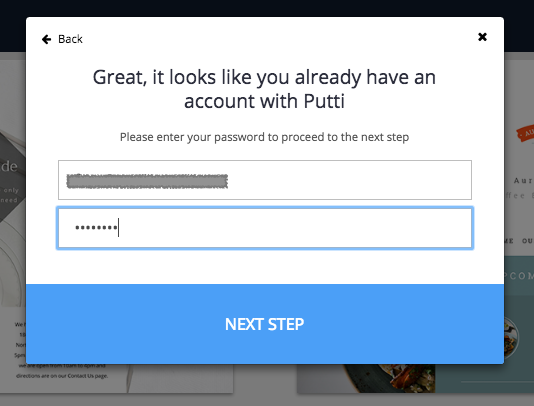
Please click on ‘NEXT STEP’ to enter an 8 digit password of your choice.
Important# Do make sure to enter your email address correctly. It should also be an active one.
Click ‘NEXT STEP’
Enter the details of your Business and then click on ‘Start Building’
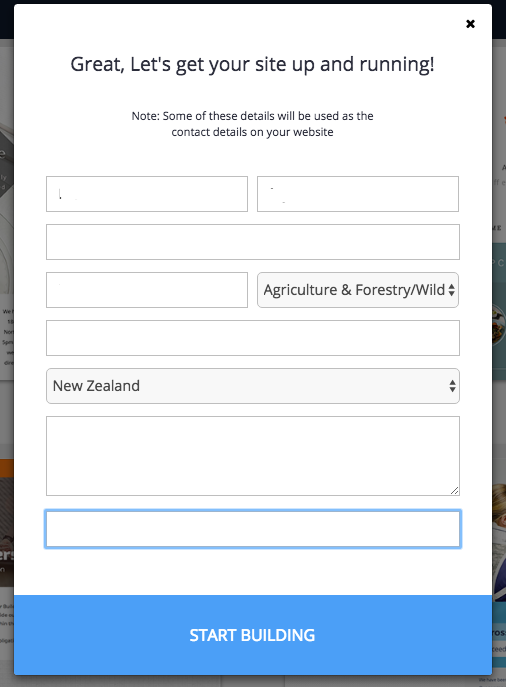
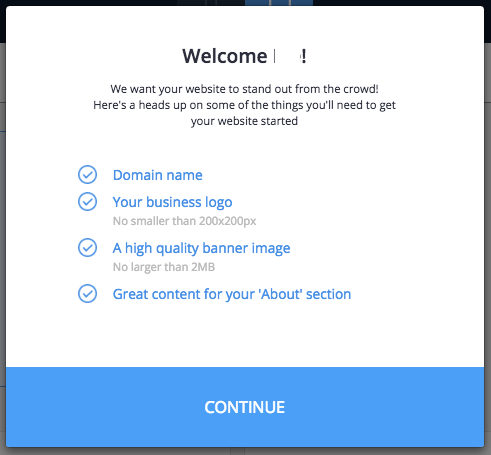
You’ll next see a check list of what you need, to be able to setup the basics of your website (this is good information if you’re setting up your Putti website).
Please setup your time zone and and choose currency.
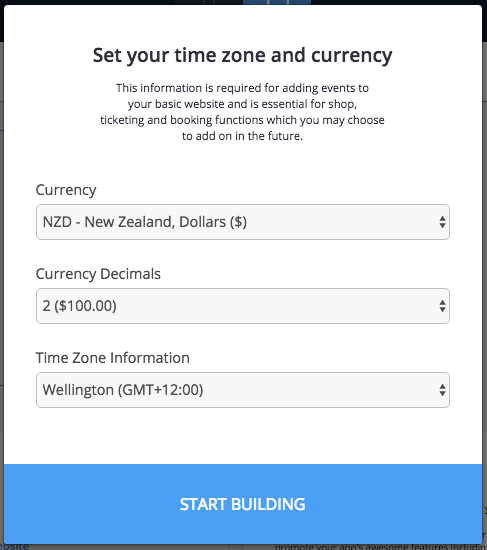
Then click ’Start Building’.
You’re now signed up!
The first thing you see on the CMS or Content Management System, is the Dashboard.
With the all new Dashboard, you’ll be able to follow simple step by step instructions and start building your app.
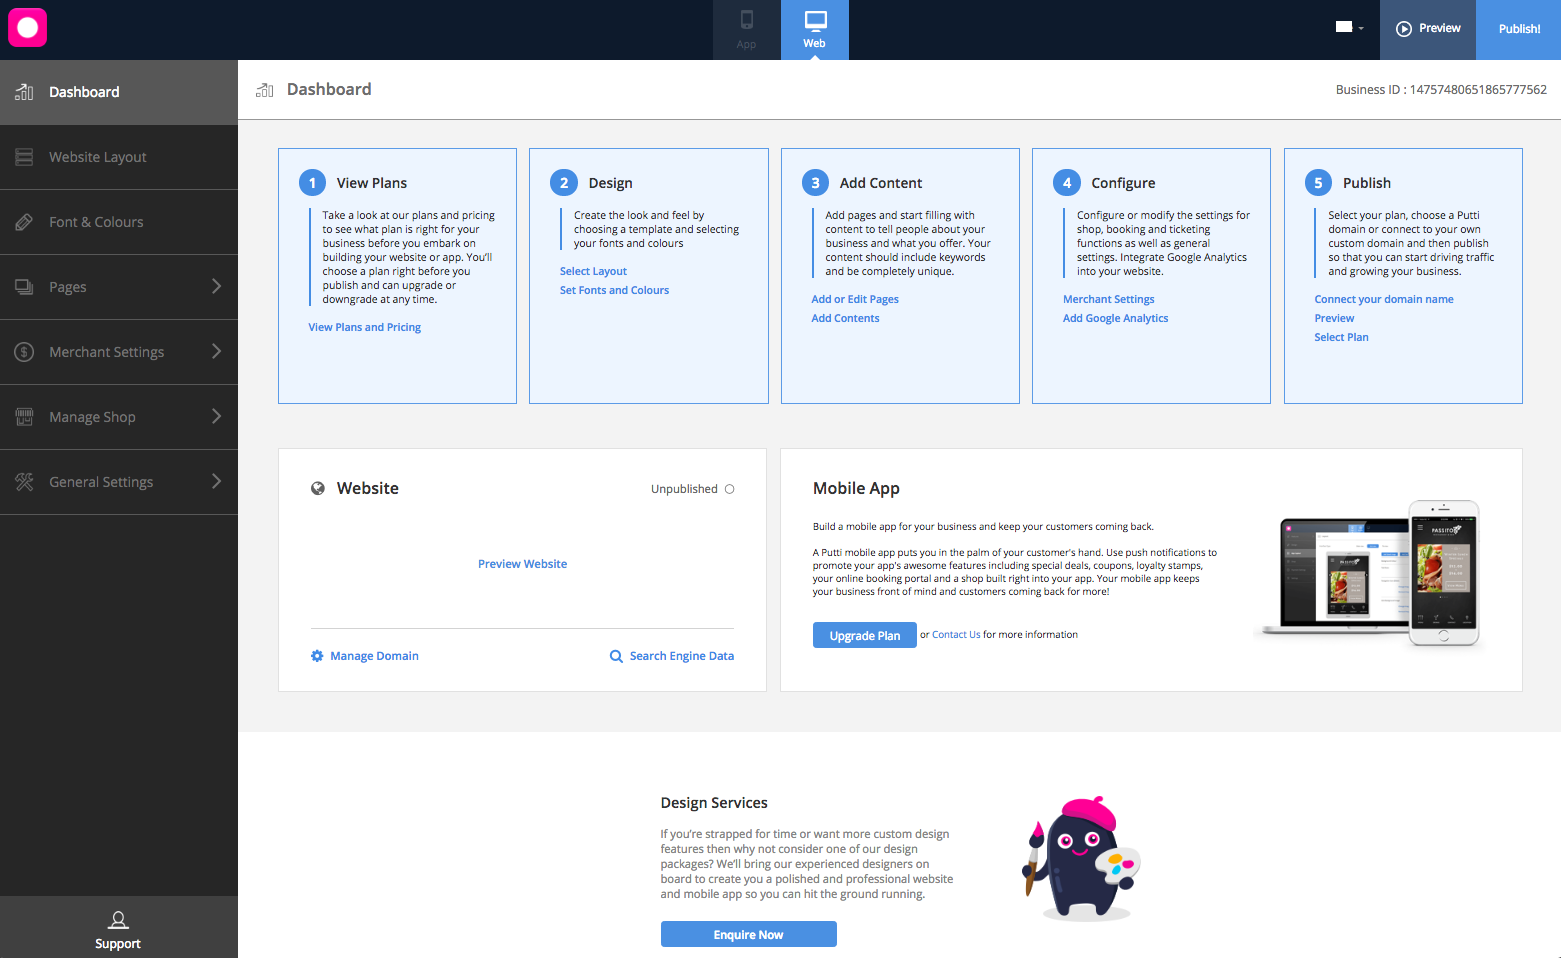
View Plans
Here you’ll be able to view Plans and Pricing by clicking on the hyperlink.
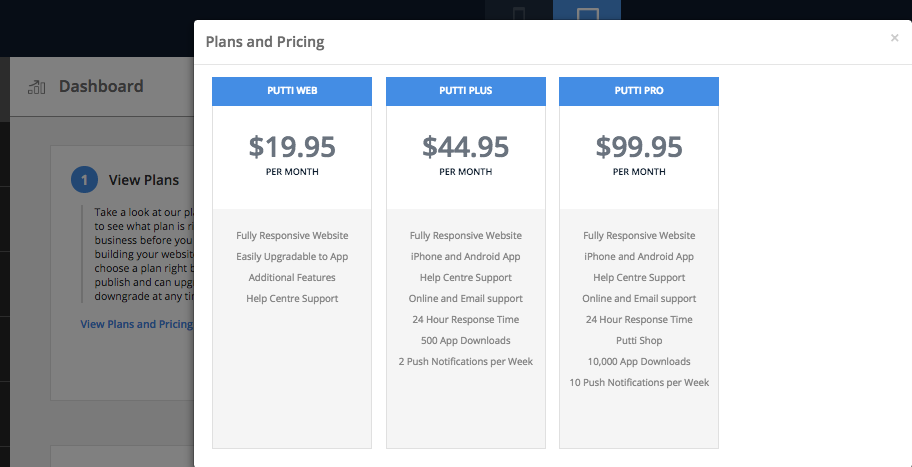
You can check out what plan would be best for you.
Of course, you will be only be able to choose the plan you want, when you’re publishing your app.
Design
Click on ‘Select Layout’ to be able to create the look and feel of your app. You’re now looking at the App Layout section.
Tip# Look for ‘App Layout’ in the navigation panel on the left of your CMS.
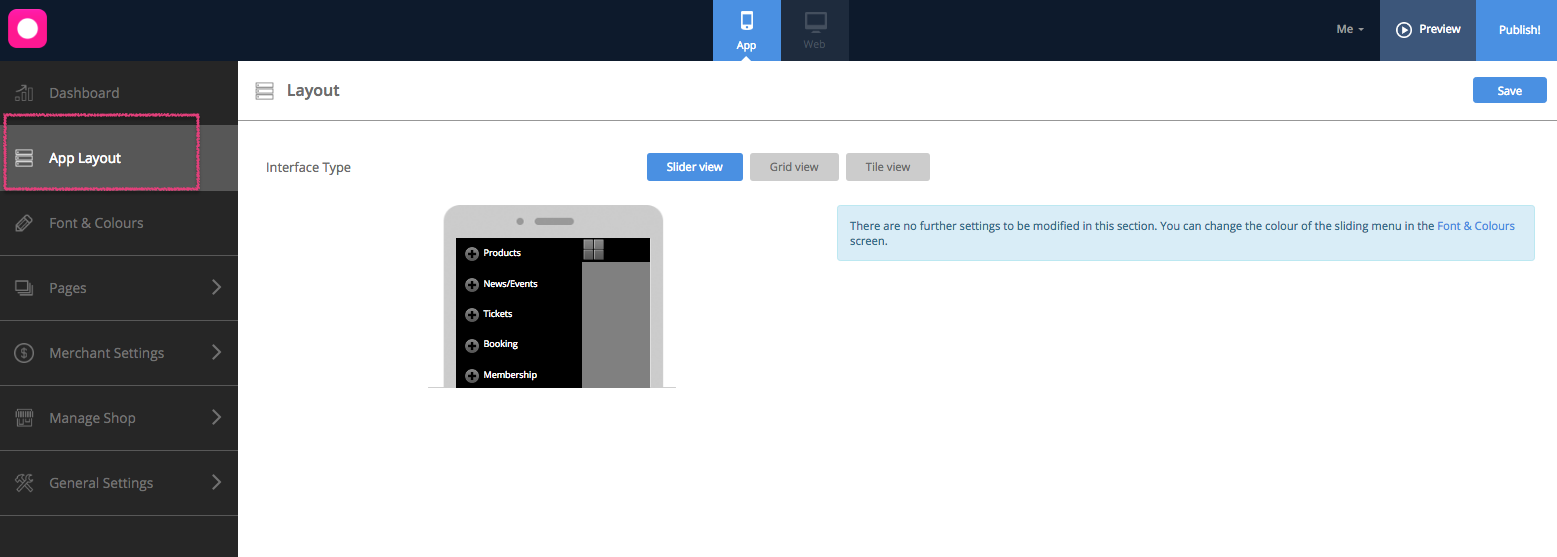
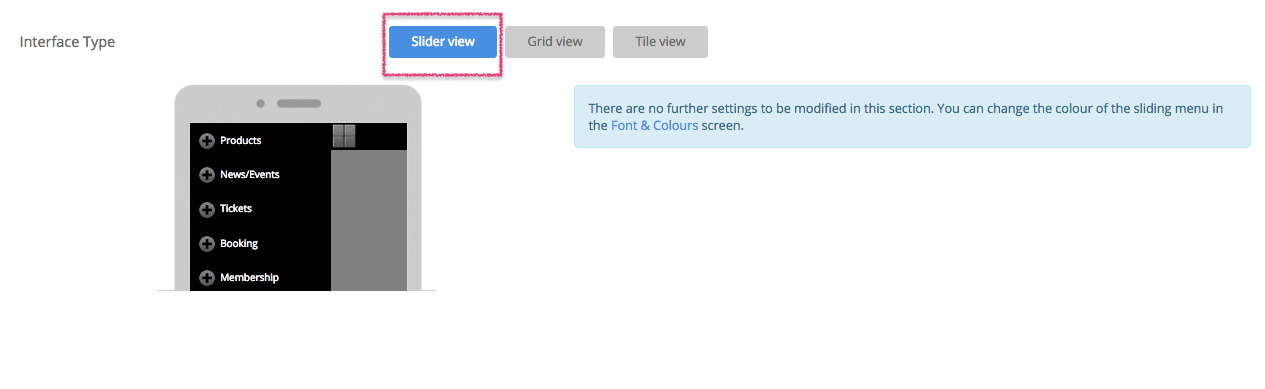
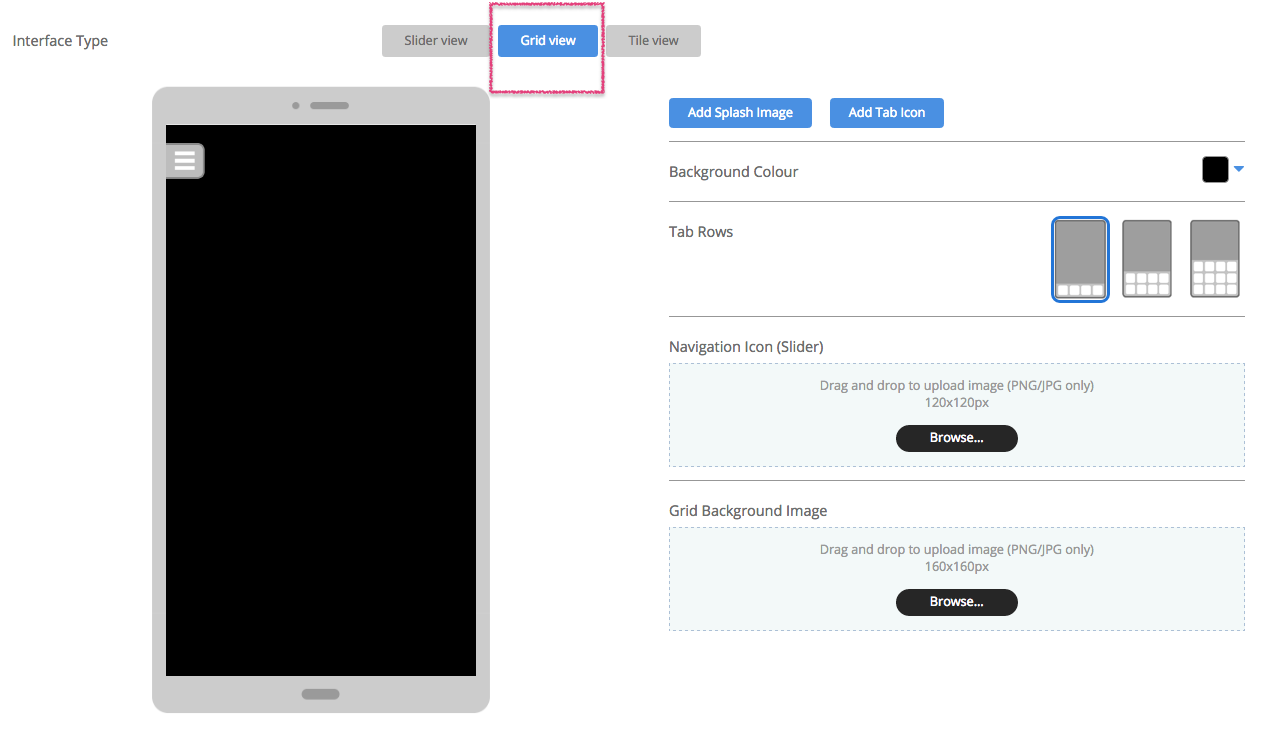
You’ll require to choose an Interface Type. You may choose from 3 – Slider View, Grid View and Tile View.
If you’re going with the Slider View, you don’t need to make changes here. Just save changes to the section.
Choosing Grid View, would mean, you’ll need to add a Splash Image and tab icons as well. Select how many tab rows you need. You may add a Navigation icon and a Grid Background image as well. Click inside the app simulator alongside, to be able to link the splash image and tab icons to particular pages or featured content within the app.
With the Tile View, you’ll be able to add different sized Tiles to create a mosaic effect. You can add an image for each tile and also link it to content or pages within the app. Once that’s done, choose a background colour to have a contrasting effect that makes the tiles stand out. Pick an image for your Navigation slider icon.

Please do not forget to hit the ‘save’ button to the top right, every time you’re making changes.
After selecting an Interface Type and customising it, please save changes to the App Layout section, by clicking on ‘Save’ at the top right of the CMS window.
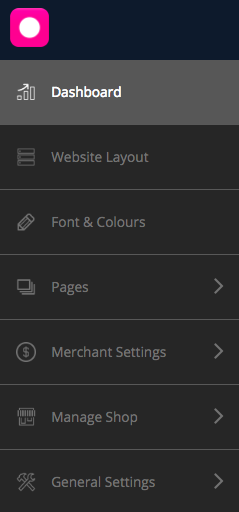
Come back to the Dashboard by clicking on the first tab of the navigation panel on the left that reads ‘Dashboard’.
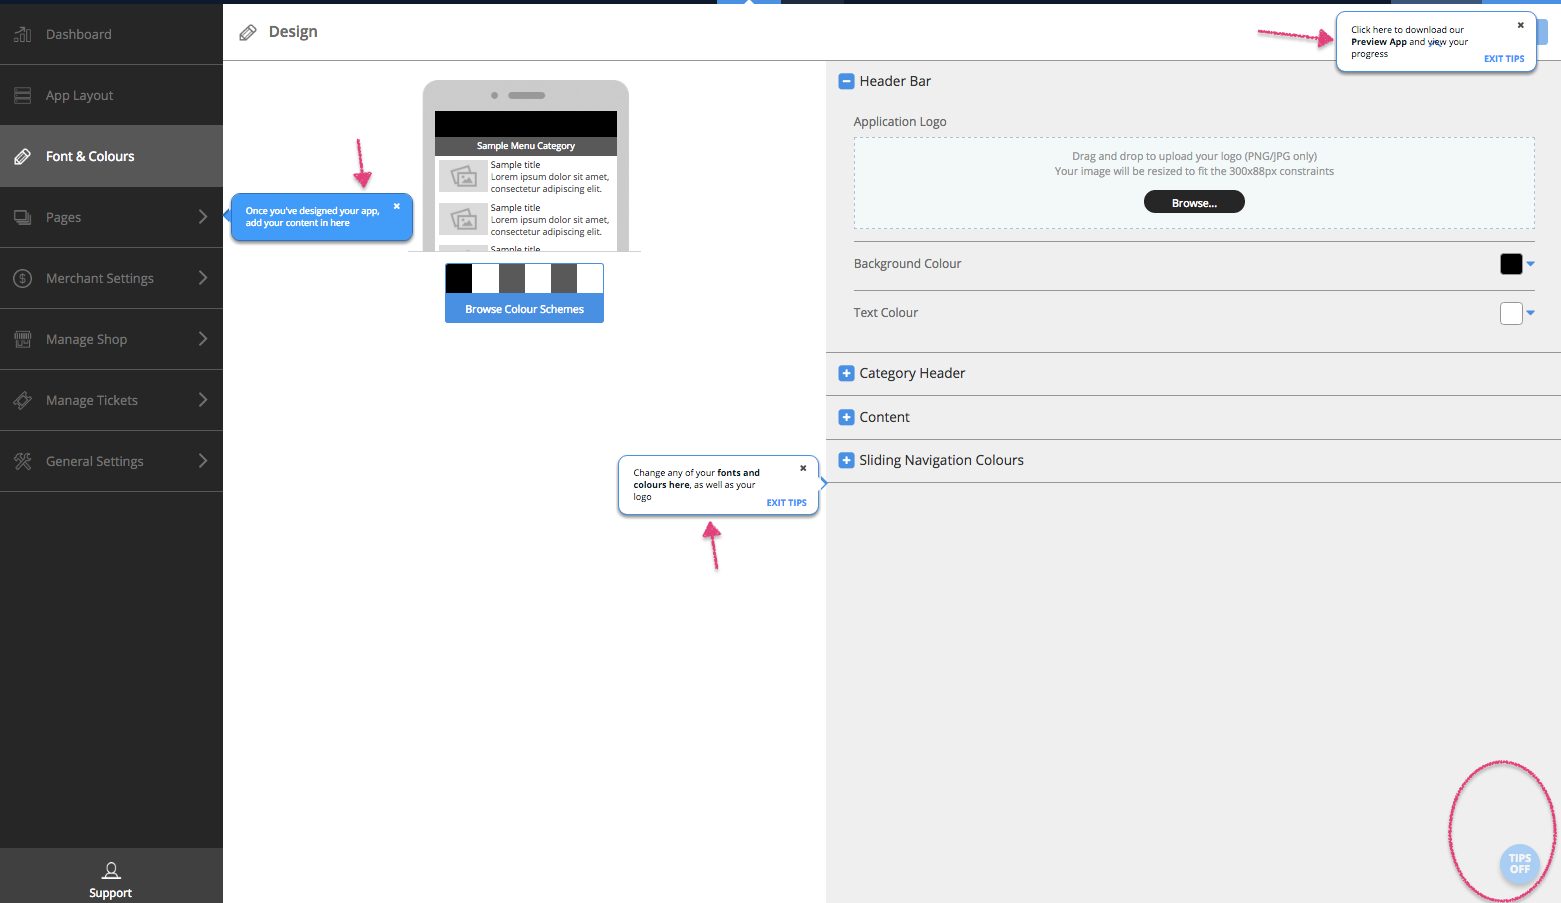
Click on ‘Set Fonts and Colours’ to setup the theme.
Tip# You’re now in the ‘Fonts & Colours’ section of the CMS, if you look at the navigation panel along the left of the CMS.
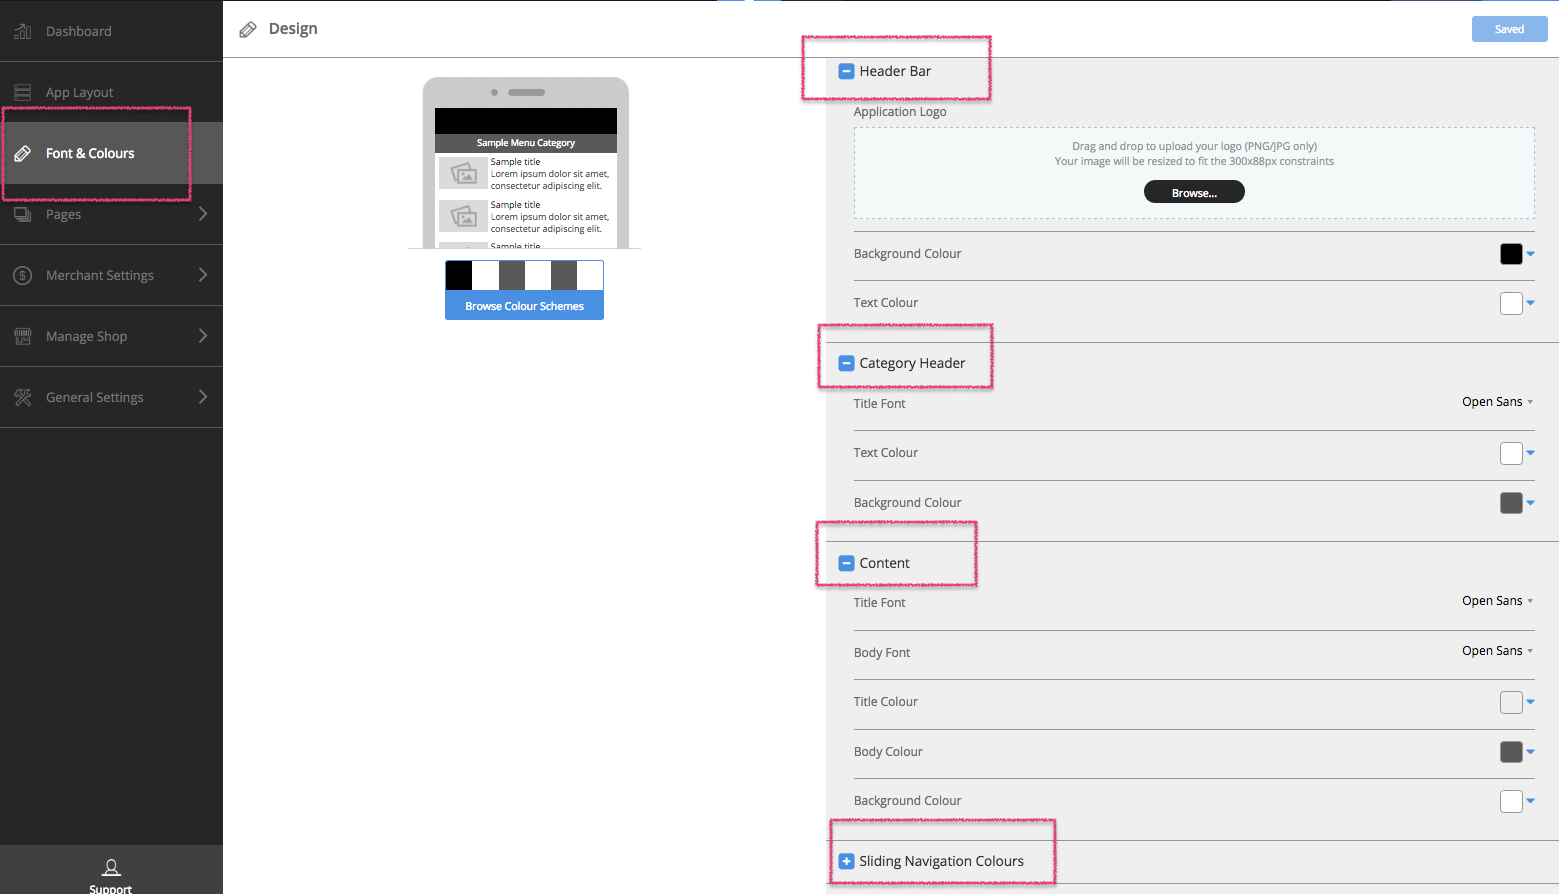
Click on ‘Browse’ and add an application logo for your app.
Choose colours for the background and text in the Header Bar, Category Header section and Content for your website. Simply click on the drop down list for the font you like for that particular section. For the colours, you can choose a shade by moving around the tiny circle in the colour palette or if you know the shade, simply enter the six digit code for it in the box with the ‘#’ on the left of it.
Don’t forget to hit ‘save’ when you’re done making changes.
Click on the ‘TIPS ON’ button to the bottom right of the screen.
Once it’s on, you’ll see tool tips coming up in little comment boxes.
This will help guide you with what steps to take and what to do next on the CMS.
Add Content

Please click on ‘Dashboard’ for Phase 3 of setting up your app.
Now that you’ve got the basics for your app all sorted out, it’s time to add some pages and then add some content to them.
Click on ‘Add and Edit Pages’ in the ‘Add Content’ Box.
Tip# You’re now looking at the Pages section. Look for ‘Pages’ in the navigation panel along the left of the CMS.
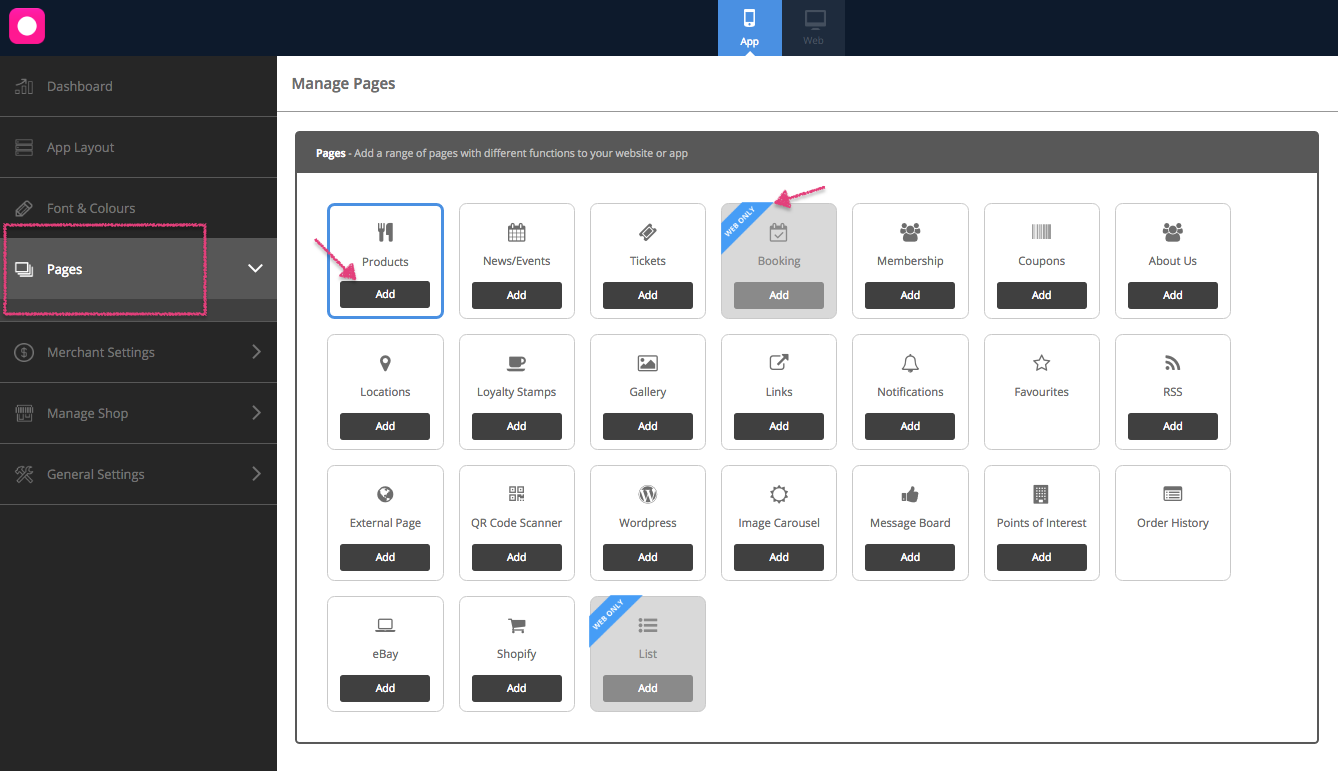
You’ll see the list of pages that you can add to your app here. Please click on ‘Add’ and they’ll appear on the navigation panel under Pages. Some pages can be added multiple times.
Click on ‘Close’ alongside ‘Pages’ in the navigation panel on the left of the CMS.
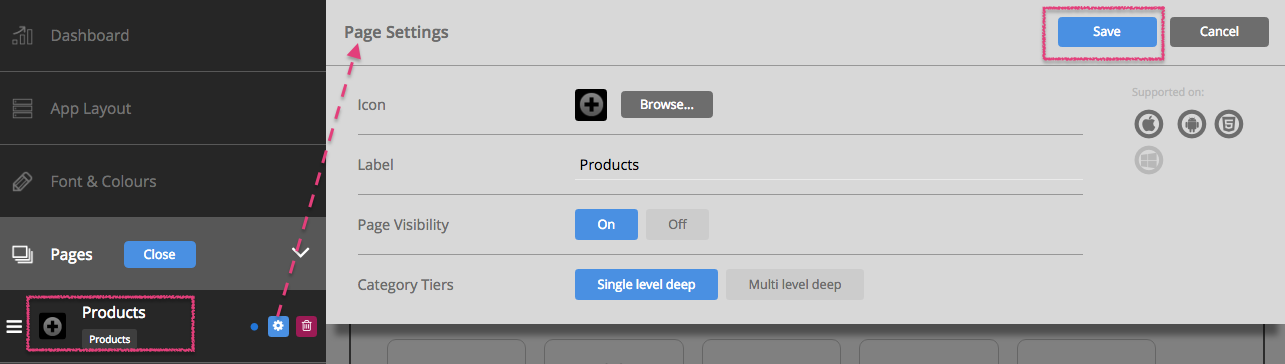
Click on the ‘cog’ along the side of each page, under ‘Pages’ on the navigation panel to the left of the CMS.
You can rename the Page, choose a page icon or upload your own, and choose page visibility too. Don’t forget to save changes to this section.
Come back to the Dashboard, and click on the ‘Add Contents’ link of Phase 3.
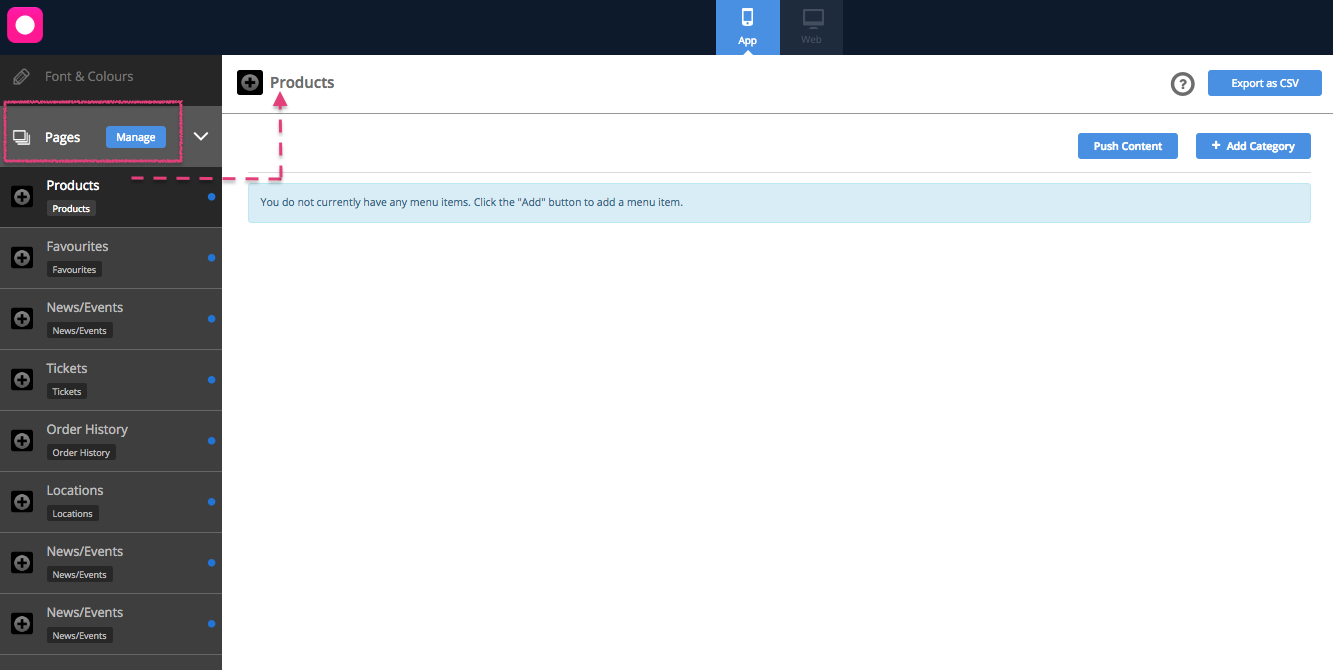
You’re now looking at the first page you’ve chosen.
Tip# You’re now looking at the Pages section on the navigation panel on the left of the CMS, and the pages you’ve selected, listed there below.
Start adding content to each page, by clicking on that particular page in the navigation panel. Don’t forget to click on ‘save’ after you’re done each page.
Configure
The next step is Phase 4. Come back to the Dashboard by clicking on the first button on the navigation panel of the CMS on the left.
Click on ‘Merchant Settings’ to add settings for Ticketing and Shop functions.
Tip# Look for Merchant Settings on the navigation panel on the left.

Please add General Information like the Time Zone, Currency details and Sales Tax info.
Choose payment methods and setup in the ‘Default Payment’ section.
Select merchant settings for each branch and also setup merchant accounts in this section.
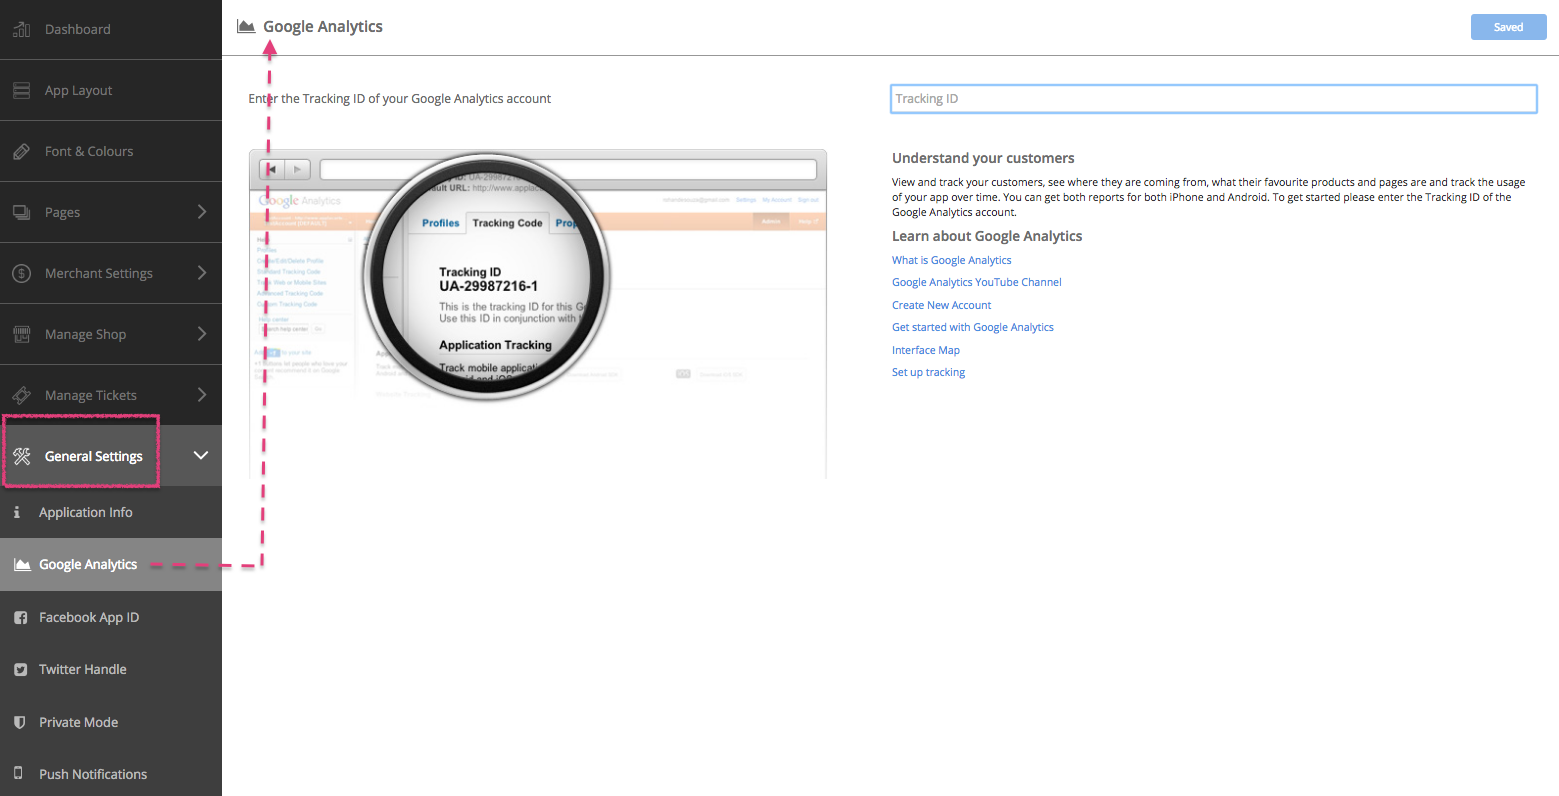
Click on ‘Add Google Analytics’ if you’re looking to integrate a Google Analytics ID with your website.
Tip# Look for General Settings in the navigation panel of the CMS. You’ll see the Google Analytics section below it.
You can also enable Search Engine Optimisation for your website, by filling in the ‘Search Engine Data’ section for the pages you want optimised.
Add Google Conversion Tracking for your website, by adding the necessary details to the ‘Google Conversion Tracking’ section under General Settings.
Add a Facebook ID and a Twitter Handle if you have one for your business. You can also set the app to Private Mode by adding a passcode to the app. You’ll also be able to send out push notifications from this section once your app goes live.
Publish
You’re on to the last phase ‘Publish’. Once again, please click on ‘Dashboard’ on the navigation panel to the left of the CMS.
In the Phase 5 box, click on the hyperlink ‘Preview’ to be able to preview your app. You’ll see a QR Code that you’ll need to scan. This will take you to the Putti Preview app on the app store depending on what device you used to scan the code. Please download this app to be able to preview the content of your app. Any changes you make on the CMS, will appear in this preview app in real time.
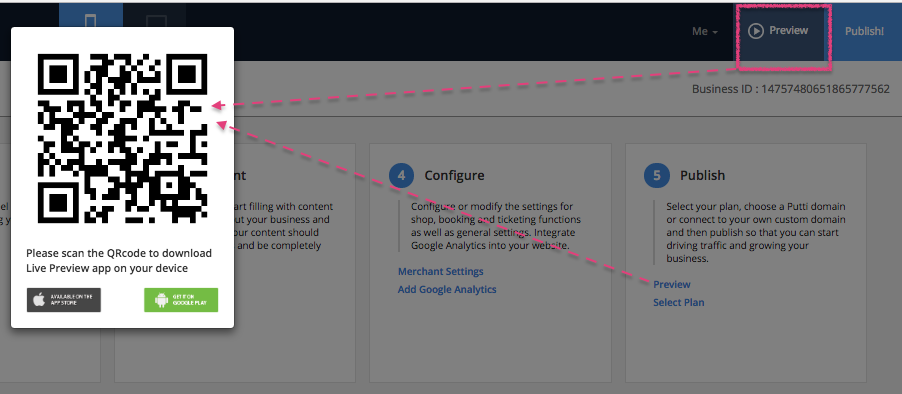
Tip# Notice the ‘Preview’ button at the top right of the CMS. This is another option you can use to preview your app before it is published. This is so you can come back to the concerned pages and make changes if required.
Is your app ready to go? Come back to the Dashboard and now click on ‘Select Plan’ to complete the final steps before you publish your app.
You’re now looking at the Application Info tab under General Settings on the navigation panel of the CMS.

Please add an app icon, splash and feature image for your app based on the dimensions required. You’ll see the requirements mentioned in the ‘browse’ section for each image you’re going to be uploading. Please add details for your app, like the App Store Display Name and Mobile Display Name along with other important details we’ll use to submit your app to app stores.
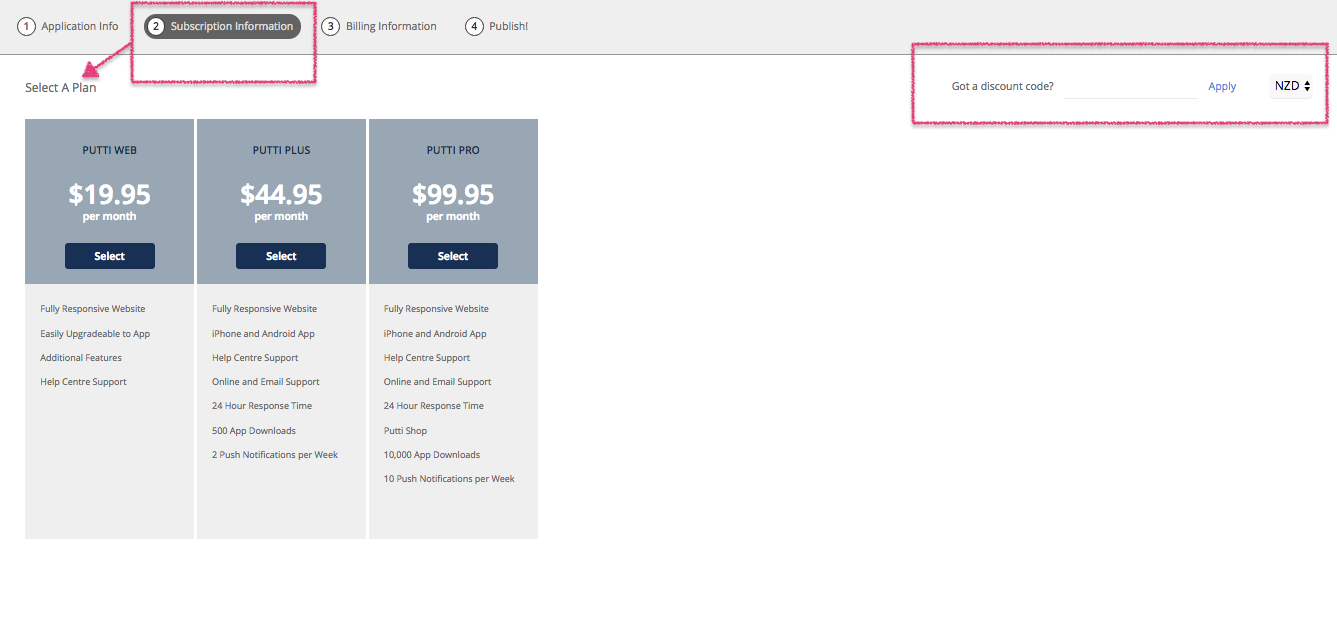
Here you can now choose a plan and enter a promo code if you’ve been provided one.
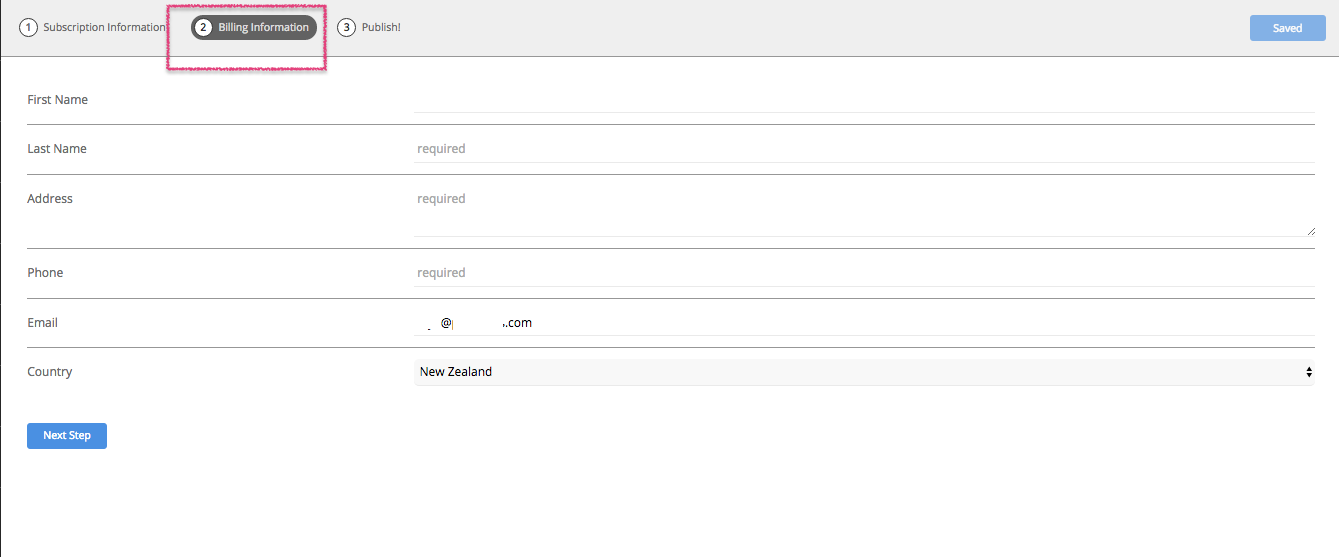
Then enter your Billing Details and make a payment.
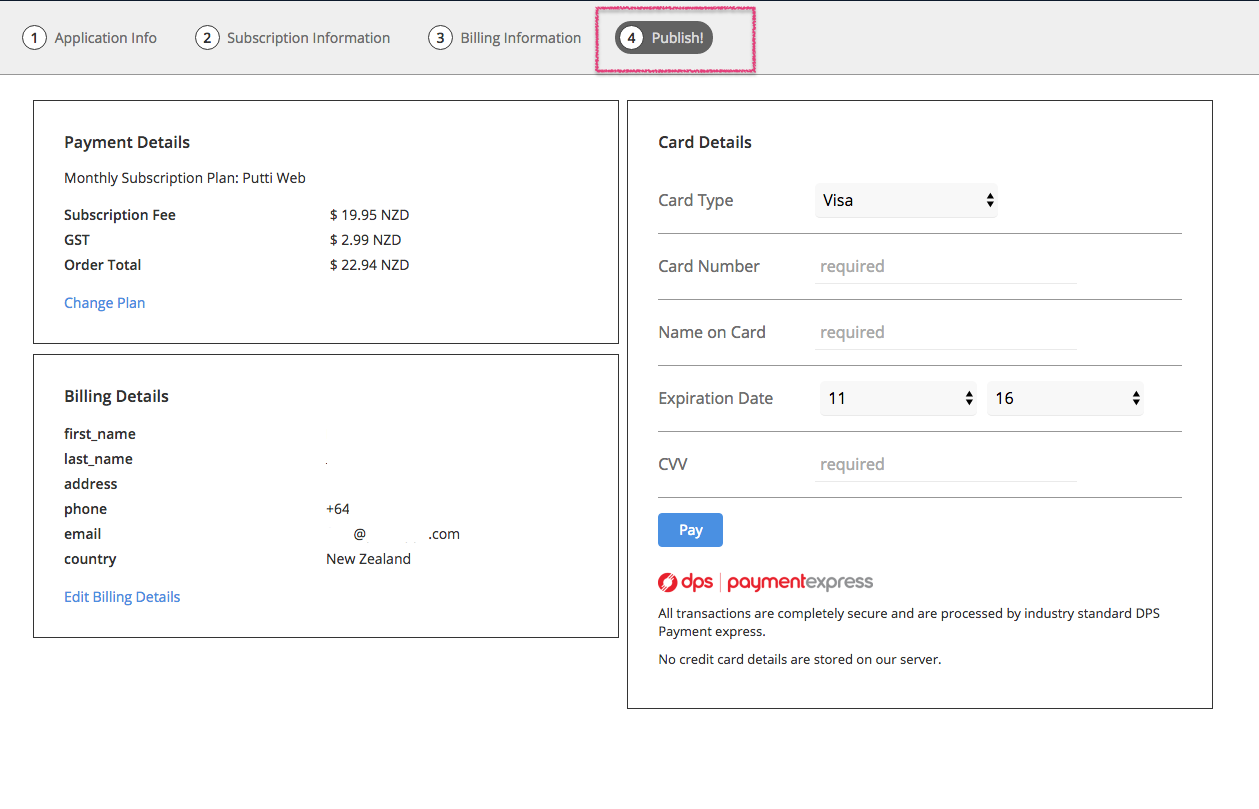
You publish request has now been generated.
Please contact us to confirm that we’ve received your app submission request.
Is your website ready to go? Come back to the Dashboard and now click on ‘Select Plan’ to complete the final steps before you publish your website.
Here you can now choose a plan and enter a promo code if you have one to use.
Then enter Billing Details and make a payment if needed.
Your website is now ready!