Setting Up Your Putti Booking (For Accommodation)
What Would You Like Help With
Before you start setting up your online booking engine you will need to make sure you have an already established payment method (wether it’s cash, DPS, payment express etc) and have those details handy.
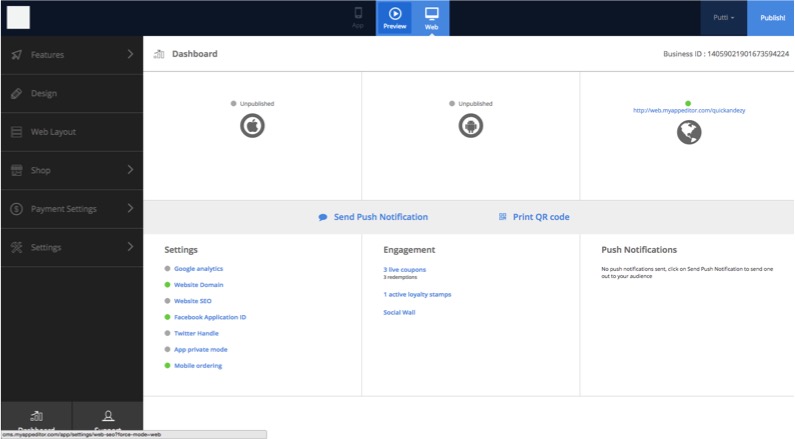
Log into your account and navigate to either the app or website view (depending on which platform you would like to set up your shop on).
Click ‘Payment Settings’ on the side navigation panel and go to the general information tab. This is where you will begin to start filling out your payment details.
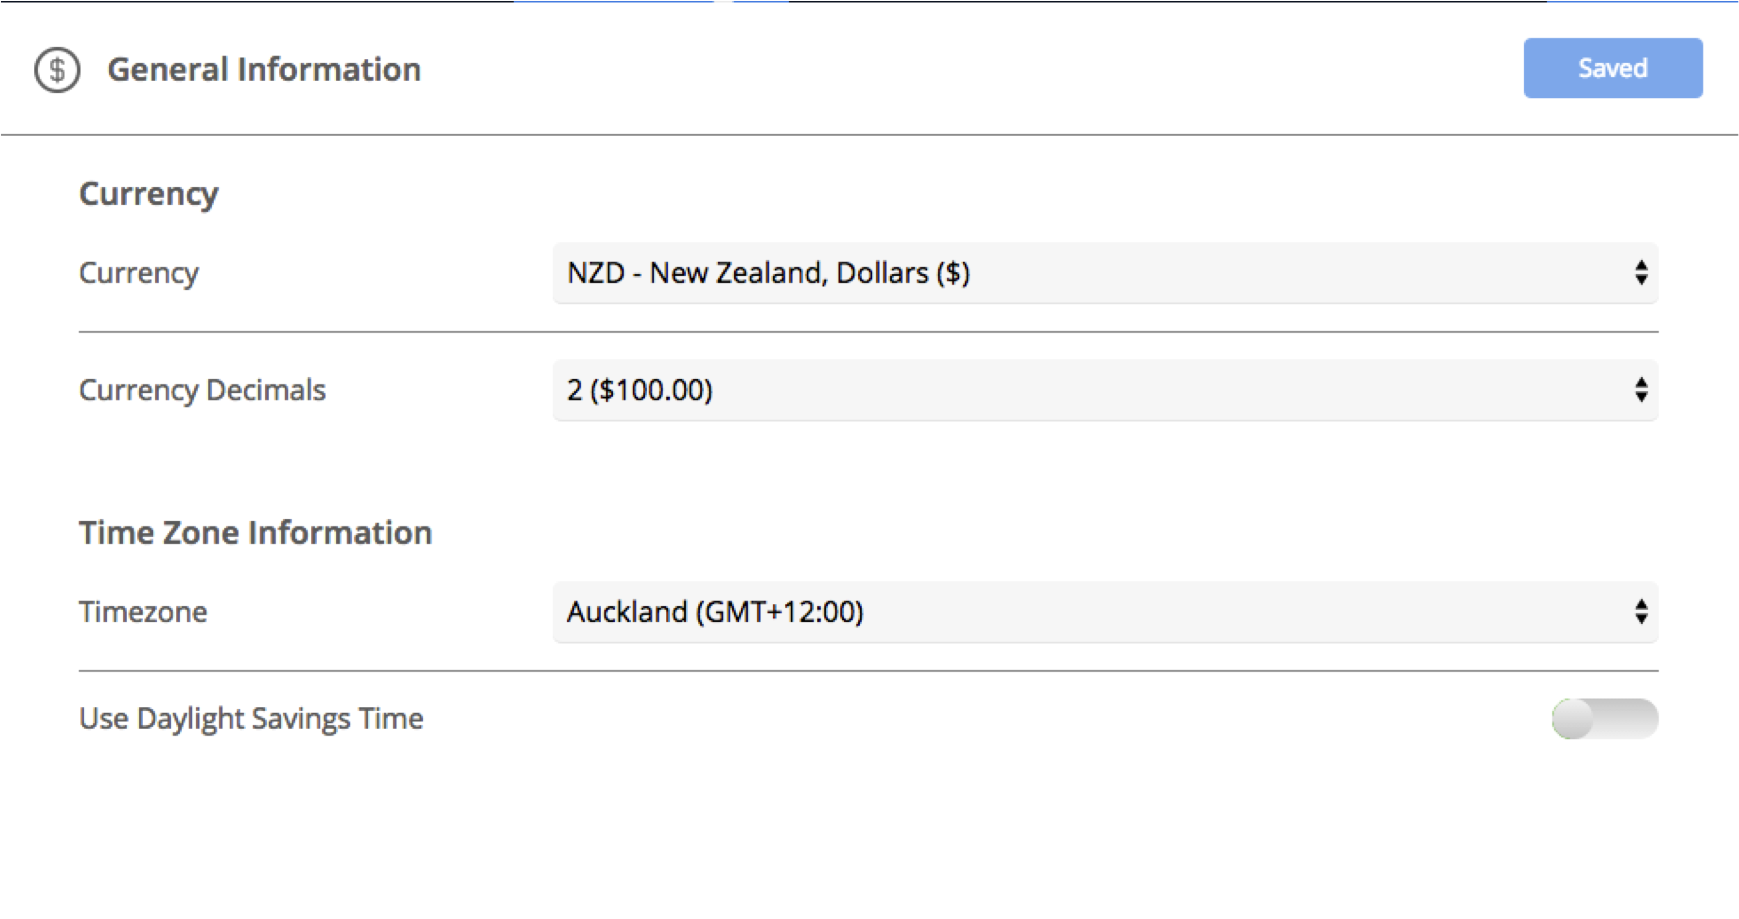
The General Information tab is where you will fill out all the generic information of your booking solution including currency and timezone information.
a). Select the currency you would like to primarily use for your booking solution
b). Select how you would like your pricing decimals to be displayed by selecting the currency decimal.
c). Select your timezone. If your online ordering is only available for a certain period of time throughout the day, it will follow the timezone you have selected.
d). Select wether you would like to use daylight savings time.
e). Press ‘Save’ once you have finished making changes to your General Information settings.
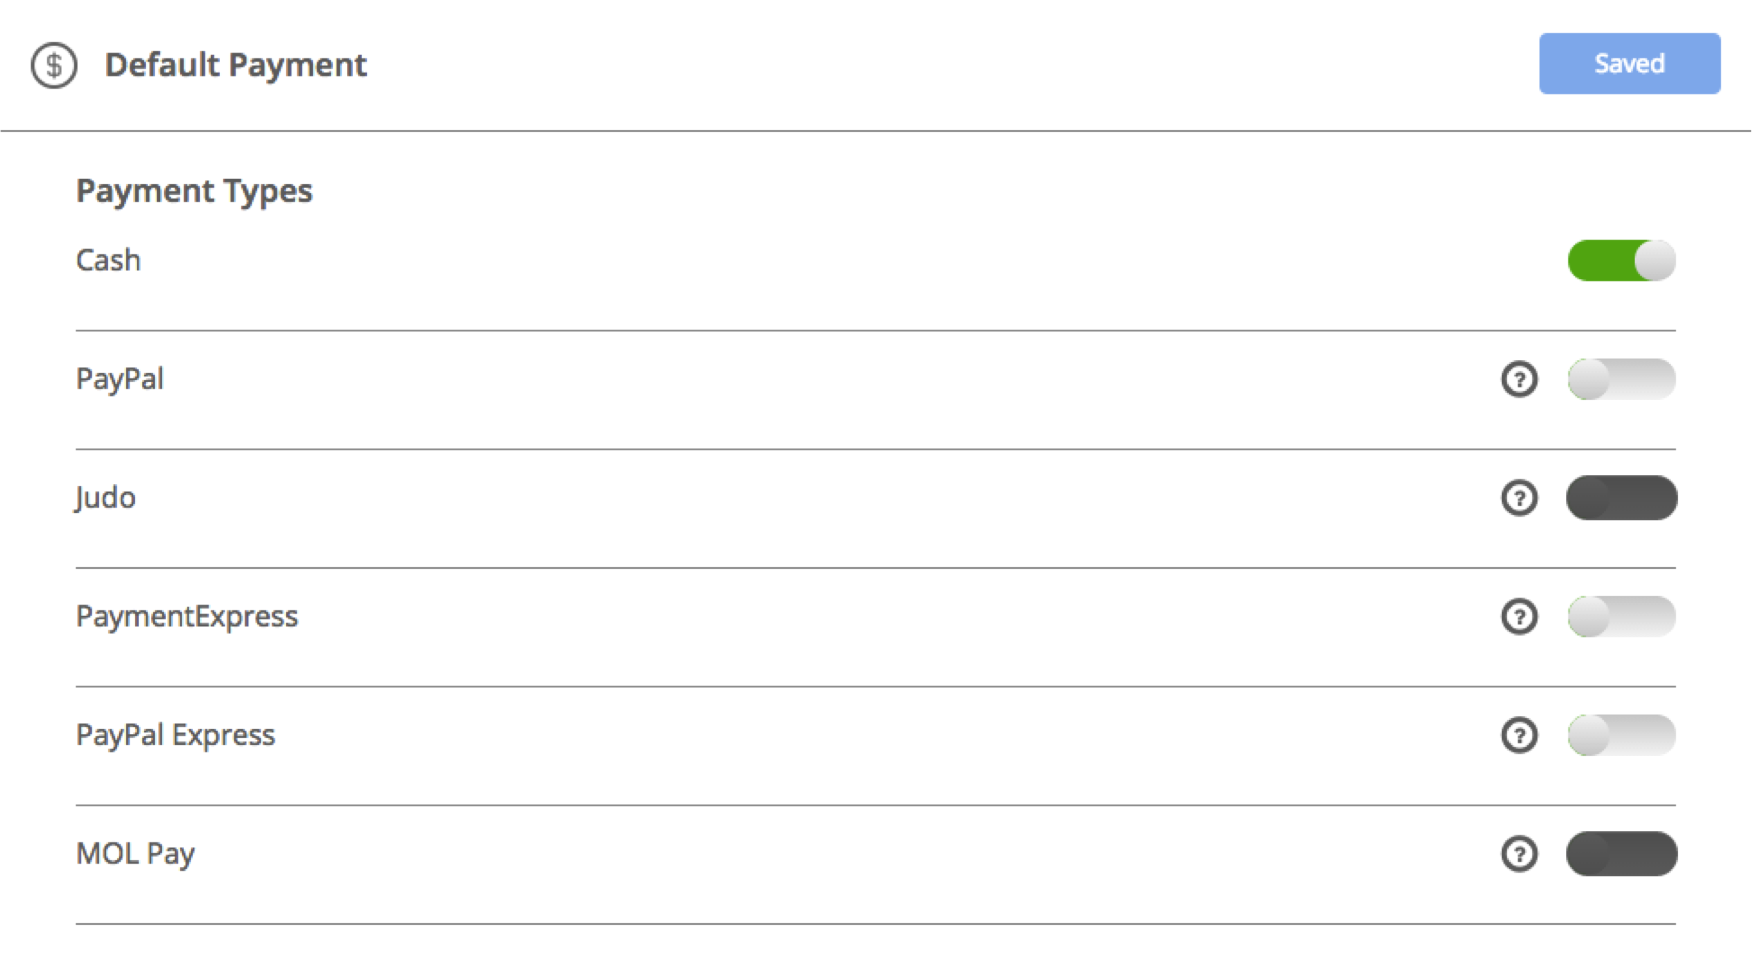
Navigate to the ‘Default Payment’ tab underneath the ‘Payment Settings’ tab, on the side navigation panel.
Select the payment method you would like to use for your booking solution. If you select ‘Cash’ then you won’t need to fill out any other details.
PayPal: If you have decided to use PayPal as your default payment method then enter your PayPal account number and Client ID. You may need to log in to your PayPal account to get this information (Hover over the question mark button for instructions on where to find the information).
PaymentExpress: If you have decided to use PaymentExpress as your default payment method then enter your account details. You may need to log in to your PaymentExpress account to get this information (Hover over the question mark button for instructions on where to find the information).
PayPal Express: If you have decided to use PayPal Express as your default payment method then enter your account details. You may need to log in to your PayPal Express account to get this information (Hover over the question mark button for instructions on where to find the information).
Press ‘Save’ once you’ve finished making changes.
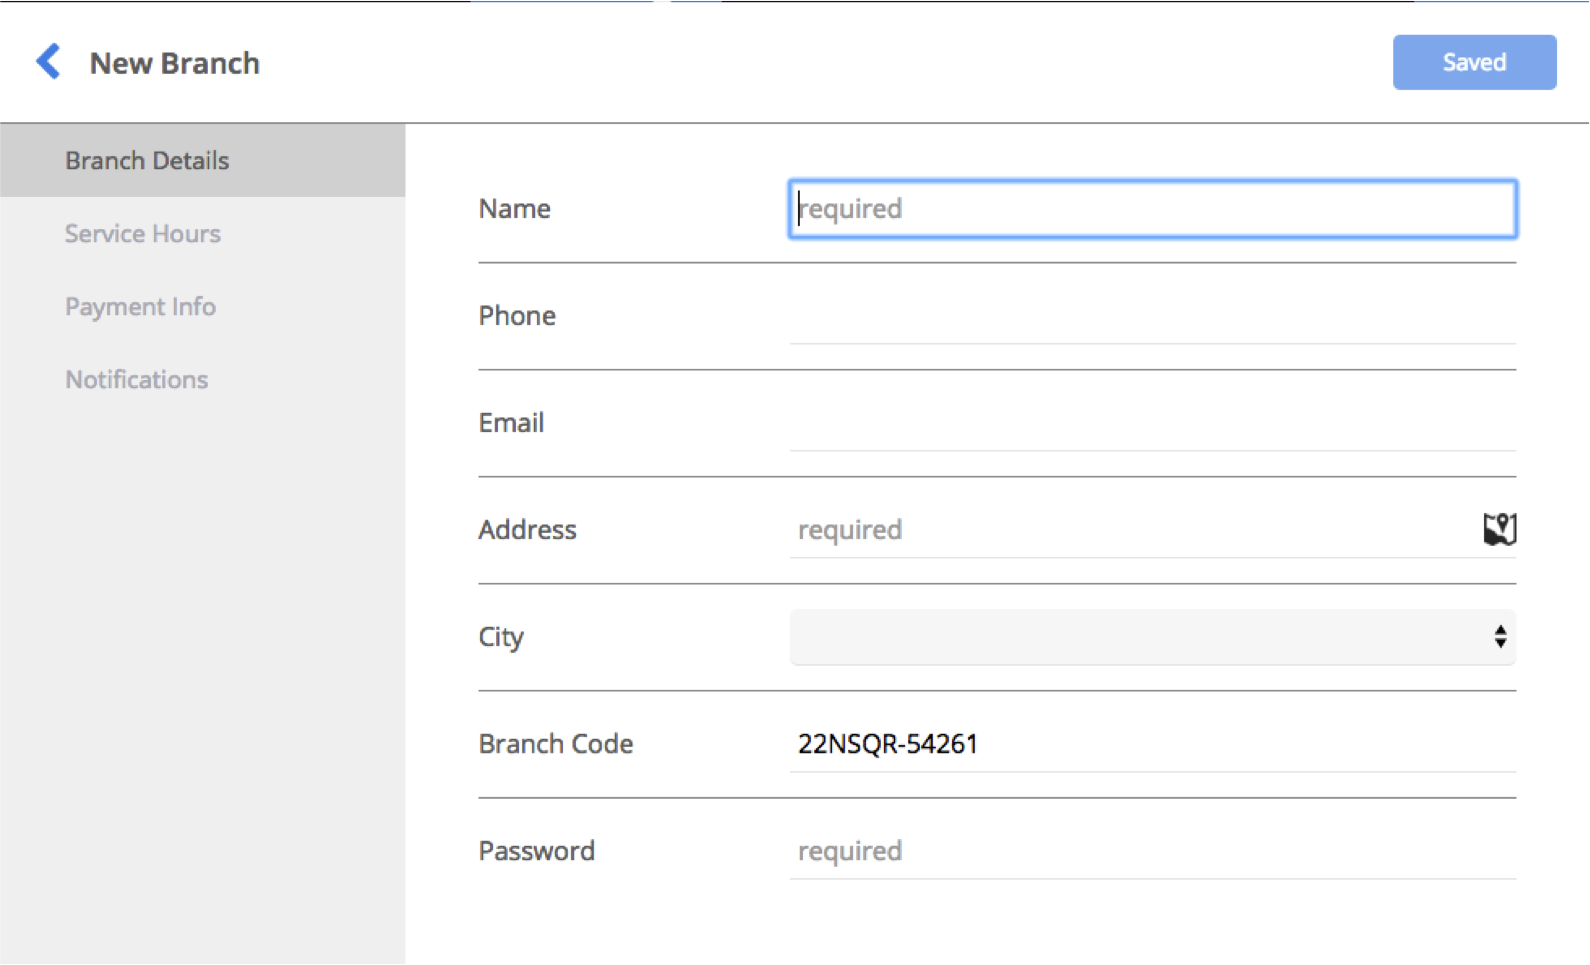
Under ‘Branch Details’ fill out the general information for your branch. Your branch code and password is what is used when you log in to the merchant app.
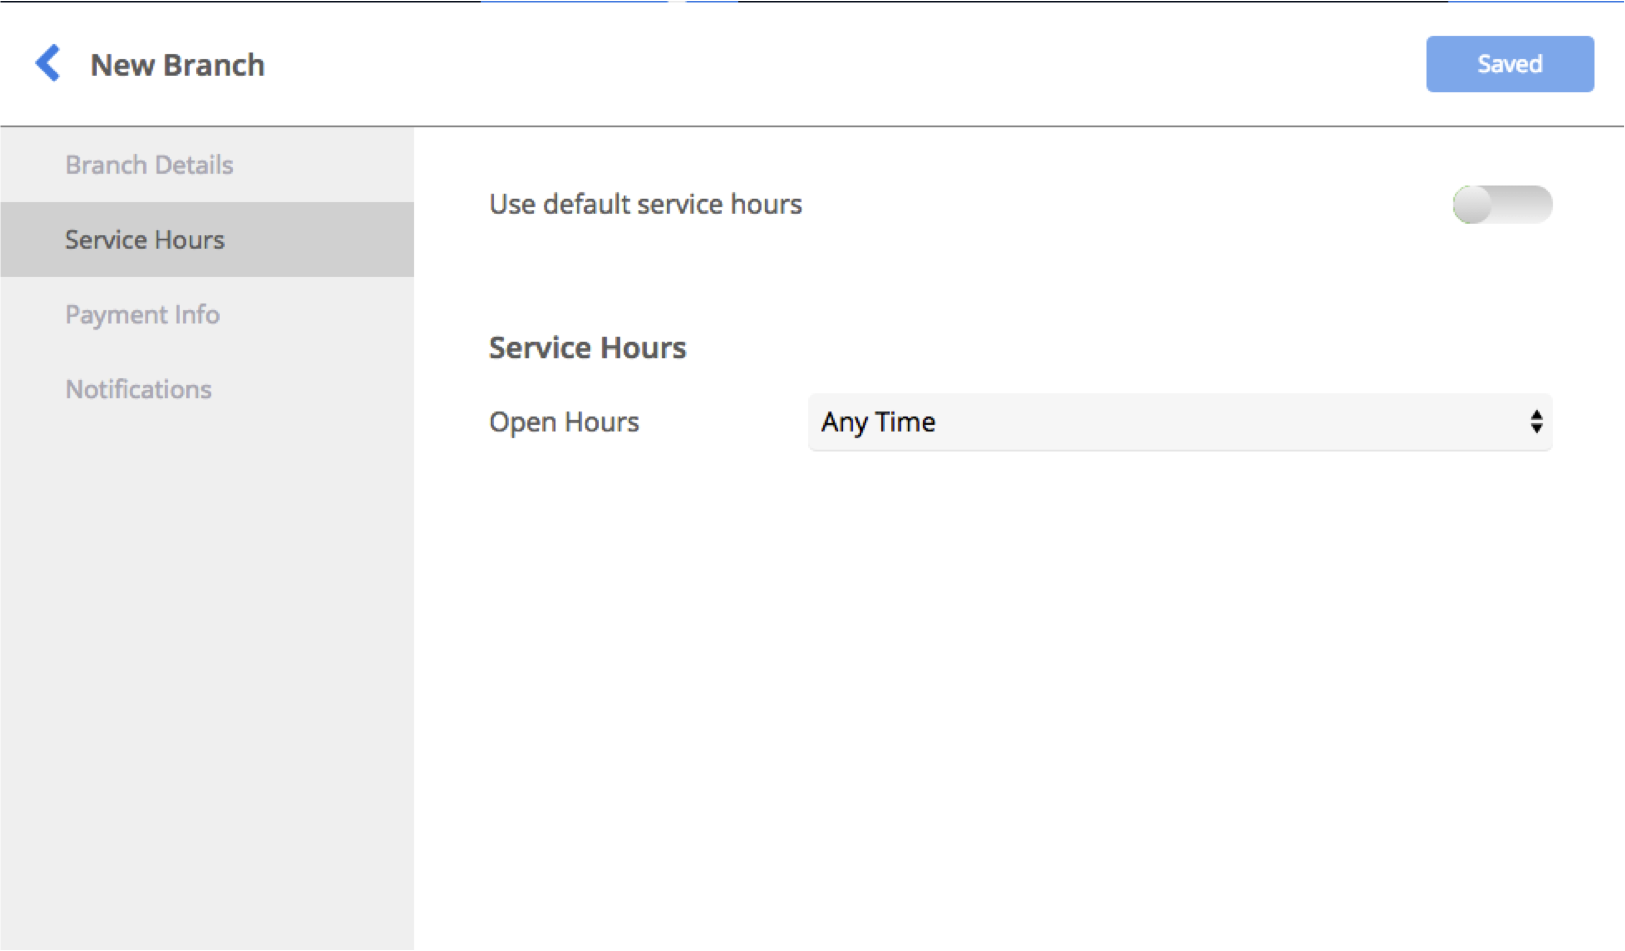
Navigate to the ‘Service Hours’ tab to set up the opening hours for your branch. (Please note that you will set up default service hours in further steps).
If you would like your branch to have it’s own custom opening hours then select ‘custom’ on the drop down menu
Select which days you would like your branch to be open by clicking on the slider. Change the opening hours by clicking on the time and selecting from the drop down menu
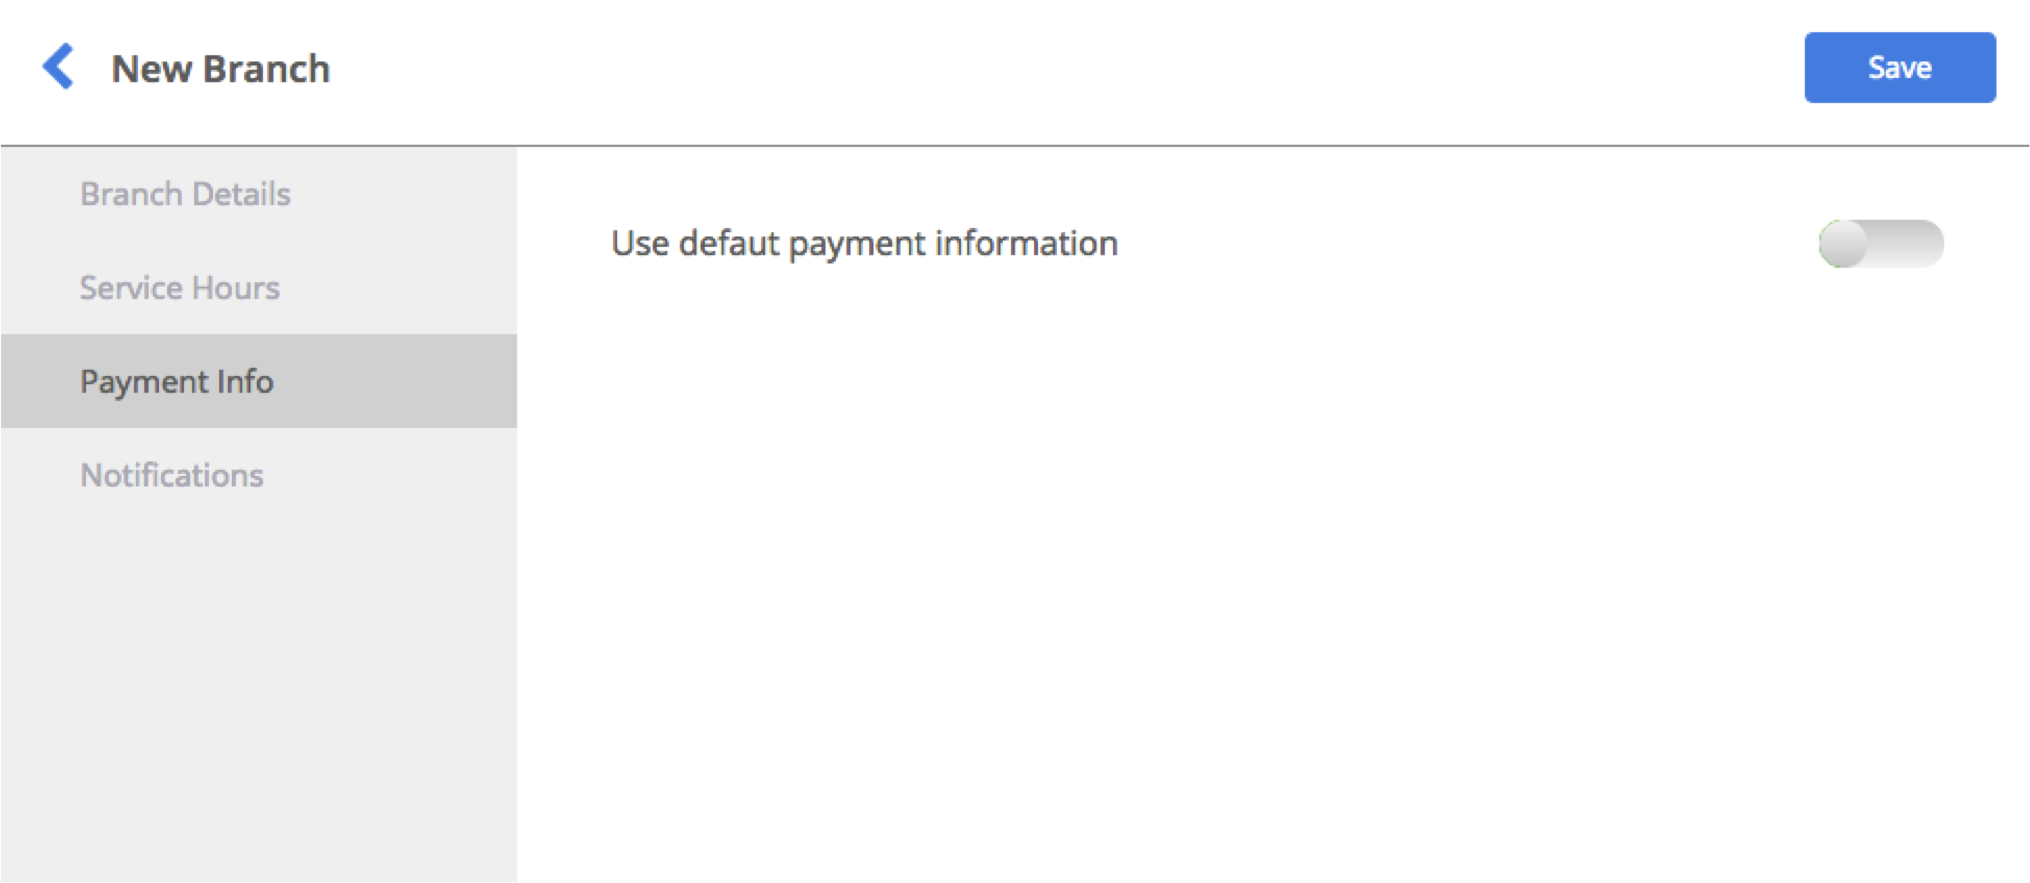
Navigate to the ‘Payment Info’ tab. Select which payment info you would like to use. If you have separate branches you may like to use separate payment methods
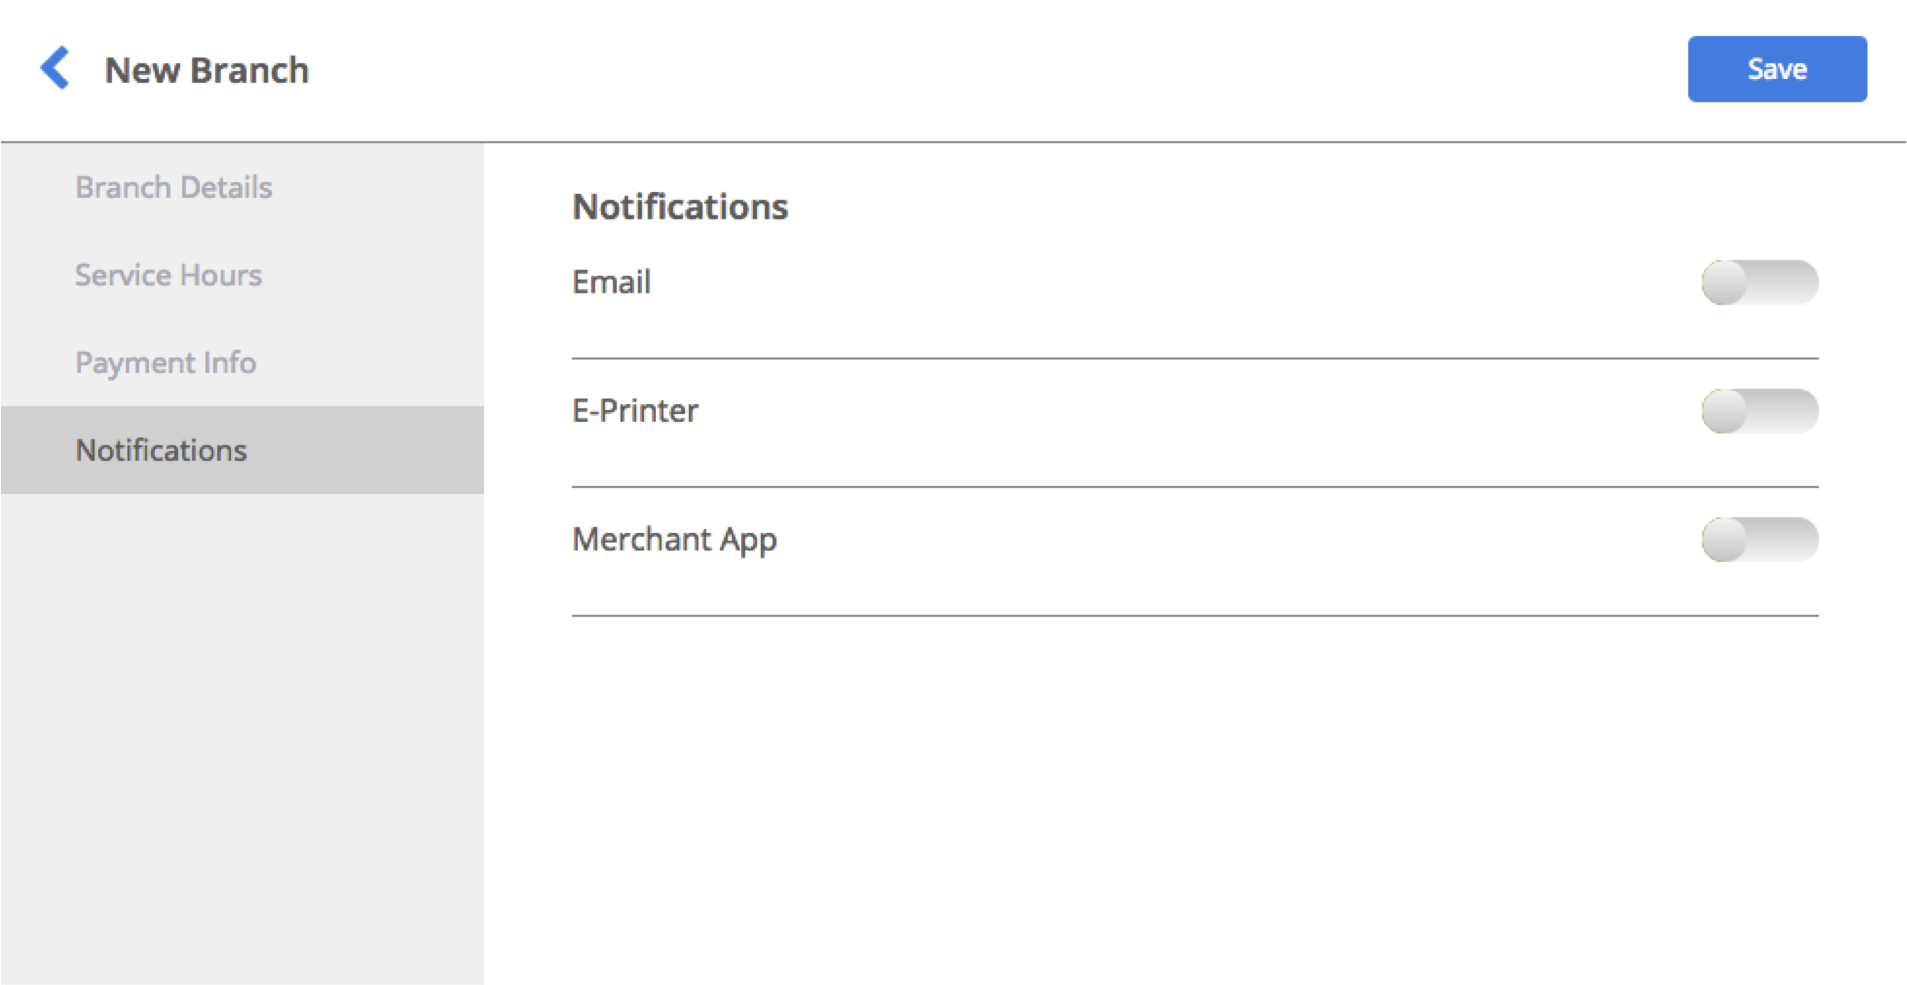
Navigate to the ‘Notifications’ tab. Select wether you would like to receive payment notifications via email, e-printer or merchant app.
Once you have finished adding the information to your branch, click save
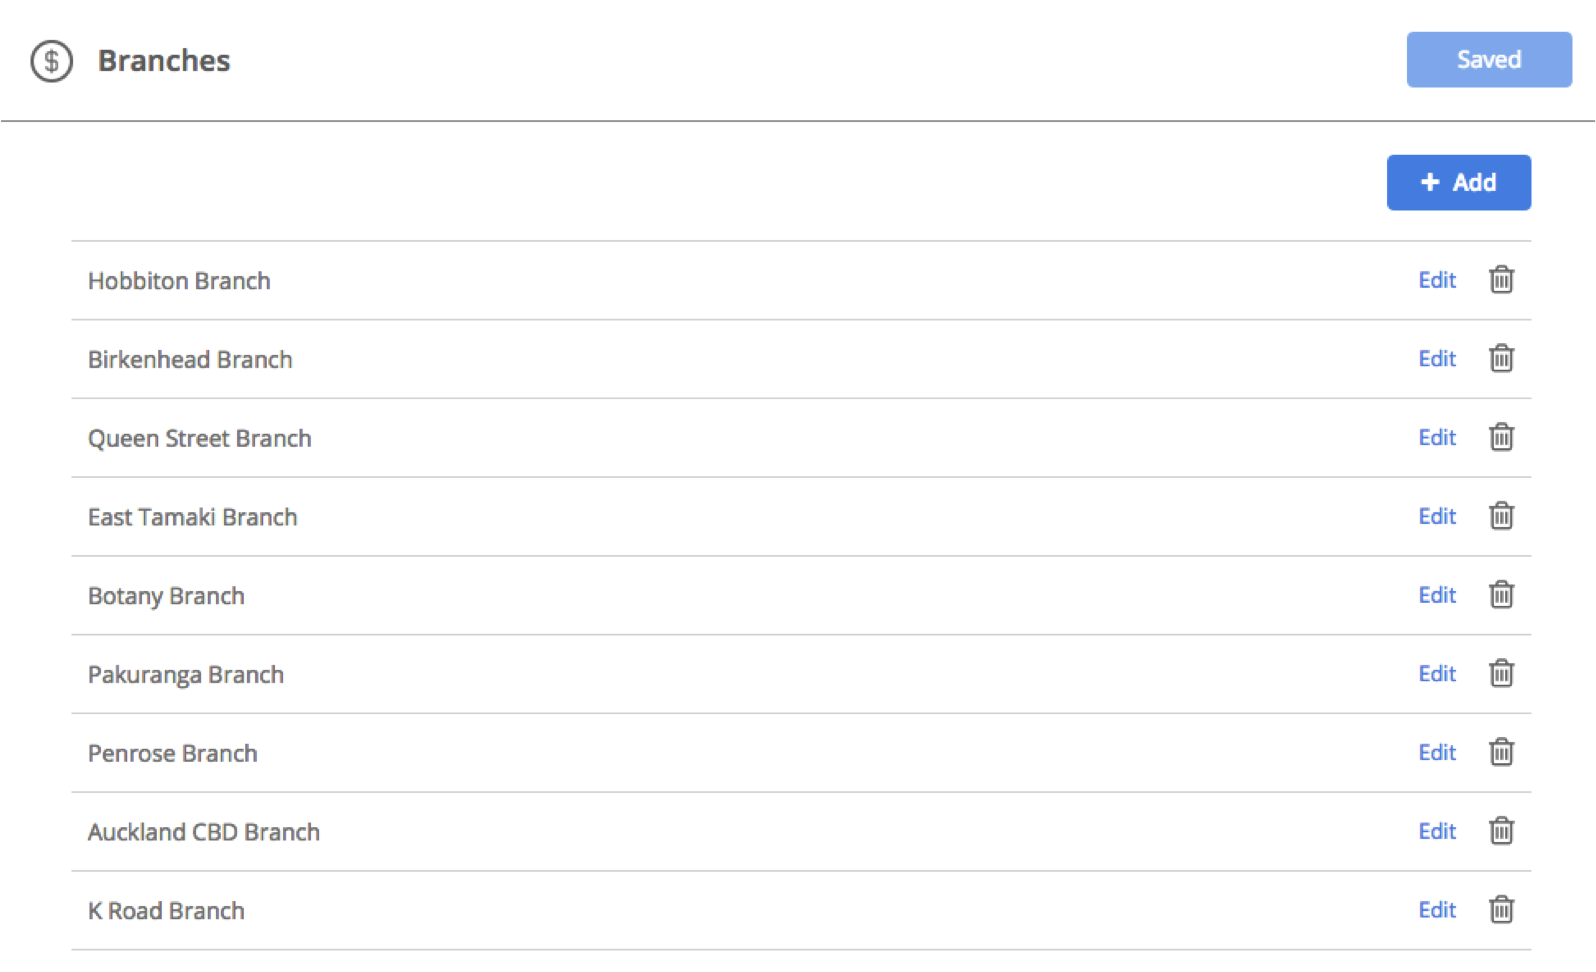
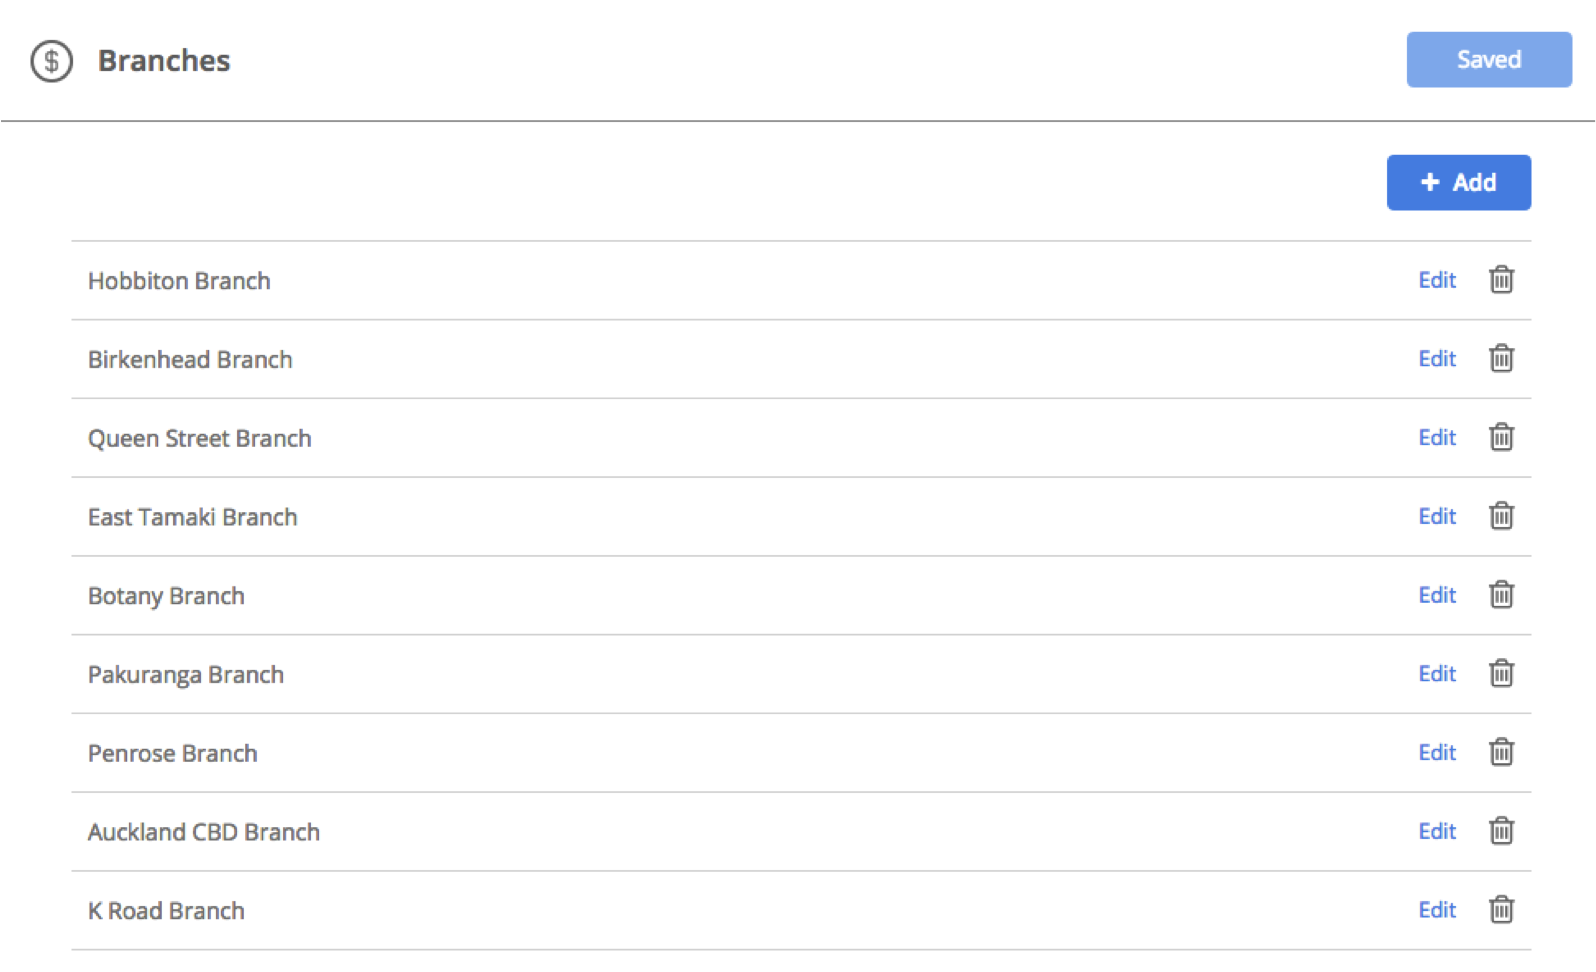
Once you have saved your branch it will appear underneath the ‘Branches’ section
You can edit or delete a branch at any point by pressing the edit or trash icon adjacent to each branch
Add Bookings
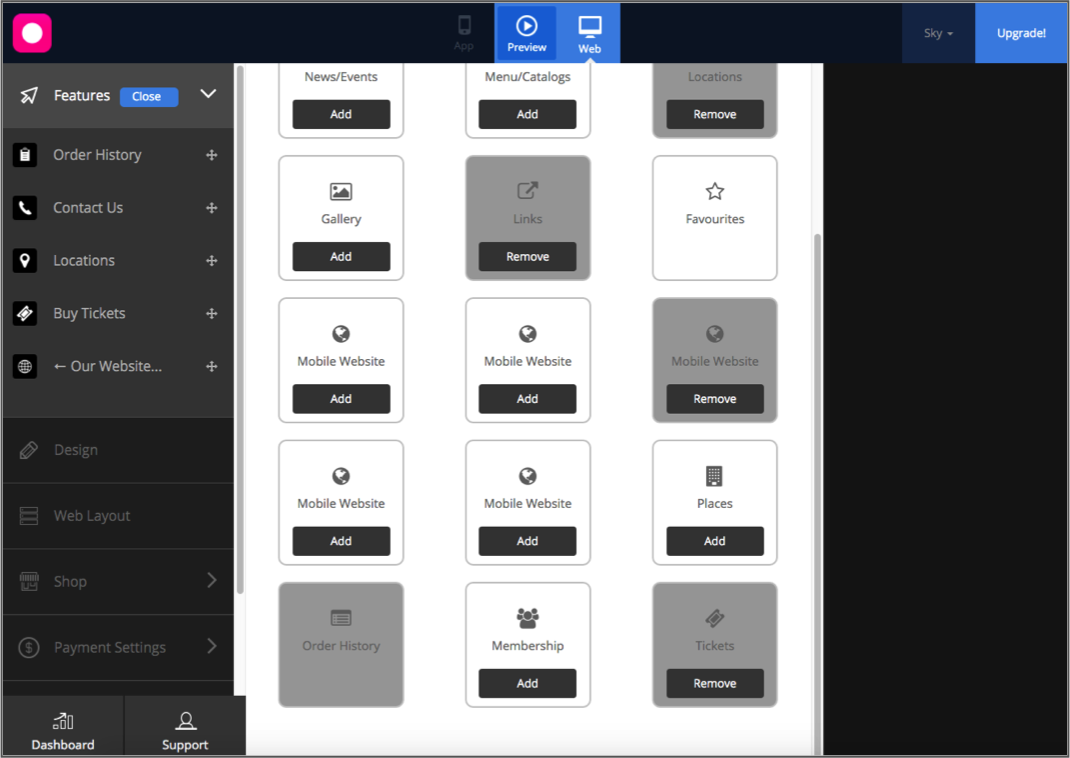
Once you’ve completed your payment settings you can now start building the booking engine for your website or app. On the left side navigation panel select ‘features’. Once selected press the blue ‘manage’ button next to the features tab.
Add the booking feature to your website or app by pressing ‘Add’. Press save once you’ve finished adding the feature.
The booking feature will now appear underneath your activated features on the side navigation panel. Click on booking to start customising.
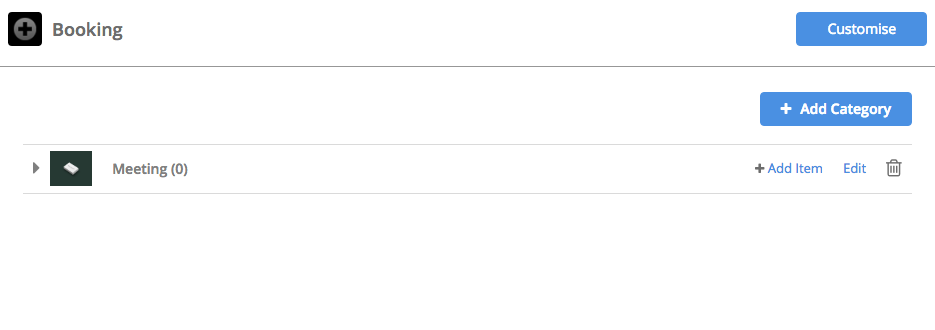
If you would like to change the name of your booking component and/or add an icon press ‘customise’ on the top right of the booking window.
To choose an icon or to upload our own custom icon press the ‘browse’ button. Choose an icon from the list provided, or to upload your own icon press the ‘upload custom icon’ tab.
To upload your custom icon drag and drop you 60 x 60 pixel image into the blue area, or press browse to find your icon manually. Press set when you have chosen your icon. Press save once you have finished customising your features name and icon.
To create a booking for your service you will first need to set up your categories. Press ‘Add Category’ to get started
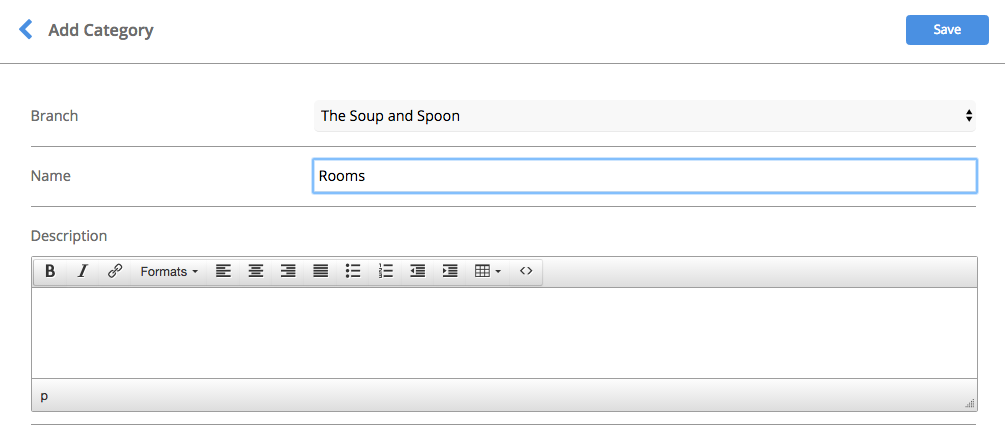
Select which branch you would like to set up your booking services for.
Provide a name for your booking category e.g Rooms.
Add a description of that category if required.
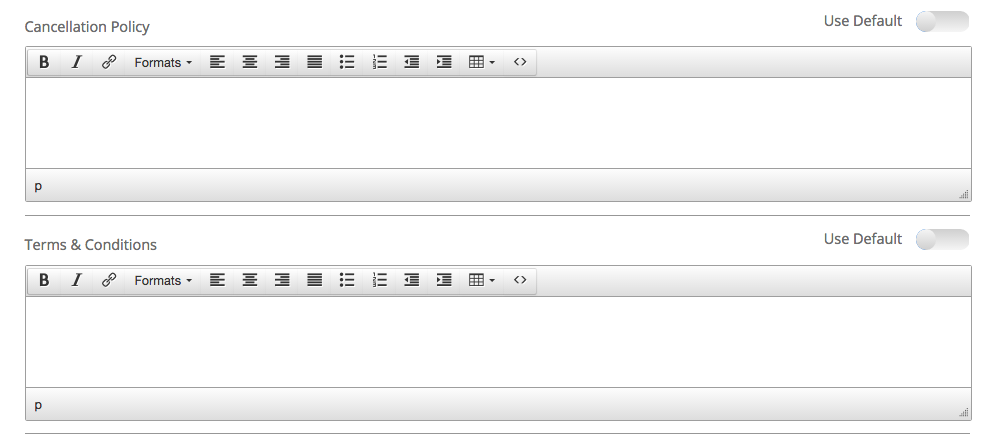
If you would like to add a custom cancellation policy then fill in the details in the cancelation policy box. You can choose to use this as a default for all of your bookings.
If you would like to add a custom terms and conditions then fill in the details in the t + c’s box. You can choose to use this as a default for all of your
You can choose to upload an image for your category by clicking the browse button in the blue square.
Press save once you’ve finished adding your category.
To add a service or booking under your category press ‘add item’ adjacent to the category you just created.
Name the item you’d like to make a booking for e.g meeting room.
Add a description for you booking item.
Choose your booking period type.
Flexible
If you would like to make your item have a flexible period type then enter.
The minimum amount of time you’d like your item to be booked out for e.g 1 hour minimum.
Add the maximum amount of time you’d like you item to be booked out for e.g 8 hours
If you would like to have multiple bookings for one item (e.g if you have multiple meeting rooms) then select the quantity available
Enter a booking interval. This is the time you’d like to leave open between bookings.
Fixed
If you would like to set up a fixed duration for your item then set out the session duration e.g 8 hours
If you would like to have multiple bookings for one item (e.g if you have multiple meeting rooms) then select the quantity available
Enter a booking interval. This is the time you’d like to leave open between bookings.
Daily
If you would like to rent your item out by days the set out the minimum amount of days a customer can book your item out for.
Set the maximum amount of time your customer can rent a room out for.
If you would like to have multiple bookings for one item (e.g if you have multiple meeting rooms) then select the quantity available
Enter a booking interval. This is the time you’d like to leave open between bookings.
Next you will need to set up the availability and prices (if required) for your items.
Choose the date range for your pricing. This can be so that you charge more for certain times of the year or that your item is only available between a certain date. If you would like it to be a constant price throughout dates then choose a large timeframe to extend your items out to.
Go through each day and set out prices.
If you have multiple timeframes for your item e.g different dates it’s available then press ‘add’ and follow the steps above.
If your item (such as rooms) have additional facilities then list out what is available.
Add a description for your item.
If you would like to upload an image of your item then press browse in the blue square.
Press save once you’ve finished.
The item booking you’ve just created will now appear under your main category. To add more items simply follow the above steps.
Booking Settings
Once your booking feature is live and you are starting to take bookings you can manage them from the bookings tab.
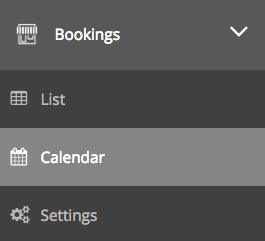
Click ‘ bookings’ on the side navigation panel.
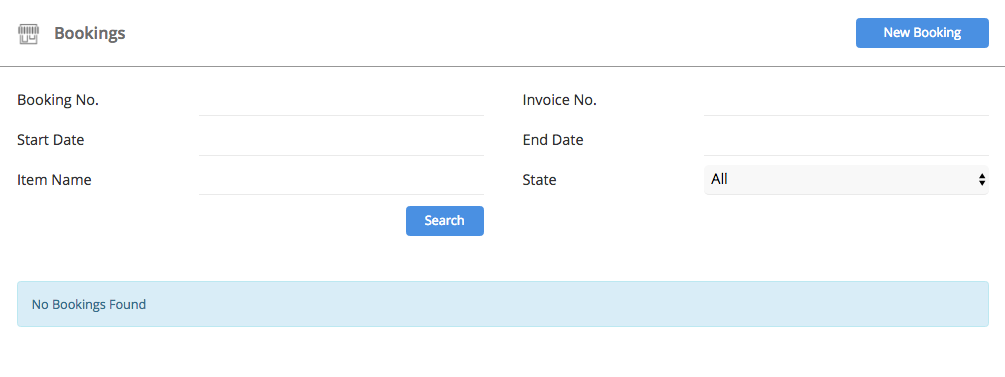
In the booking ‘list” section you can search for individual bookings or transactions
You can also manually add new bookings by pressing ‘add booking’ on the top right of the bookings window.
Once ‘add booking’ has been pressed you can fill out the details needed to complete that booking in the side screen pop up.
Click on the ‘calendar’ tab to view your booking calendar. This view makes it easy to manage and view your bookings.

