Gallery
To set up the Gallery page on your app and website, select the ‘Pages’ tab on the navigation panel.
*Note* When adding or removing this page, you can be on either the ‘App’ or ‘Web’ view as any changes that are made will be updated on both.
Once the ‘Pages’ tab has been selected the app panel will appear with a list of the pages that are already applied to your app/website depending on what View you are on.
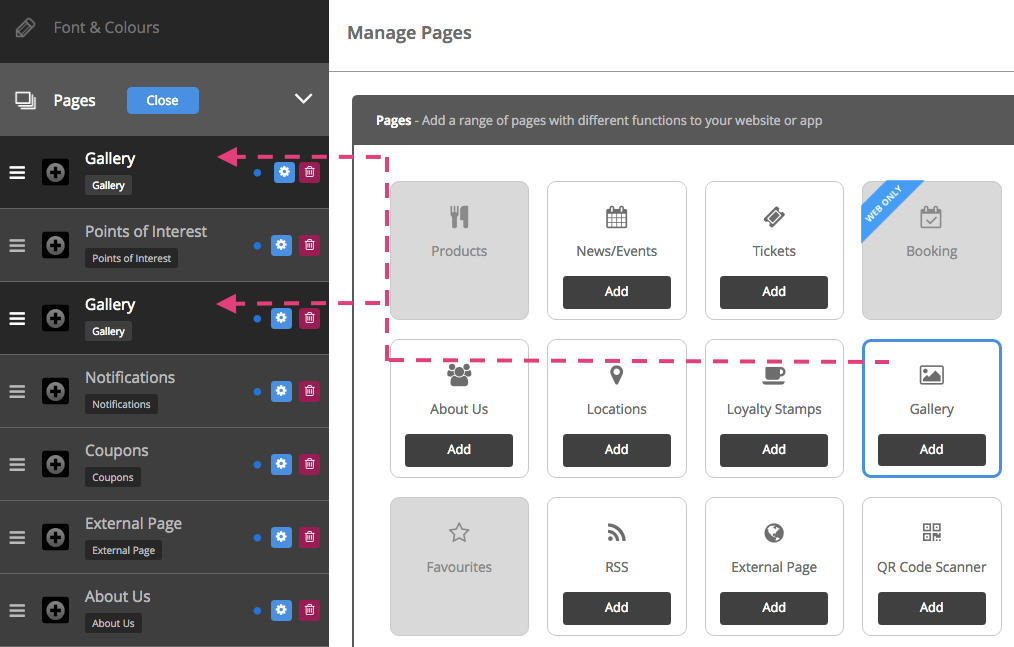
Click on Pages to see a ‘Manage’ button. Click this to access the Pages Library where you can pick and choose which features you would like on your app or website.
Please make sure you click on ‘App’ or ‘Web’ at the top of the CMS to make changes to your App or Website respectively.
To add pages to your app/website click on the ‘Pages’ tab on the left side navigation panel. Once you have clicked the ‘Pages’ tab, you will notice a blue ‘Manage’ button that will appear alongside the tab. Click this button to show the range of pages you can add to your app/website.
To add it, press ‘Add’ at the bottom of the page/feature in the library. Once you’ve added on all pages, click on Close.
Tip# The Gallery page can be duplicated by clicking on ‘Add’ as many times as you need. You can then customise the Gallery Pages with different names.
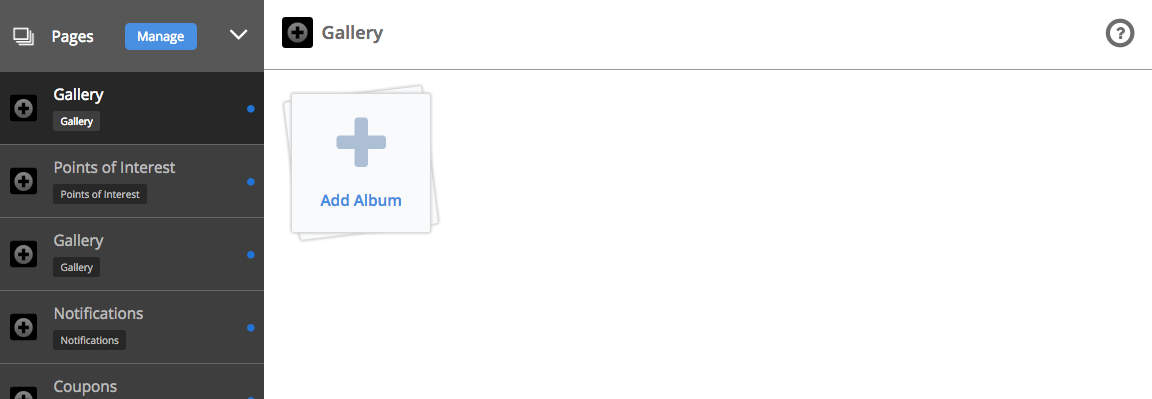
After the page has been added, you’ll see it under the ‘Pages’ section of the navigation panel on the left.
If you would like to change the name of a page and/or add an icon, click on the Manage button next to the Pages tab on the navigation panel.
Now press the cog on the right of the page you’d like to make changes to (under the Pages tab on the navigation panel).
Edit the name of the page by adding in a new one, in the space provided for ‘Label’.
Page Visibility is set to ‘On’ by default. This shows a blue dot next to each Page (on the left of the cog on the navigation panel under ‘Pages’). Please click on ‘Off’ if you want to make the page invisible. The dot appears grey when you make the page invisible.
If you are in App View, choose an icon or upload your own custom icon by pressing the ‘browse’ button. Choose an icon from the list provided, or to upload your own icon press the ‘upload custom icon’ tab. To upload your custom icon drag and drop you 60 x 60 pixel image into the blue area, or press browse to find your icon manually. Press set when you have chosen your icon.
Please click on ‘Save’ on the top right of this section when you’ve finished customising the page.
Come back to the Pages section on the navigation panel and click on the Gallery page.
Click on ‘Add Album’ to start uploading images.
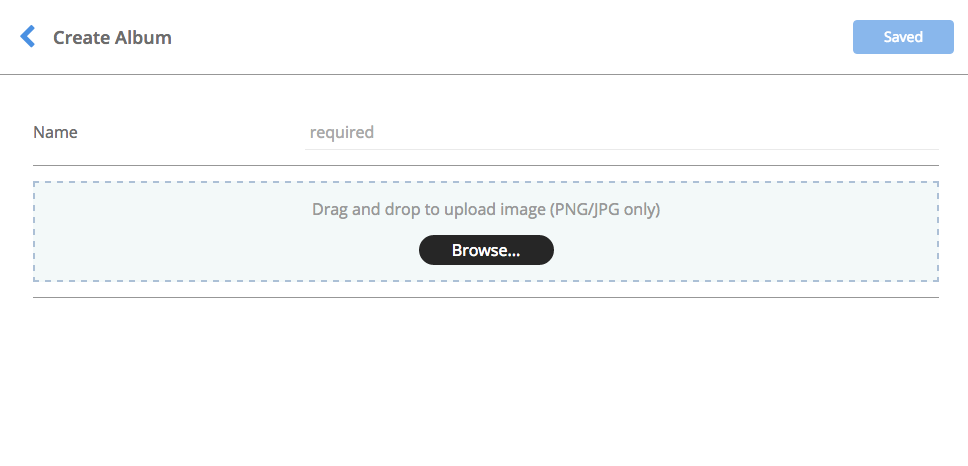
Name your album gallery with what you would like it to be labelled.
Upload your images by dragging and dropping them into the blue square, or upload them manually by selecting ‘Browse’.
Hover over your image to change the description, delete the image or drag it to re-order your gallery.
Once you have finished uploading your images click ‘Save’.
To continue adding albums click on ‘Add Album’ again and follow the previous steps.
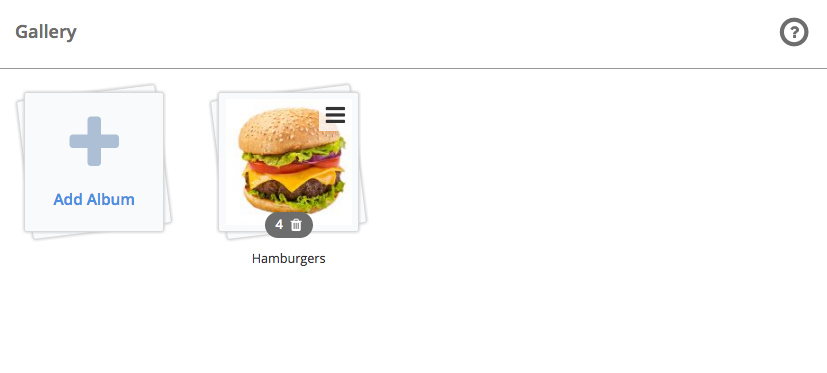
On each album you’ll see a number (which shows the number of photos in that album) and a recycle bin icon next to it (to delete the full album). You can edit each album or add more photos to it by clicking on the image.
Re-order your gallery by holding the bar icon and dragging your album to where you would like it to be placed.


