
Send a Push Notification
Push notifications are a great way for businesses to directly engage with their customers by sending them timely reminders about products, services and offers.
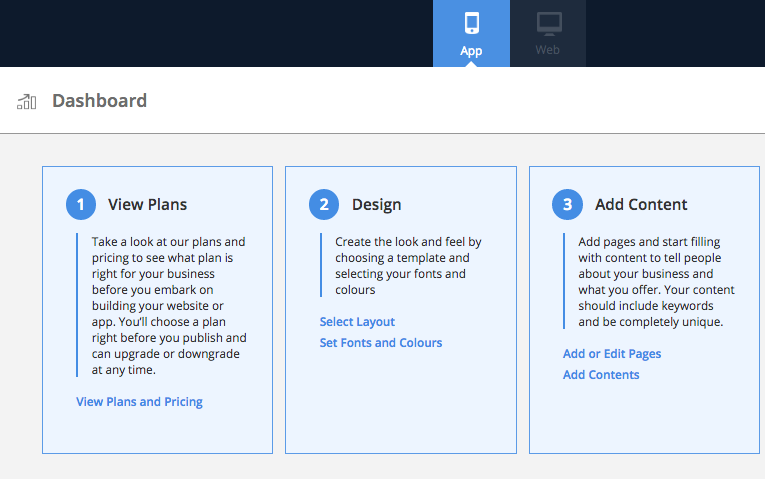
To start sending push notifications make sure are on the ‘App’ view of the platform. This is located in the middle of your header bar.
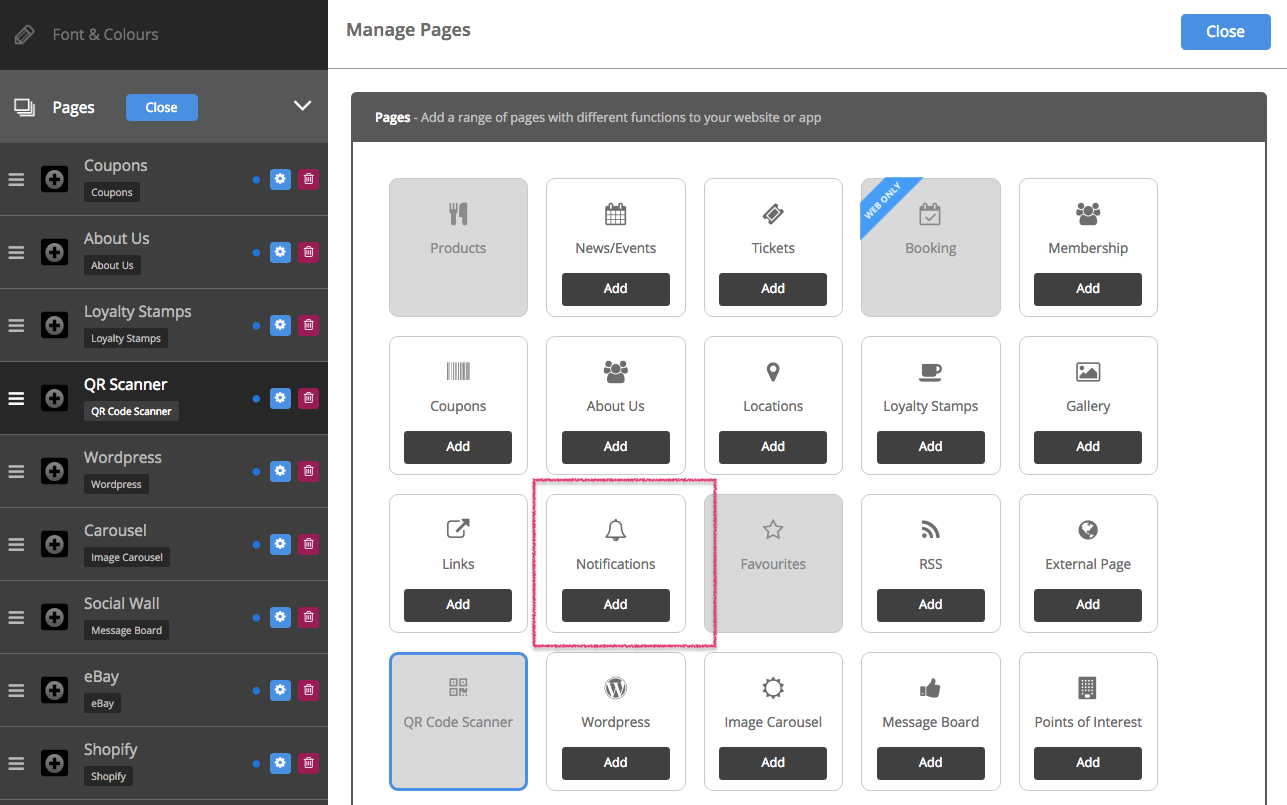
Go to the ‘Pages’ tab and turn on Notifications by pressing the blue ‘manage’ button on the right of the Pages tab.
Press the ‘add’ button on the Notifications feature.
The notification page will now appear on your navigation panel under ‘Pages’. Select it to start making edits.
If you would like to change the name of the Notifications tab and/or add an icon, click on the Manage button next to the Pages tab on the navigation panel.
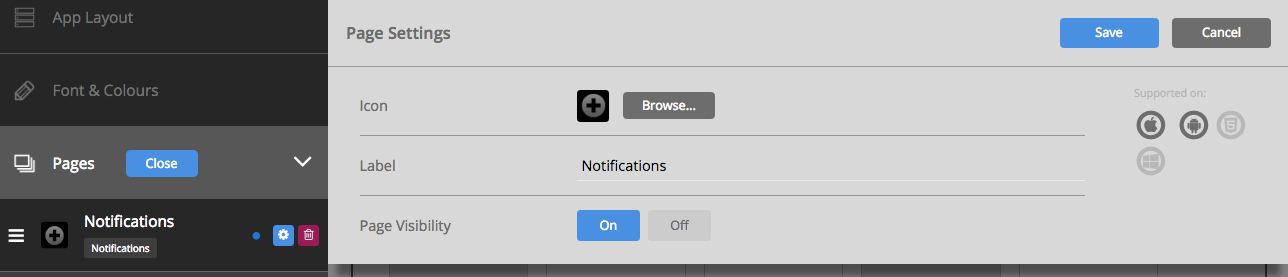
Now press the cog on the right of the Notifications page (under the Pages tab on the navigation panel).
To choose an icon or to upload our own custom icon press the ‘browse’ button. Choose an icon from the list provided, or to upload your own icon press the ‘upload custom icon’ tab. To upload your custom icon drag and drop you 60 x 60 pixel image into the blue area, or press browse to find your icon manually. Press set when you have chosen your icon. Press save once you have finished customising your features name and icon.
Edit the name of the page by adding in a new one, in the space provided for ‘Label’.
Page Visibility is set to ‘On’ by default. This shows a blue dot next to the Notifications Page (on the left of the cog on the navigation panel under ‘Pages’). Please click on ‘Off’ if you want to make the page invisible. The dot appears grey when you make the page invisible.
Please click on ‘Save’ on the top right of this section when you’ve finished customising the page.
Tip# A Push Notification can be sent only once your app has gone live.
To send out a Push Notification, please go to the Notifications page after collapsing the Pages list on the navigation panel.
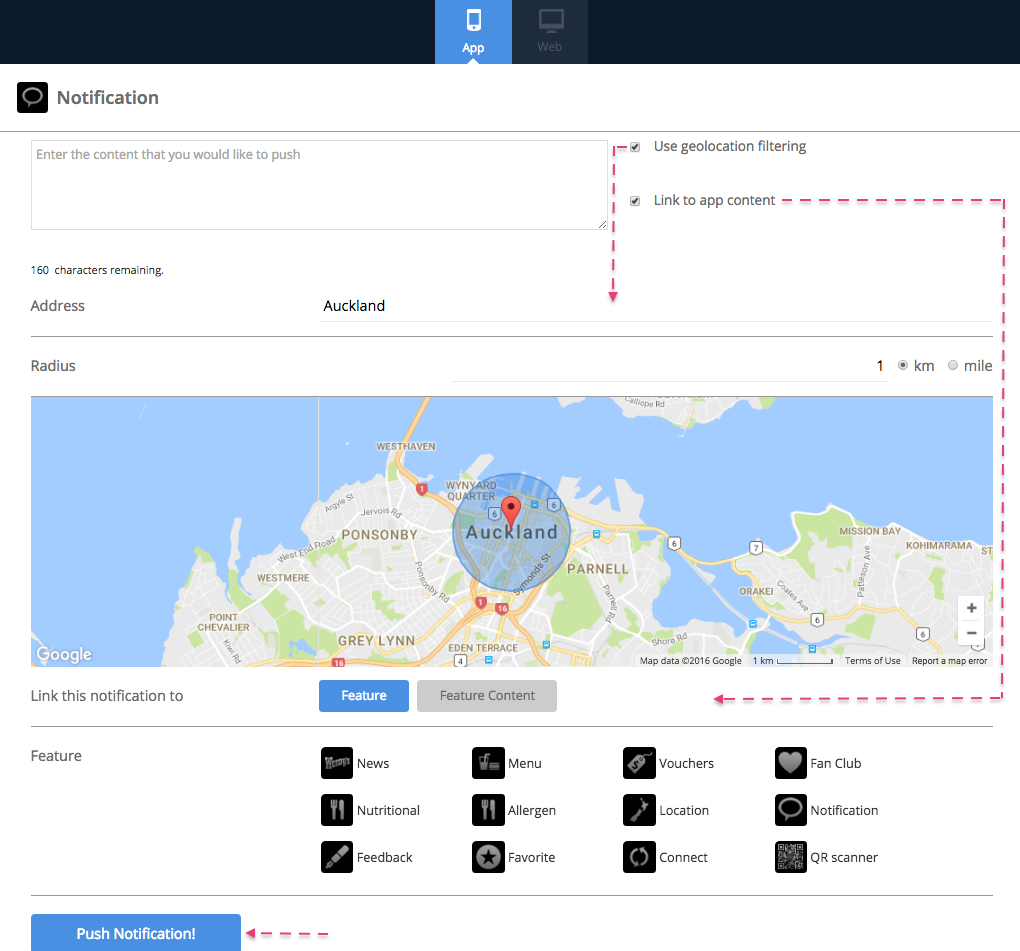
Fill out the push notification message you would like to send making sure its less than 160 characters long.
Once you’ve finished the message you would like to post you can choose to send out a location based notification by checking ‘Use geolocation Filtering’. This means that only app users within that area will receive a notification.
Add in the address, which will automatically show up on the Google Map below.
Add the radius in Km or Mile. You’ll see the circle on the map expand or contract depending on the radius you’re choosing.
Choose wether you to link your notification to content within your app by selecting the ‘link to app content’ button.
Choose the Feature that you want to link the notification to OR choose to link it to an item that sits within a particular feature e.g a certain drink on your menu by clicking on Featured Content
Press the select button to link the content
Click ‘Push Notification’ button to send out your message to your app users
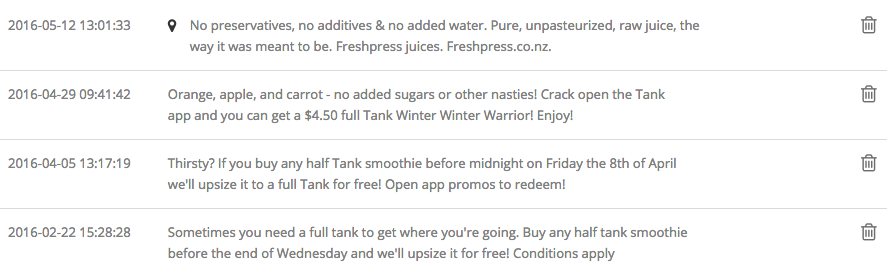
Once you have sent out a push notification you will see it appear as a list within your notifications page with the latest listed at the top.
You can delete a previously sent out notification by pressing the delete button for each entry.
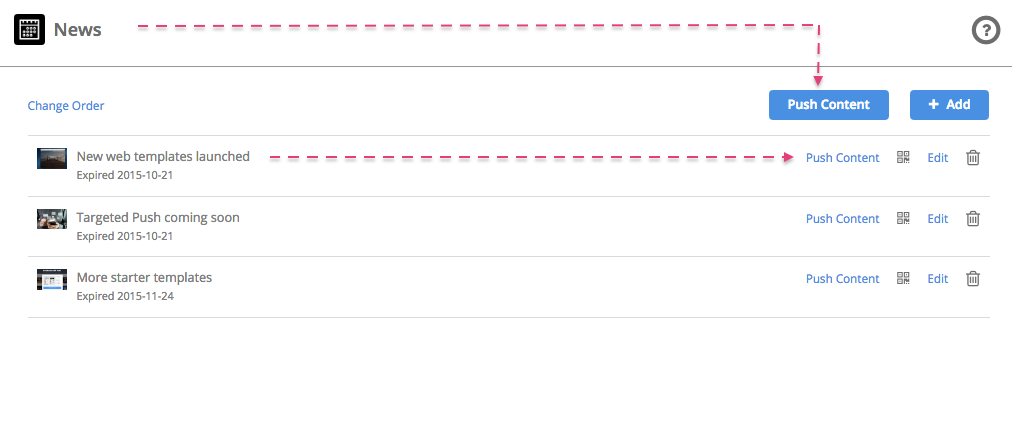
Another way you can send out rich content is to press the ‘push content’ button, this can be found within each feature including main categories and sub categories.
Once your notification has been sent you will receive an alert via your app. This will show up on your device notification bar at the top of your Android phone or as a Pop up alert on your iOS Device.
The Notification tab will feature a tiny, “N” (New) when a New Notification is sent out. As you access the Notification tab and navigate back to the main menu of the app, the ‘N’ will no longer be visible. This means that the message has been viewed or read.